Creating a VSB Cloud Proxy on AWS EC2
This section provides information about creating a VSB cloud proxy on AWS EC2.
Important! Make sure that the AWS EC2 instance is ready with all the required Arcserve UDP components installed.
Follow these steps:
- Log into the AWS EC2 Management Console with your account.
- In the Console Home page under Find Services, search for EC2, and then select EC2.
- On the left panel, go to Instances and then click Instances.
- The Instances dialog opens displaying a list of existing instances.
- Click Launch instances.
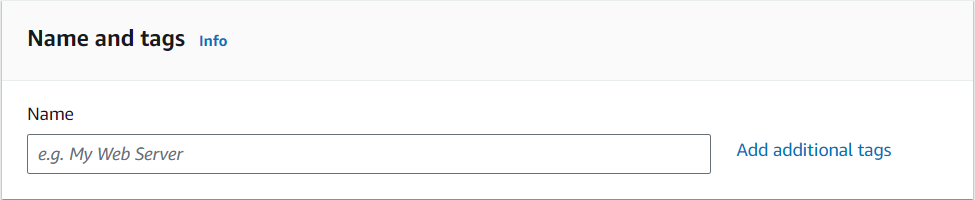
- Under Name and tags, type a name for your instance. To add tags, click Add additional tags.
-
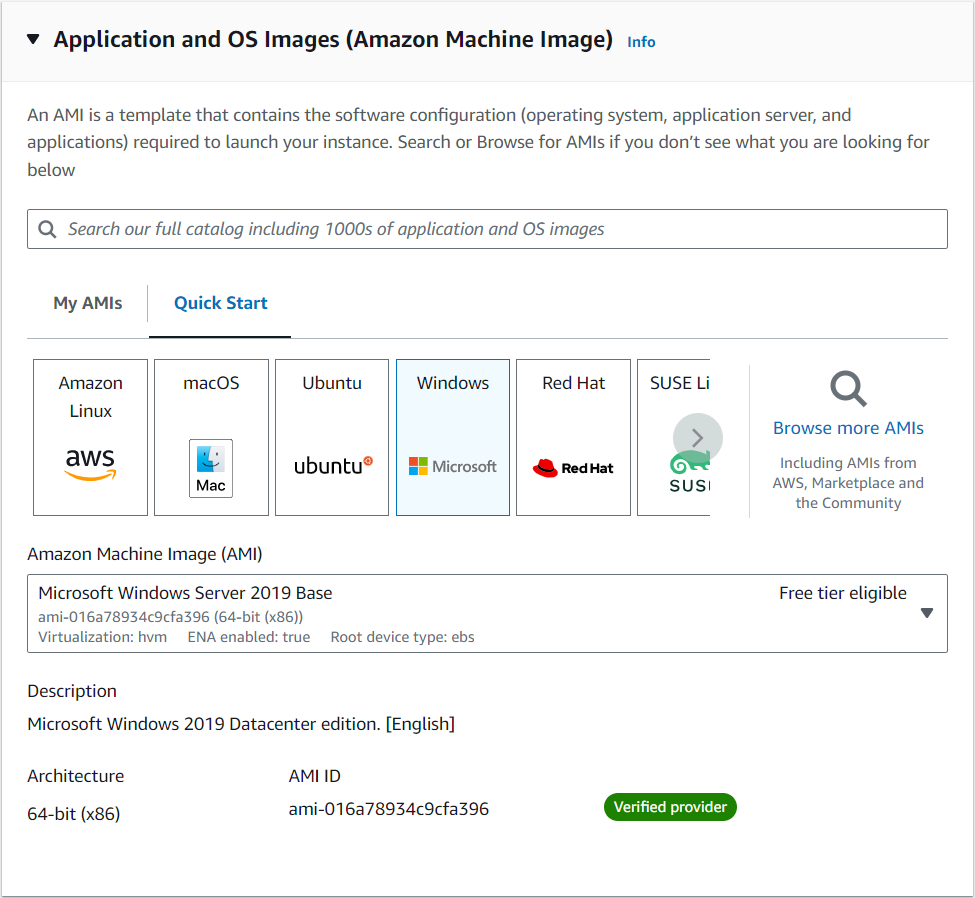
- Under Application and OS Images (Amazon Machine Image), select an existing AMI or click Browse more AMIs and from the list of AMIs, select the type of AMI that you want to use.
- Note: Arcserve UDP RPS is supported on Windows 2008 R2 or higher versions. For supported operating systems for RPS, see Compatibility Matrix.
-
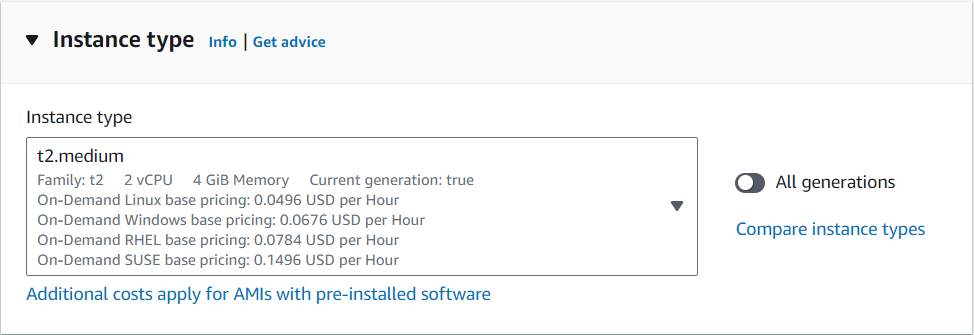
- Under Instance type, select one of the following instance types (as per the system requirement considerations on Virtual Standby proxy):
- Instance type m4.large (13 ECUs, 2 vCPUs, 2.4 GHz, Intel Xeon E5-2676v3, 8 GiB memory, EBS only) is recommended.
- Instance type t2.medium (Variable ECUs, 2 vCPUs, 12 CPU Credits/hour, Intel Broadwell E5-2686v4, 4 GiB memory, EBS only) is the minimal.
- Note: For more information, see System Information for RPS.
-
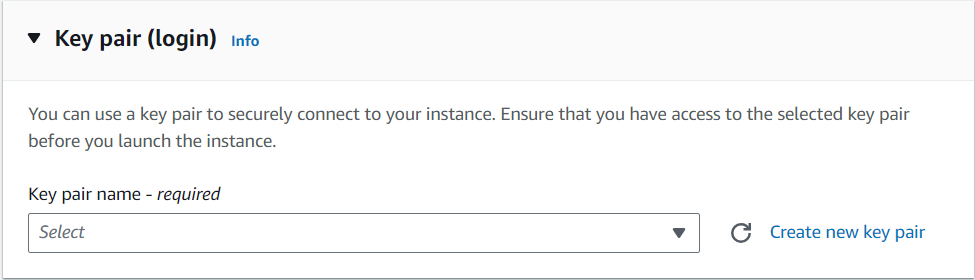
- Under Key pair (login), select an existing key pair from the drop-down list or click Create new key pair to create a new key pair.
- Note: To connect to your EC2 instance, we recommend that you download the key pair. Without a key pair, you cannot connect to your instance.
-
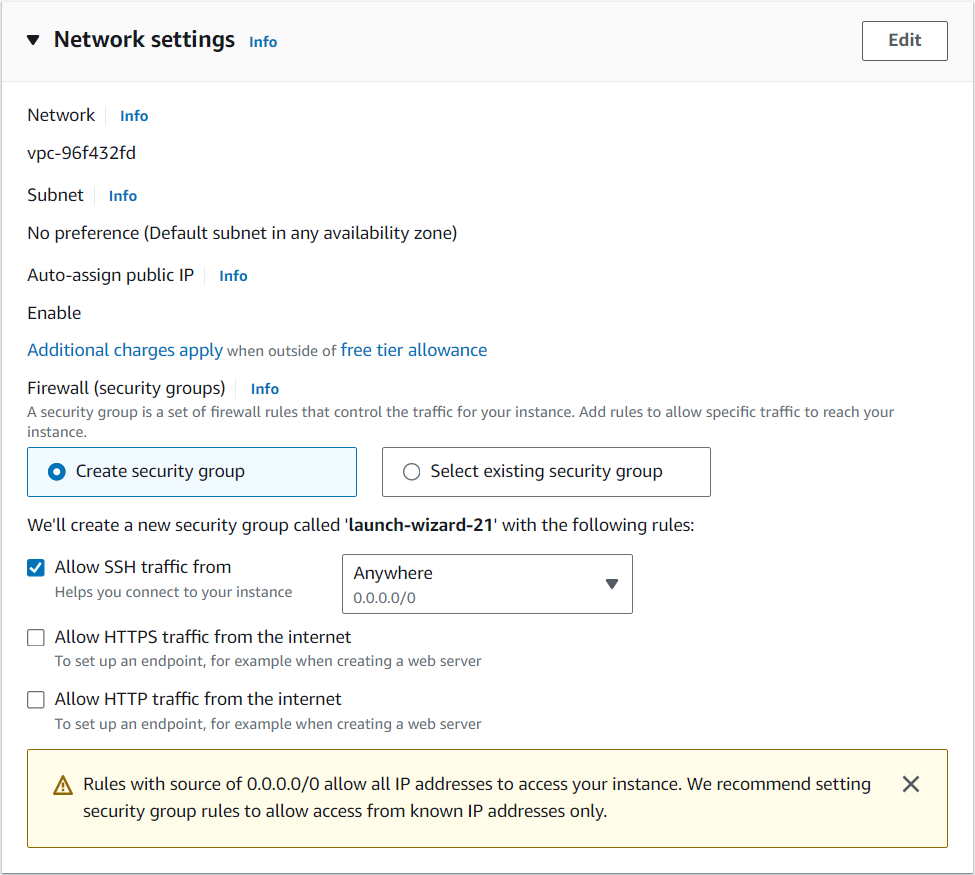
- Under Network settings, click Edit and add the following ports to the instance as replication target RPS in AWS EC2:
- 8014 - Internet and Intranet Inbound
- 8015 - Internet and Intranet Inbound (only where the UDP Console is installed on AWS)
- 4091 - Internet Inbound
- Notes:
- If you are selecting an already existing security group, make sure that it has these ports opened.
- As these ports are opened to the Internet, make sure that you limit the source to only your own IP addresses.
-
You must have specific AWS API permissions for Amazon IAM users to control and interact with AWS APIs for VSB to EC2. For more information, see Configure IAM Granular Permissions for IAM Users with VSB to EC2.
-
Make sure that the Arcserve UDP RPS and Linux Backup Server on AWS EC2 are connected to each other.
-
Use a dedicated instance for better performance.
-
(Optional) If you do not want to use Elastic IP for RPS, select Enable under Auto-assign Public IP because auto-assign public IP cannot be changed after the instance is launched.
-
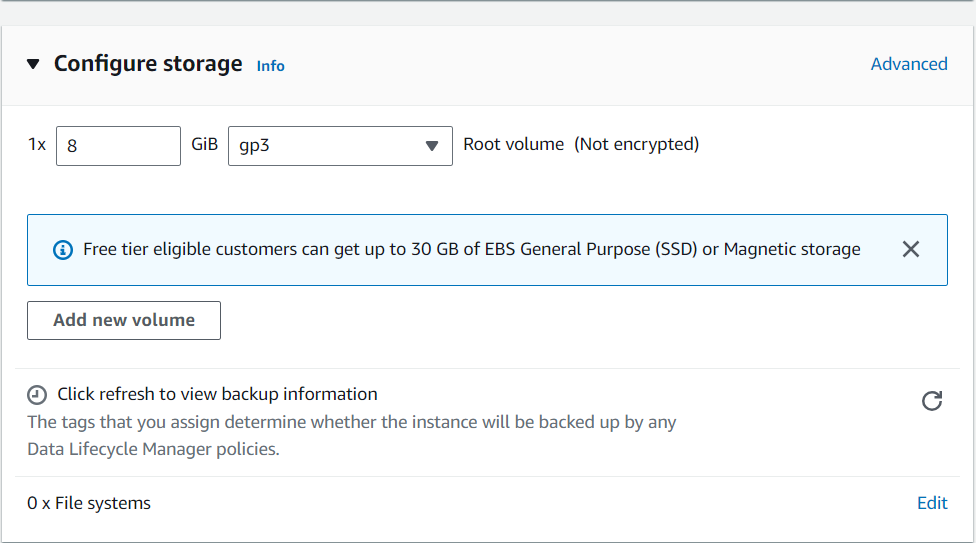
- Under Configure storage, add storage for the instance.
- The recommended storage is 40 GB, which is configurable depending on your business requirement.
- Note: Storage depends on the source data size. For better performance, use SSD.
-
- (Optional) Under Advanced details, select Enable under Detailed CloudWatch monitoring to monitor the performance of Arcserve UDP RPS.
- Under Summary, verify the information you provided, and then click Launch instance.
-
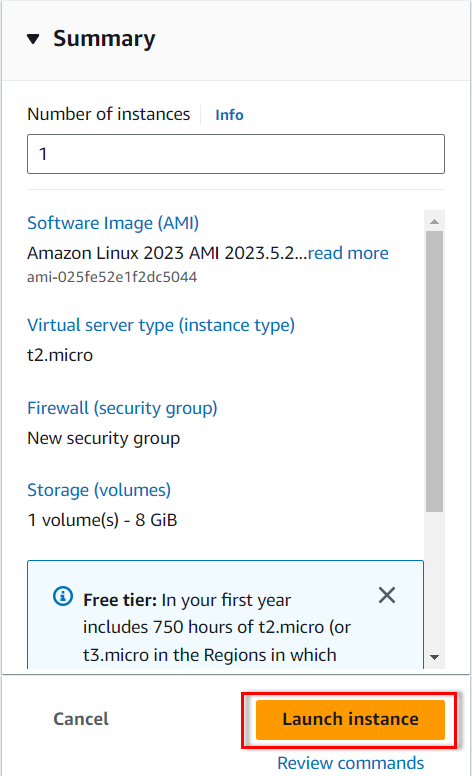
- The instance is created and launched successfully.
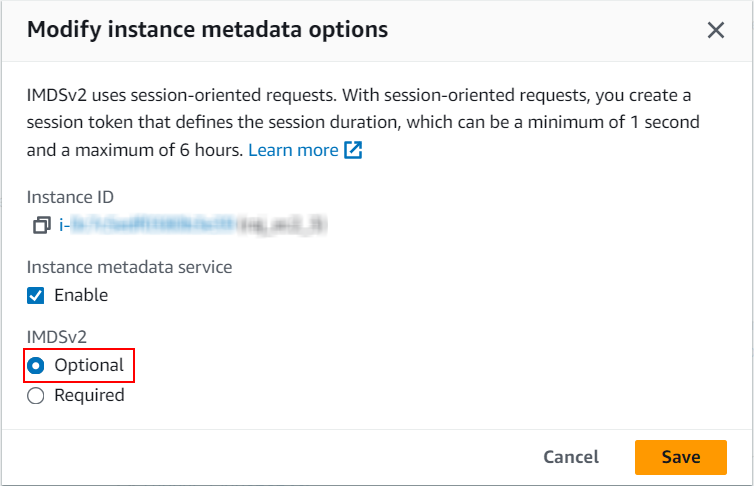
- Navigate to Instance > Actions > Instance settings > Modify instance metadata options.
-
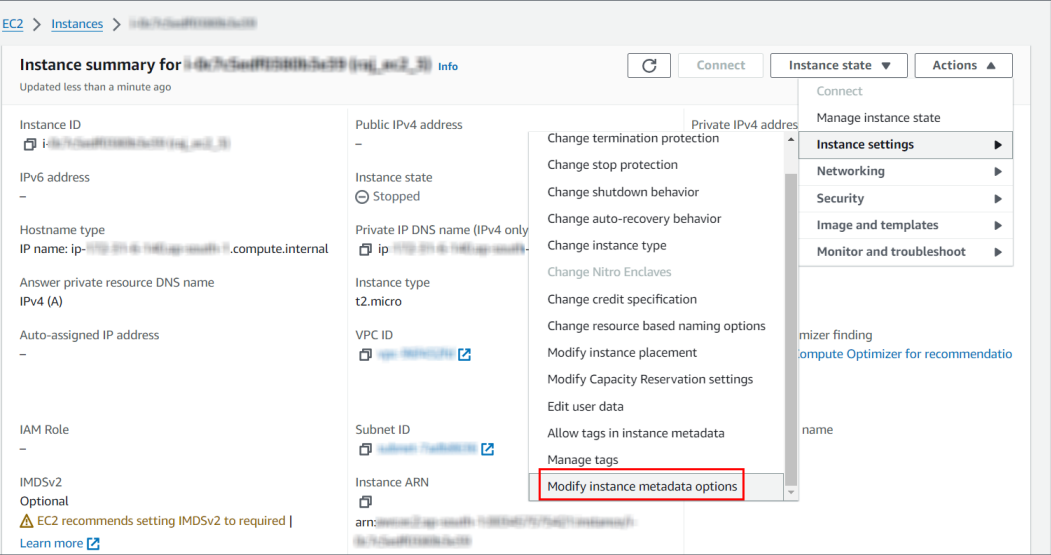
- Under IMDSv2, select the Optional radio button, and then click Save.
-
- RDP to the instance, download the Arcserve UDP 10.0 installation package, and then install Arcserve UDP Agent on the instance. For more information, see Installing Arcserve UDP.
Important!