Set up Arcserve Cloud Direct Agent for Hyper-V
Perform a Hyper-V integration to protect data that resides on VMs of Hyper-V.
Follow these steps:
- Navigate to the Protect screen and click Download Cloud Direct Agent.
- Copy the downloaded file and paste the file to the Hyper-V machine.
- Run the file as per the set-up instructions to complete the installation of Cloud Direct Agent.
- After installing Cloud Direct Agent, provide your cloud account details in the registration window, to add Hyper-V to cloud console.
- The Hyper-V appears in the Machines field of the Protect Screen. The Backup VMs options may appear after sometime.
- Scroll towards the far right of the source and select Backup VMs option from the contextual view.
- The Hyper-V gets highlighted in red in the source list and appears in the Hypervisors field of the Configure screen. The Hyper-V may appear in the Hypervisors field after sometime.
- Subsequently, a default policy gets created in the Polices field of the Protect screen.
- Add VMs to the Hyper-V by following one of the below methods:
- Navigate to the Hypervisors field and select a Hyper-V name to proceed to the Edit Policy page.
- Click the Sources field and click Select Sources to view the VMs residing on the Hyper-V.
- Select the checkboxes with the VM names which you want to backup and click Add Sources.
- Navigate to the Policies field and select a policy that has the Hyper-V name.
-
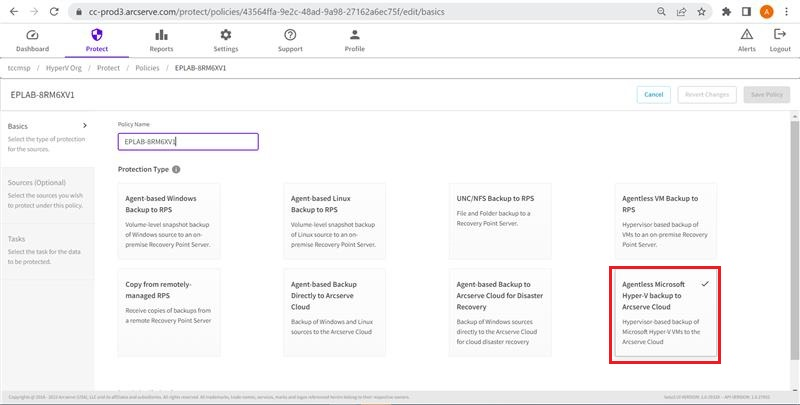
- Click the Sources field and then click Select Sources to view the VMs residing on the Hyper-V.
- Select the checkboxes with the VM names which you want to backup and click Add Sources.
- Click the Destinations field and then click the Activity Type: VM Image box and edit the following fields as per your requirement:
- Where to protect
- When to protect
- Additional settings
- From the Additional Settings tab, do the following:
- For Cache Location, enter the location where the cache is stored. The Cache Location locally stores cache to optimize transfer performance. It roughly totals 1% of the data set. If free disk space is a concern, provide an alternate location for the cache.
- For Pre-backup Script, enter the location of the script that executes before the backup job runs.
- (Optional) To stop the backup when script fails, check the Stop backup if the script fails check box.
- For Post-backup Script, enter the location of the script that executes after the backup is completed.
- (Optional) If a new VM is added under Hyper-V, click Refresh VMs Now while modifying the policy to make them available in cloud console. Follow step 6 to manually add the VMs to Cloud Console.
Using the Configuration Screen
Using the Protect Screen
Note: After an agentless backup is performed, the operating system information does not appear. To display the operating system information, install the Integration Services in the guest OS and power-on the VM.
Hyper-V integration to protect data that resides on VMs of Hyper-V is now complete.