How to Create Users as a Super Admin
This section provides information about how to create users as a Super admin.
Follow these steps:
- Log into the Cloud Console.
- Navigate to Settings > Access Control > User Accounts.
- On the User Accounts screen, click the User Management button.
-
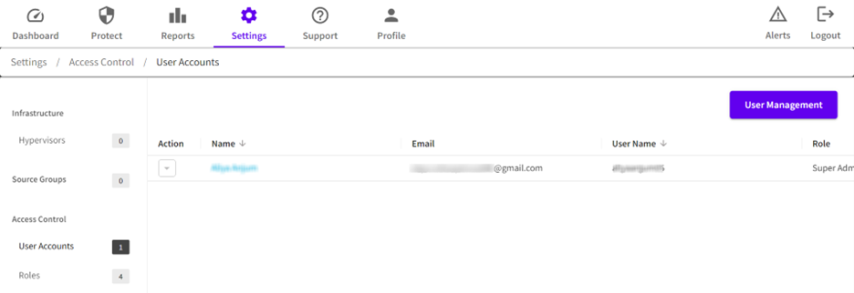
- The User Management page opens in a new window.
- Click Add Person under the MY tab.
-
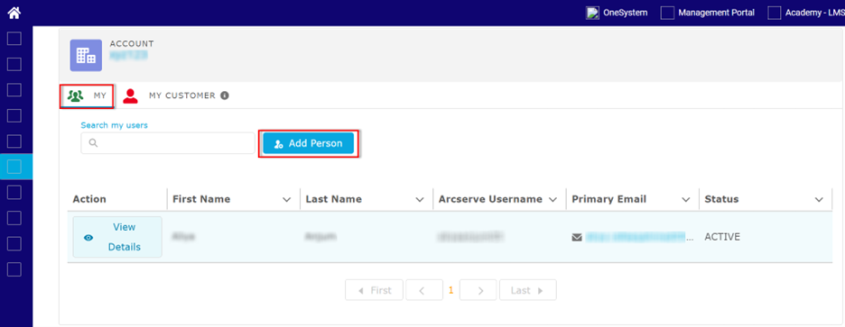
- The Add Person dialog appears.
- On the Add Person dialog, specify details as needed, and then click Save.
-
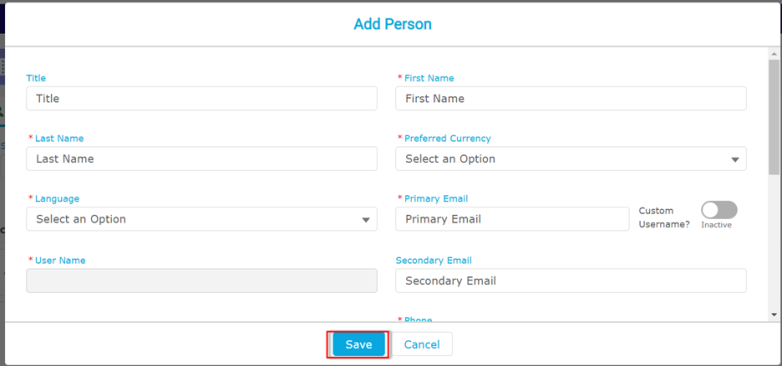
- The user gets added successfully and appears in the table with the status of the account as INACTIVE.
- Notes:
- By default, the first user gets added with user type as Admin and all the other users get added with user type as User.
- To change the user type, click View Details of the user, click the edit symbol for Cloud Console application, and then select the user type as needed from the drop-down list.
- Click View Details from the Action column of the added user.
- The Account page opens and displays the details of the added user.
- Wait until the account gets provisioned.
-
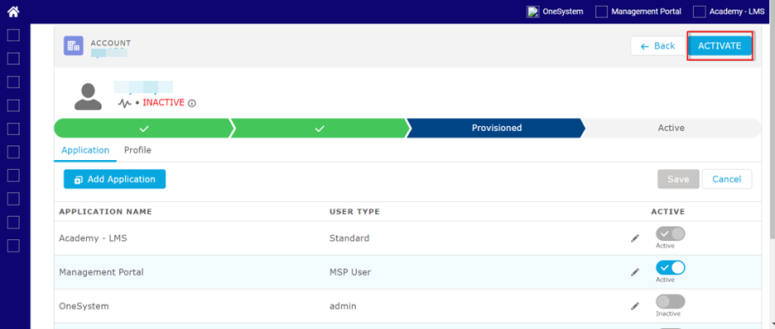
- After the account gets provisioned, Okta will send an email to your primary email address that you have provided while adding the user.
- Open the email that you receive from Okta, and then click the Activate Arcserve Account button to activate your account and set your password.
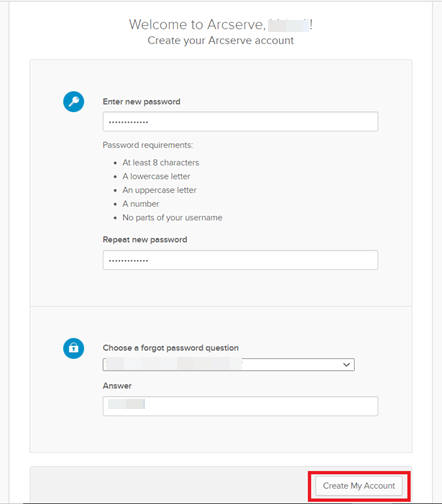
- On the Create your Arcserve account window, do the following, and then click Create My Account:
- Type the new password and then retype the new password to confirm.
- Provide the security details as needed.
-
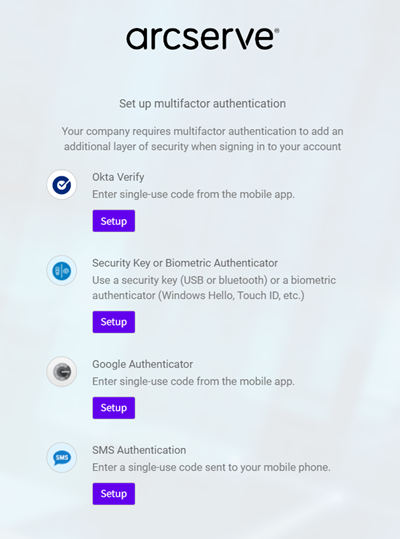
- A window appears and prompts you to set up multifactor authentication.
- Click Setup for the authentication type that you want to select.
-
- To complete the multifactor authentication process for the authentication type you have selected, follow the on-screen instructions.
- After you complete the multifactor authentication, click Finish. You can also configure other authentication factors as needed.
-
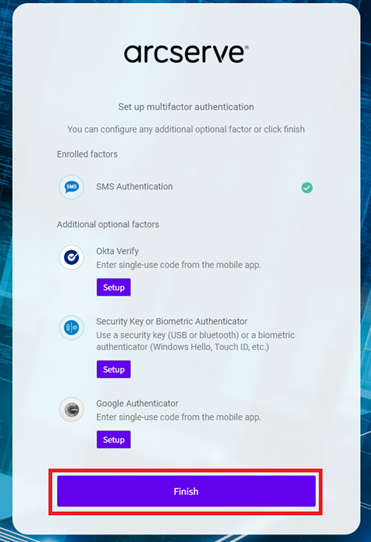
- You have successfully activated the user account.
- Notes:
- Super admin can create more admins/users using the User Management button.
- If the Super admin of direct organization creates multiple users of Cloud Console with user type as User, then by default, the Monitor role gets assigned to the added users. Only Super admin can later change the user role to Admin or Recovery.
- To deactivate MFA, click DEACTIVATE MFA. You can reactivate MFA at any time.
- To deactivate account, click DEACTIVATE.
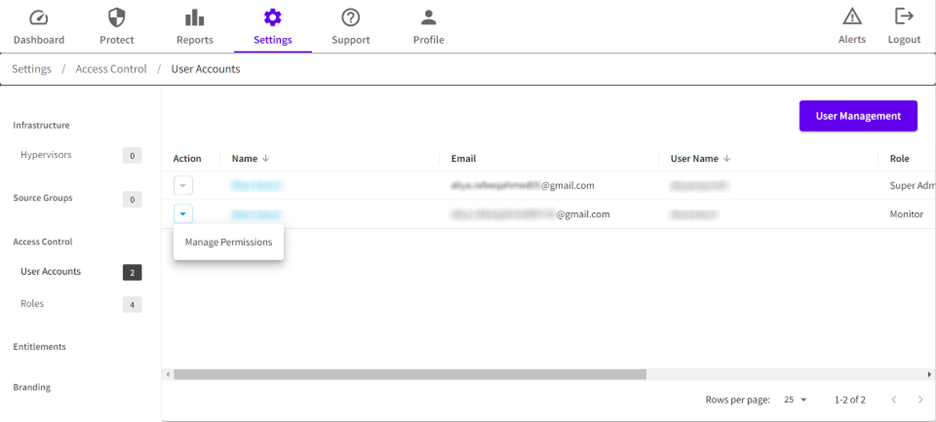
- All the added users display on the User Accounts page in Cloud Console.
- Go back to the User Accounts screen on Cloud Console, and then click Manage Permissions from the Action drop-down list of the added user.
-
- On the User Permissions for <user name> dialog, from the User Role drop-down list, select the role that you want to assign.
- Click Save.
You have created the user successfully.