Run Assured Security - Malware Scan from the Sources Page
This section provides information about how to run an Assured Security - Malware Scan from the Sources page.
Follow these steps:
- Navigate to Protect > Sources.
- From the Action drop-down list of a source that has an assured security policy assigned, click Run Assured Security - Malware Scan.
- The Run Assured Security - Malware Scan dialog appears.
- Do one of the following:
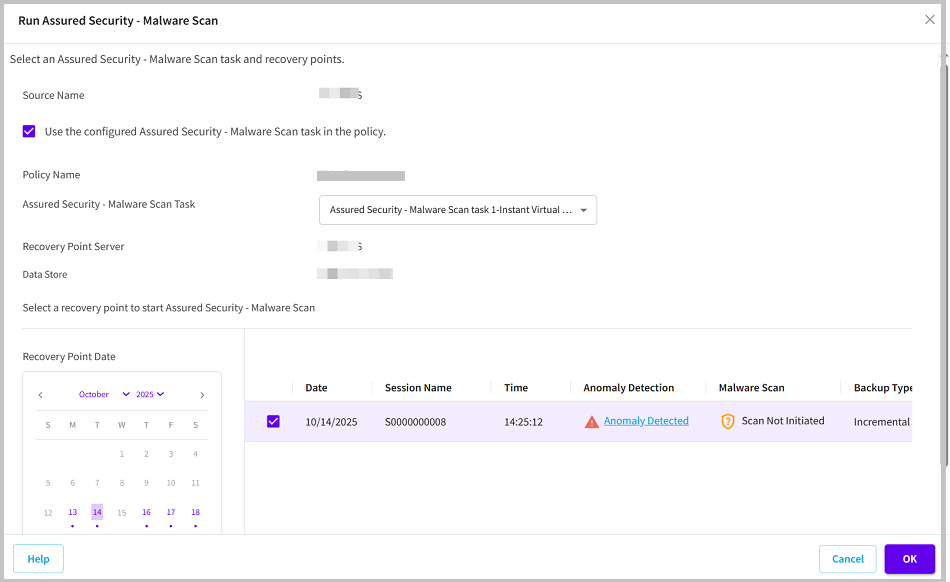
- If you want to use the already configured Assured Security - Malware Scan task, perform the following steps:
- Select the Use the configured Assured Security - Malware Scan task in the policy check box.
- The Policy Name and Assured Security - Malware Scan Task fields get populated and displays the policy name and the type of assured security task added to that policy.
- From the Recovery Point Date section, select a date.
- The corresponding recovery points for that date display with date, session name, time, backup type, and the backup schedule.
- Select a recovery point for the Assured Security - Malware Scan, and then click OK.
-
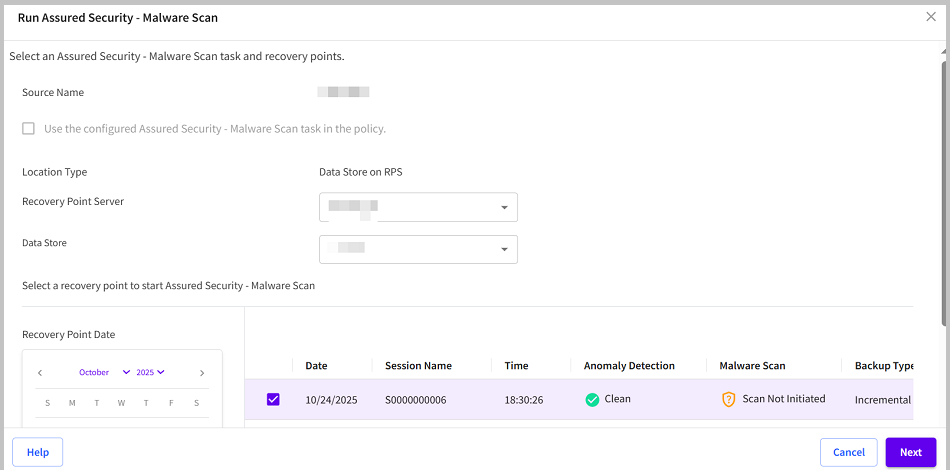
- If you do not want to use the already configured Assured Security task, perform the following steps:
- From the Recovery Point Server drop-down list, select the recovery point server as needed.
- Note: By default, the data store on the selected RPS gets updated in the Data Store field. If you want to change the data store, select the data store from the drop-down list as needed.
- From the Recovery Point Date section, select a date.
- The corresponding recovery points for that date display with date, session name, time, backup type, and the backup schedule.
- Select a recovery point for the Assured Security - Malware Scan, and then click Next.
- Note: If the recovery point you are attempting to access is encrypted, the Recovery Point Access dialog opens and prompts you to enter the encryption or session password.
-
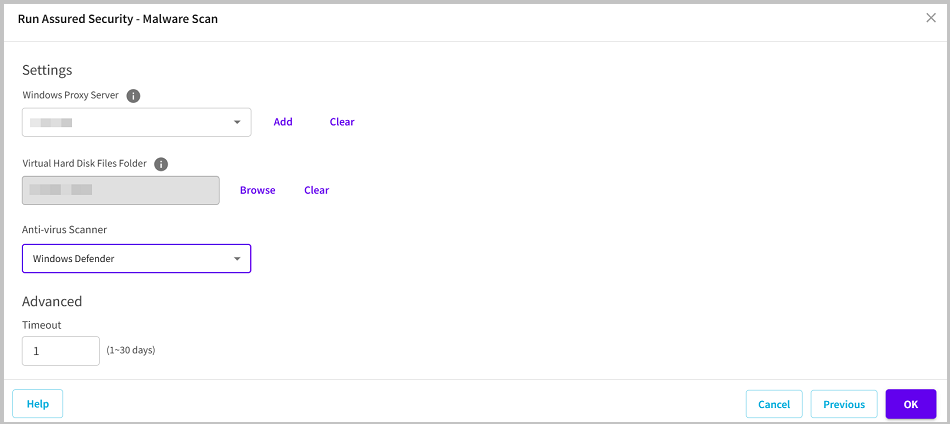
- Specify the following details, and then click OK.
- Windows Proxy Server: Do one of the following:
- If you have already added a proxy server to the selected Site in the Console, select a proxy server from the Windows Proxy Server drop-down list.
- If you have not added any proxy server, perform the following steps:
- Click Add.
- The Add Proxy server dialog opens.
- From the Site Name drop-down list, select the desired site.
- For Hostname/IP Address, type the host name or the IP address.
- Type the username and password as needed.
- Click Save.
- Virtual Hard Disk Files Folder: Click Browse, navigate to the folder where the virtual hard disk file is located, select the folder, and then click Select.
- Anti-virus Scanner: From the drop-down list, select Windows Defender as an anti-virus scanner.
- Timeout: Specify the maximum time the proxy server can wait for the item to complete its scan. The value of timeout is specified in days (1-30).
-
The Assured Security - Malware Scan starts successfully.