Install and Configure Arcserve Remote Management Gateway
This section provides information about how to install and configure Arcserve Remote Management Gateway in Arcserve® Cloud Console.
Follow these steps:
- Download Gateway, and then open the folder that contains the .exe file.
- Copy the .exe file to the source you want to create as gateway.
- To install, double-click the copied .exe file.
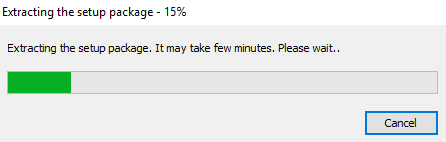
- The Gateway Installer Extraction starts extracting the setup package.
-
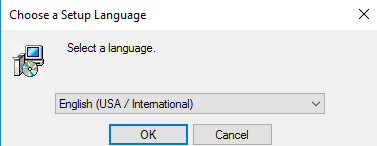
- On the Choose a Setup Language dialog, select a language as needed.
-
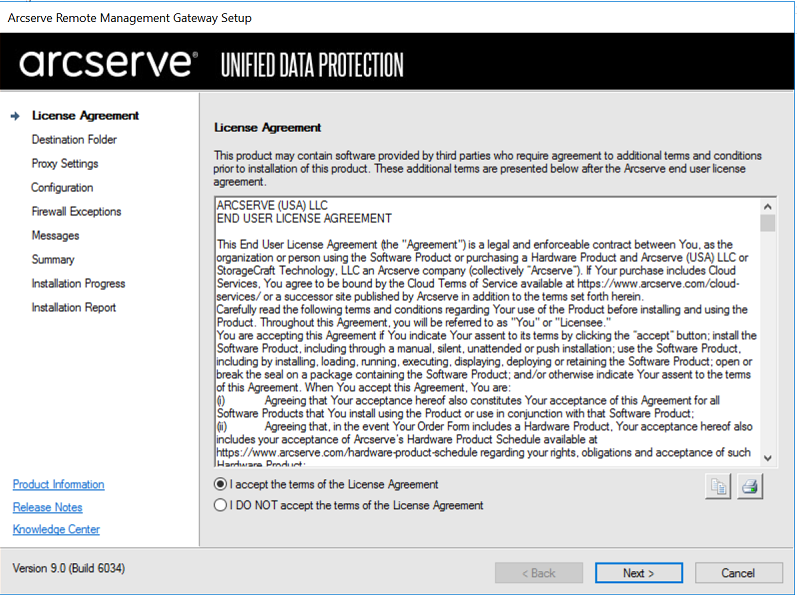
- After the initial process is complete, the Arcserve Remote Management Gateway Setup wizard appears.
- On the License Agreement screen, read the terms of the License Agreement, select the I accept the terms of the License Agreement option, and then click Next.
-
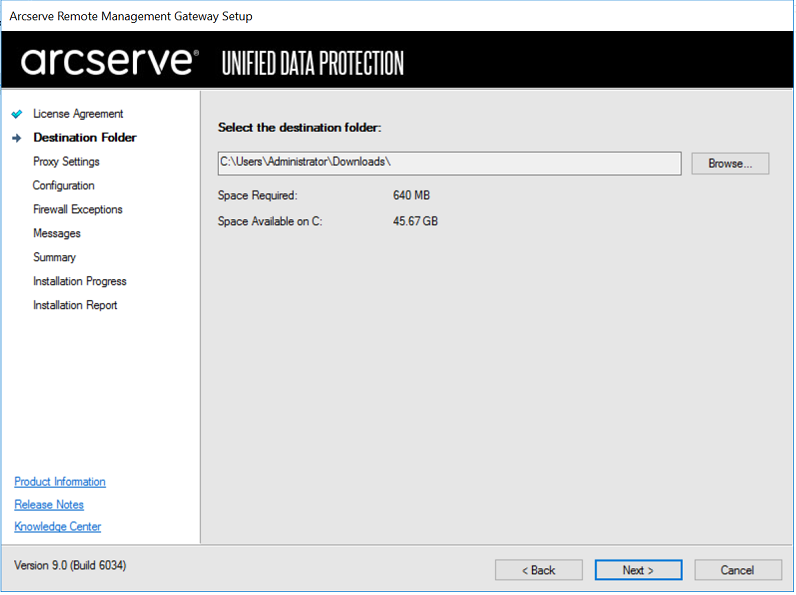
- On the Destination Folder screen, click Browse to select the destination folder, and then click Next.
-
- On the Proxy Settings screen , select one of the following, and then click Next.
- Use browser proxy settings (for IE and Chrome only): Allows you to use already existing proxy settings. This option is applicable only for the IE and Chrome browsers.
-
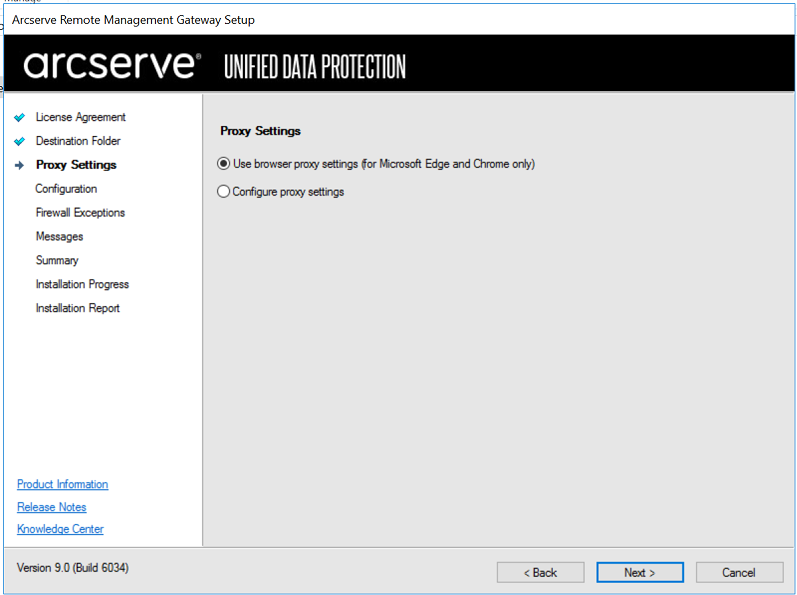
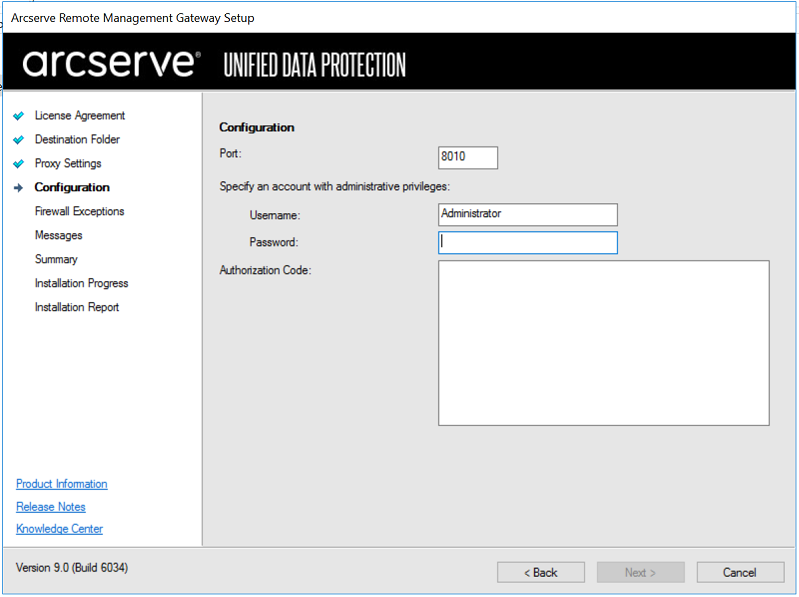
- Configure proxy settings: Allows you to configure proxy settings. To configure, do the following:
- Port: Type the port number.
- To specify the account with administrative privileges, do the following:
- Username: Type the username as needed.
- Password: Type the password as needed.
- Authorization Code: Provide the authorization code. To get the authorization code, create a site using the Arcserve® Cloud Console account. For more information, see Add a Site.
-
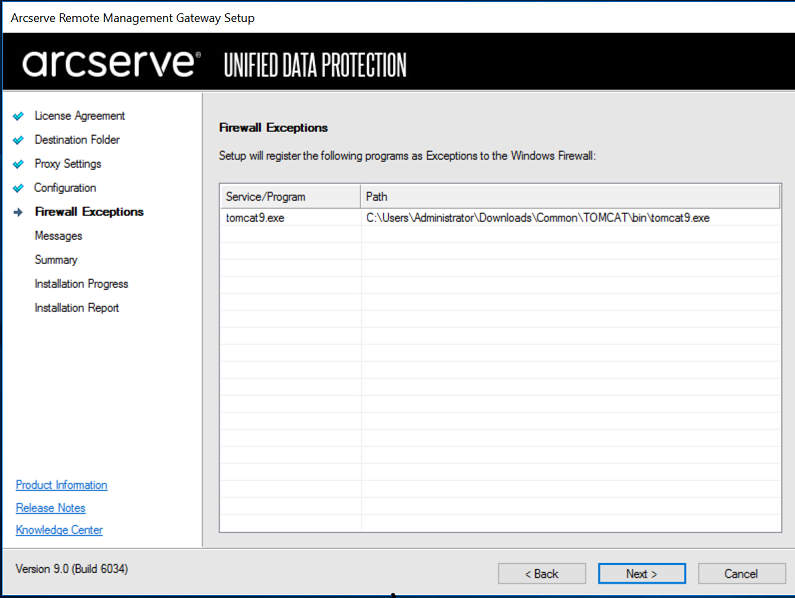
- On the Firewall Exceptions screen, review the list of services or programs for Exceptions to the Windows Firewall, and then click Next.
-
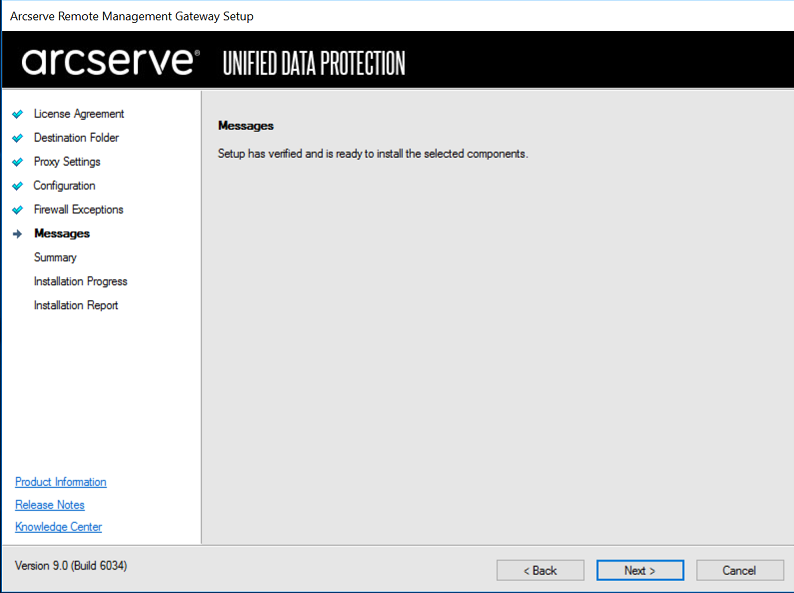
- On the Messages screen, review the message, and then click Next.
-
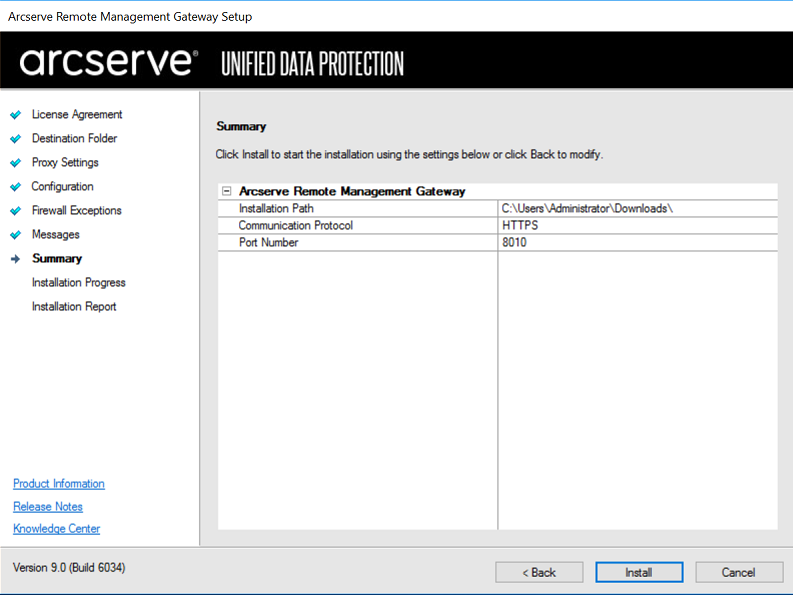
- On the Summary page, click Install.
- Note: Click the Back button to return to the previous pages and make changes to any of the configuration, as needed.
-
- The Installation Progress screen displays the installation status.
-

- After the installation is complete, click Finish to close the screen.
-
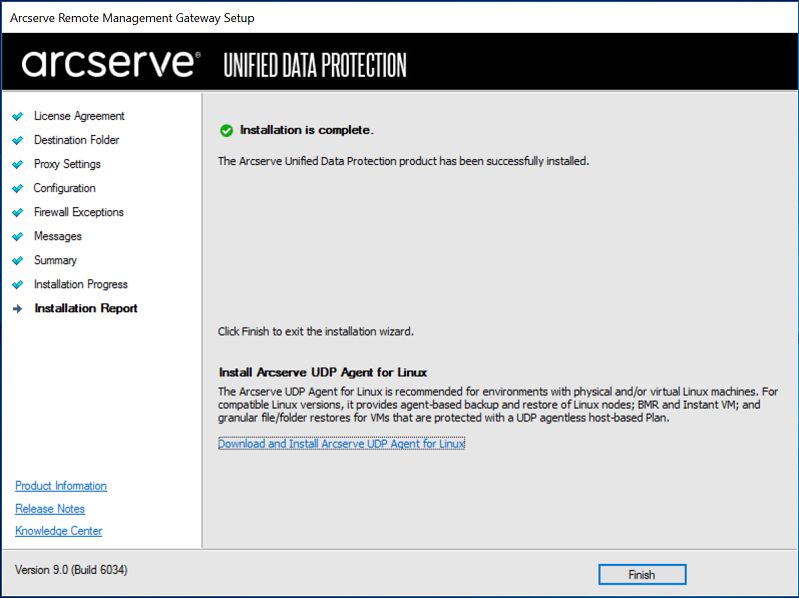
- The Gateway is installed and configured.