Deploying the ConnectWise Automate Plugin
Installing the solution is done using Automate Control Center.
To deploy the ConnectWise Automate Plugin using Automate Control Center, follow these steps:
- Launch Automate Control Center from any of your computers and login. The user must have permissions to install new solutions.
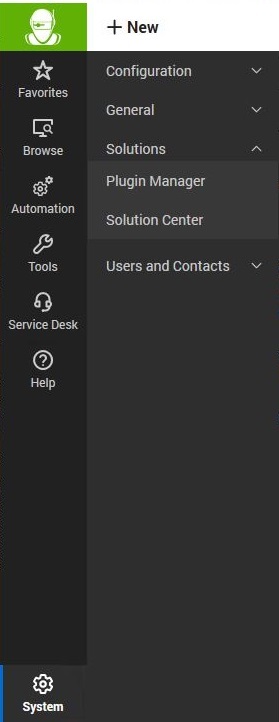
- Open the Solution Center by clicking System --> Solutions --> Solution Center.
-
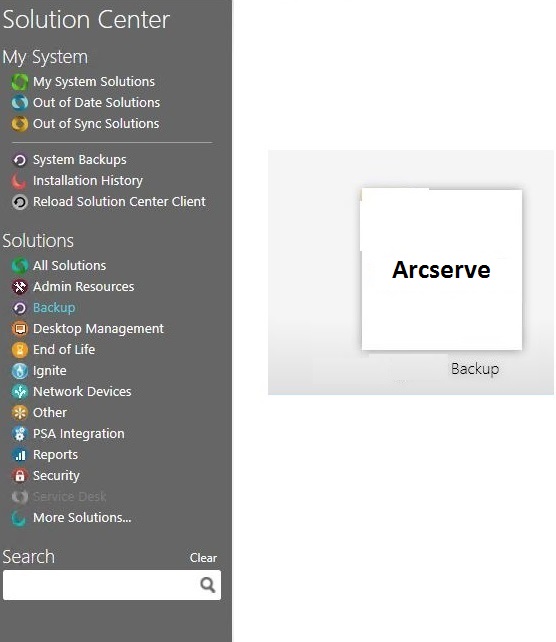
- In Solution Center, click Backup and then hover on the Arcserve tile and select Queue.
-
- Follow the remaining prompts to install the solution.
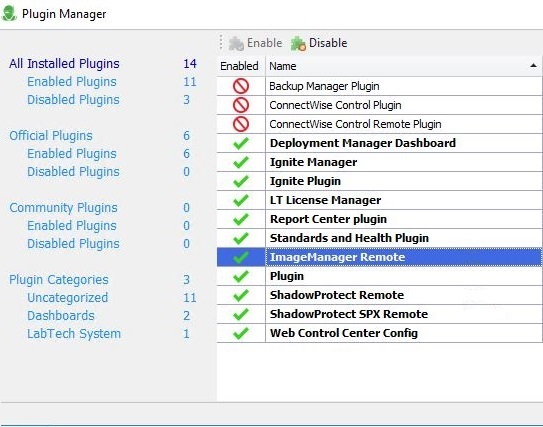
- Navigate to System --> Solutions --> Plugin Manager.
- Find the four plugins with names starting with Arcserve. Select each one and click the Enable button for each of them that shows disabled.
-
- Inside Plugin Manager, select Advanced --> Reload Plugins --> Reload Control Center Plugins.
- Inside Plugin Manager, select Advanced --> Reload Plugins --> Update Remote Agent Plugins.
- Note: You may need to run the Update Remote Agent Plugins again following a nightly refresh cycle where the computers will detect they are in the Arcserve roles.
- To force an immediate detection of the roles and update of the plugin, pick a computer running SPX and perform the following commands:
- Commands --> Inventory --> Update Config
- Commands --> Inventory --> Resend System Info
- Commands --> RemoteAgent --> Update Plugins
- Commands--> Inventory--> Resend Softwares
To force an immediate detection of any new software or an updated version of any installed software, pick a computer running SPX and perform the command below along with the three above: