Provision VA on Microsoft Azure
The High Availability Virtual Appliance (VA) is a VM running on the virtualization platform or cloud where you want to replicate the Master servers. The VA acts as Replica in a High Availability Full System scenario. The Master server is replicated to this virtualization platform or cloud. However, the Disaster Recovery VM of Master server starts and runs on this virtualization platform or cloud for multiple reasons, such as Assured Recovery testing, Switchover, and Start VM.
Follow these steps:
- Log into the Azure Portal.
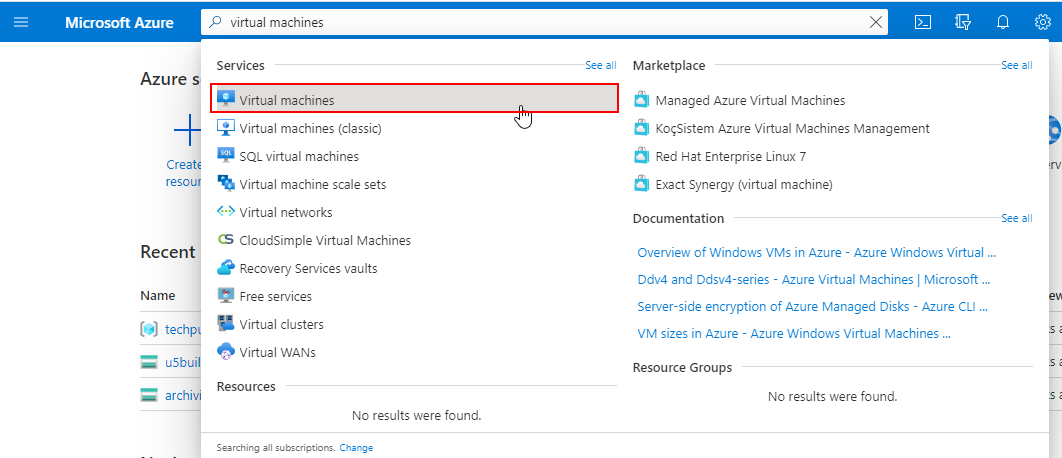
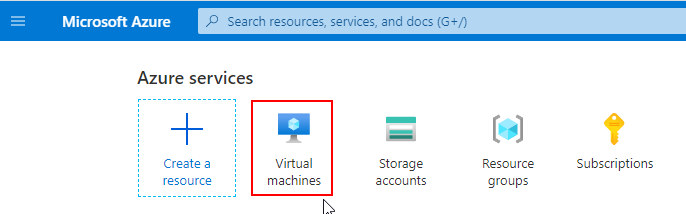
- Search for virtual machines in the search bar, and then select Virtual machines.
-
- On the Virtual machines page, click Add, and then click Virtual machine.
-

- The Create a virtual machine page appears.
-
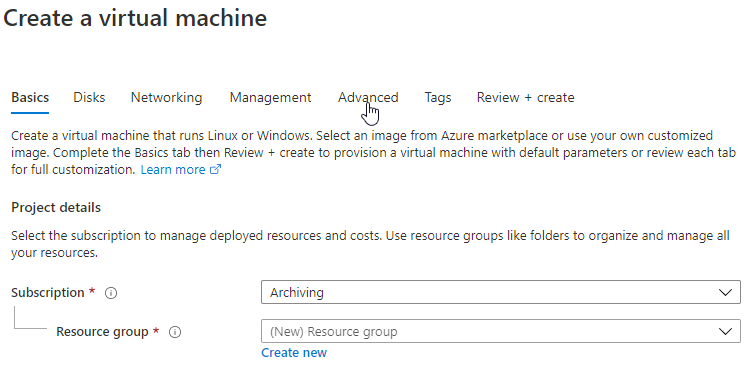
- On the Basics tab, under Project details, do the following:
- Subscription - Select the correct subscription.
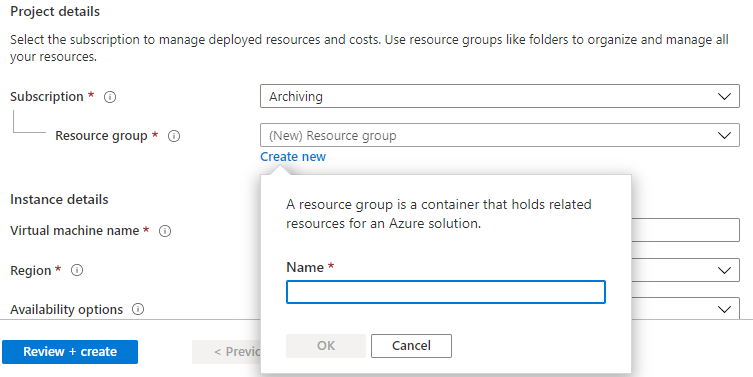
- Resource group - Select the existed resource group from the drop-down list or click Create new to create a new resource group. Enter a name for the resource group, and then click OK.
-
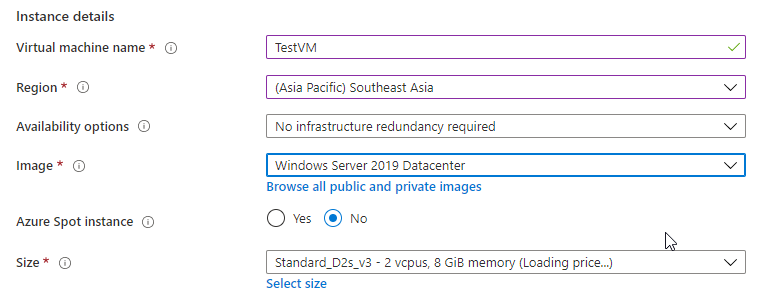
- Under Instance details, do the following, and retain defaults for the rest:
- Virtual machine name - Enter a name for the virtual machine.
- Region - Select the required region.
- Image - Select the required image.
-
- Under Administrator account, provide a user name and password.
- Note: The password must be at least 12 characters long and meet the defined complexity requirements.
-

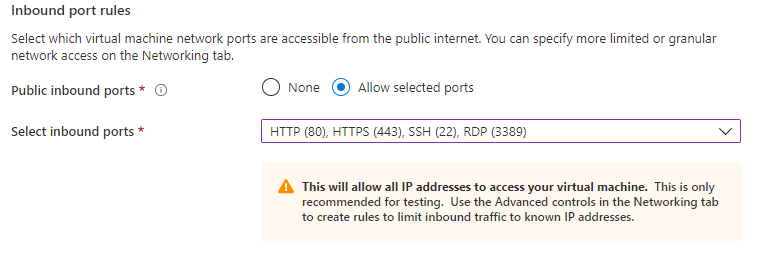
- Under Inbound port rules, do the following:
- Public inbound ports - Select Allow selected ports.
- Select inbound ports - From the drop-down list, select all the inbound ports so that all the ports get enabled when you use this option.
-
- Retain defaults for the rest, and then click Next: Disks.
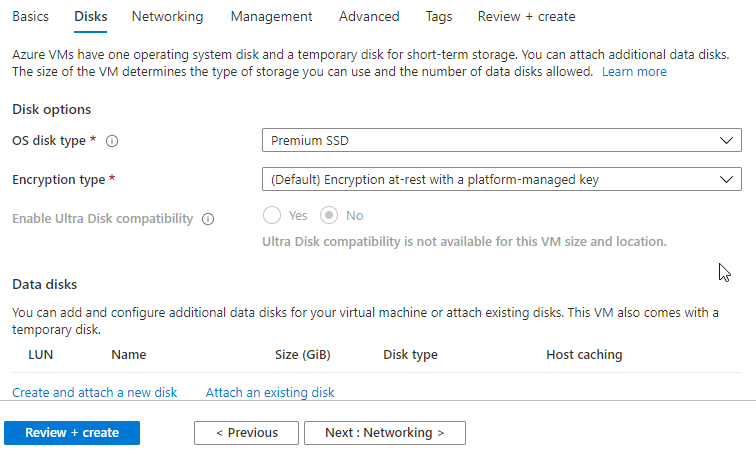
- On the Disks tab, we recommend using the default settings, however you may make changes as needed. Click Next: Networking.
-
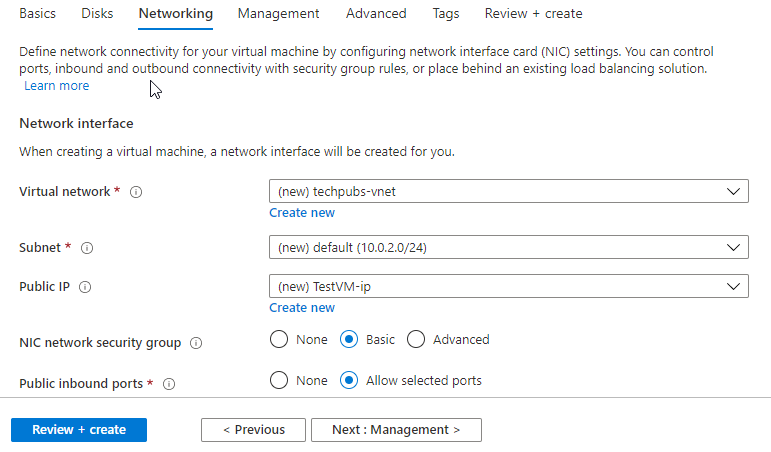
- On the Networking tab, we recommend using the default settings, however you may make changes as needed, and then click Next: Management.
-
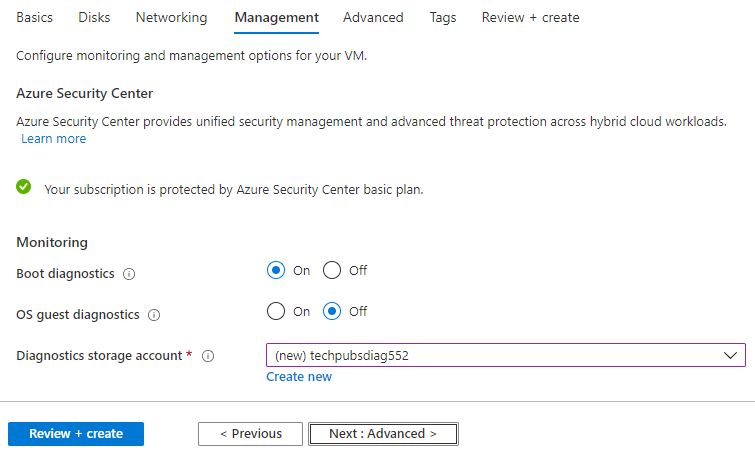
- On the Management tab, we recommend using the default settings, however you may make changes as needed, and then click Next: Advanced.
-
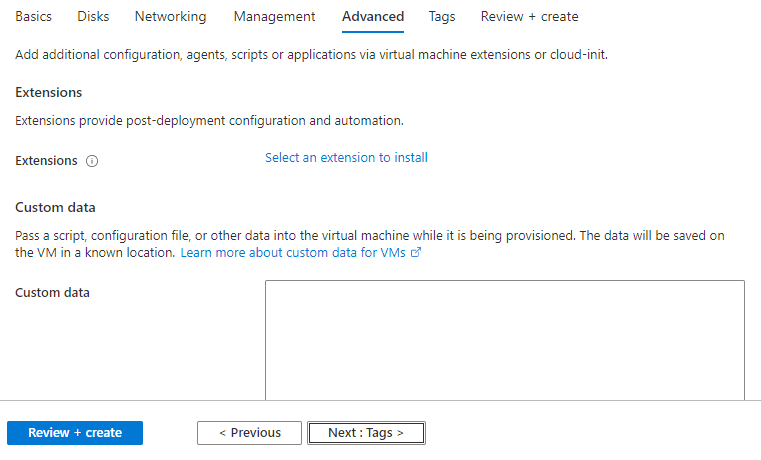
- On the Advanced tab, click Next: Tags.
-
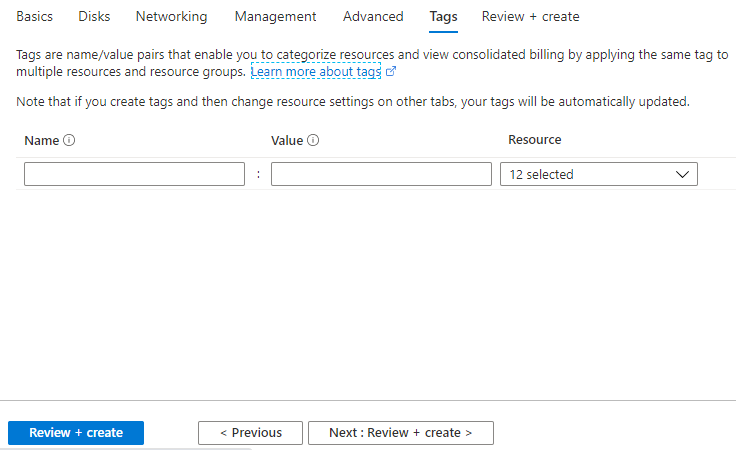
- On the Tags tab, click Next: Review + create.
-
- On the Review + create page, the Validation passed message appears.
- On the Review + create tab, click Create.
-

- Wait until the deployment process is complete.
- Navigate to Home tab on the top-right corner, and then click Virtual machines.
-
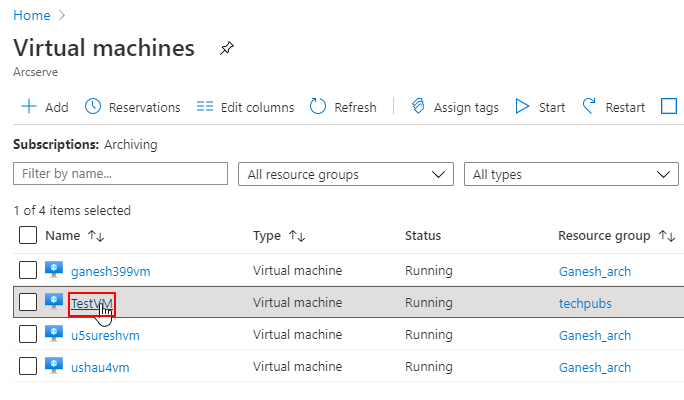
- On the Virtual machines page, select the virtual machine.
-
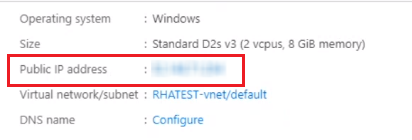
- The overview page for your virtual machine opens.
- On the overview page, select the public IP address and copy it to the clipboard.
-
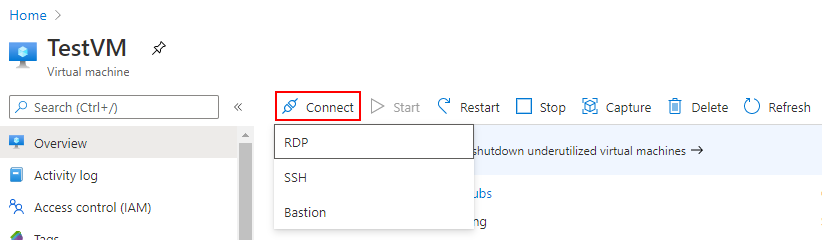
- On the overview page, to connect to the virtual machine, do the following:
- Click the Connect button, and then select RDP option from the drop-down list.
-
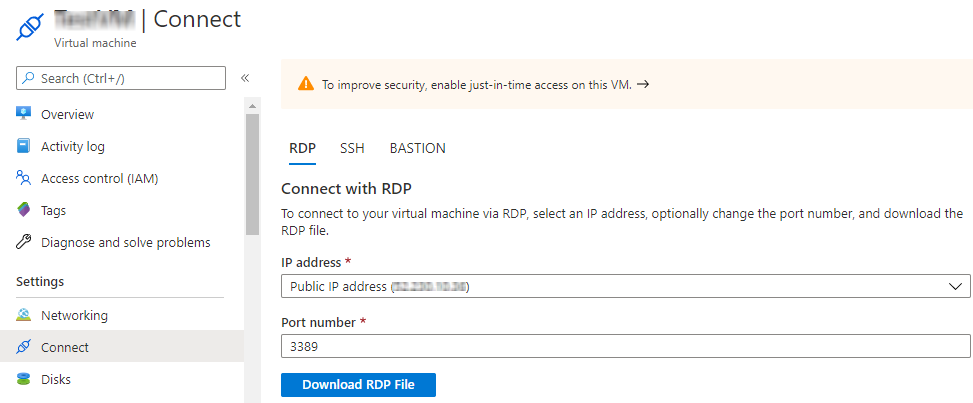
- On the Connect page, click the Download RDP file.
-
- Click the downloaded file.
- The Remote Desktop Connection page appears.
-
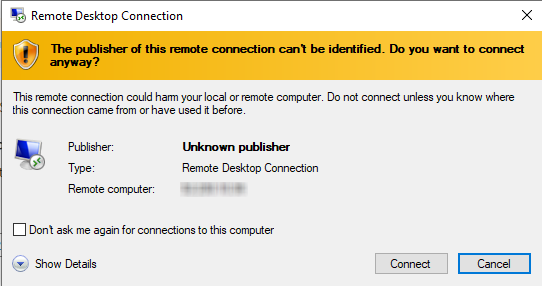
- Click Connect.
- The Enter your credentials screen appears.
-
- Enter the password, and then click OK.
- The virtual machine is now created on Microsoft Azure.