Installing SSL Self-Signed Certificate
This section describes the necessary steps for installing SSL self-signed certificate. This procedure is required when you are using Self-signed Certificate to secure your communication, and you try to connect to the Control Service from a remote machine in order to open the Overview page.
Installing self-signed certificate
- On the remote machine, open Internet Explorer. On the Address box, enter the Control Service Host Name and Port No. as follows: https://host_name:port_no/start_page.aspx
- Note: You can not use here the IP address of the Control Service.
- A Security Alert appears, asking you whether you want to view the certificate.
- Click the View Certificate button.
- The Certificate dialog appears:
-
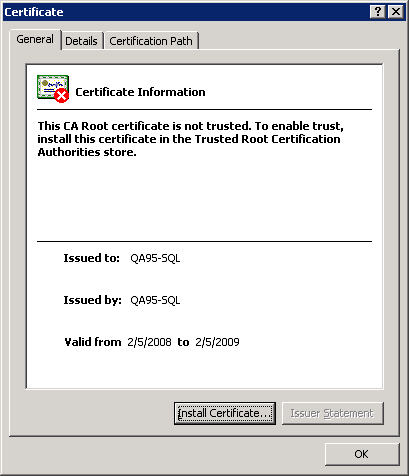
- To locally install the certificate, click the Install Certificate button.
- The Certificate Import Wizard appears:
-

- Click Next. The Certificate Store page appears:
-
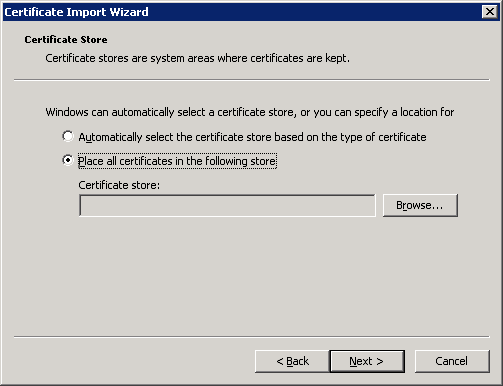
- Select the Place all certificates in the following store option button, and click the Browse button.
- The Select Certificate Store dialog appears:
-
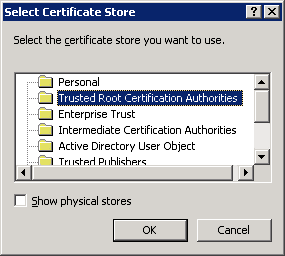
- Select the Trusted Root Certification Authorities store, and click OK.
- The Completing the Certificate ImportWizard page appears:
-
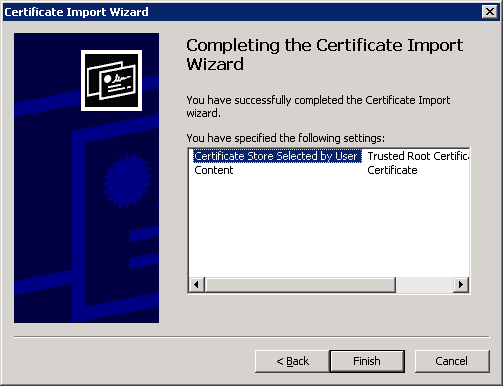
- Click Finish to complete the certificate import.
- A confirmation message appears asking you to confirm the certificate installation.
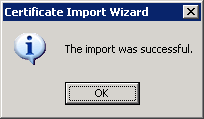
- Click Yes. A message appears, informing you of the import success:
-
- Click OK to close the message. Then, on the Certificate dialog click OK to close it.
- You can now connect to the Control Service machine and open the Overview page.