Launch the Create Boot Kit Utility
Arcserve Continuous Availability provides a Create Boot Kit for the Bare Metal Recovery utility to help you generate a WinPE-based ISO image. This ISO image contains all the information that is required to perform a bare metal recovery (BMR) if necessary.
Follow these steps:
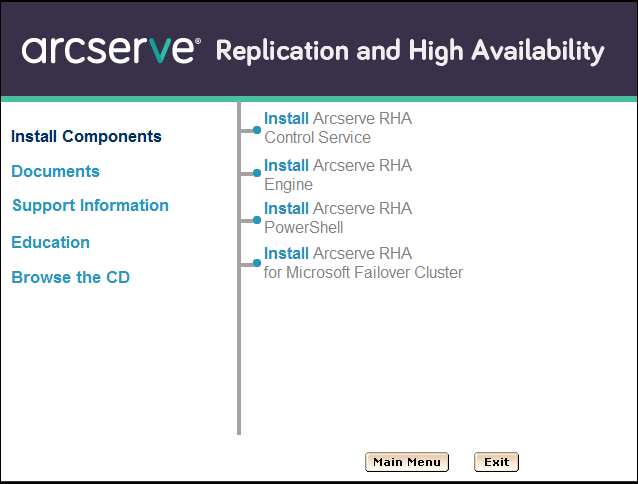
- From the Arcserve Continuous Availability product installation screen, click Create Bare Metal Recovery Image.
- The Create Boot Kit utility is launched.
-
- Note: You can also launch the Boot Kit Utility by running CBImage.exe. CBImage.exe is located in the following folders:
- \BMR\CBImagex64\ (for 64-bit Windows)
- \BMR\CBImagex32\ (for 32-bit Windows)
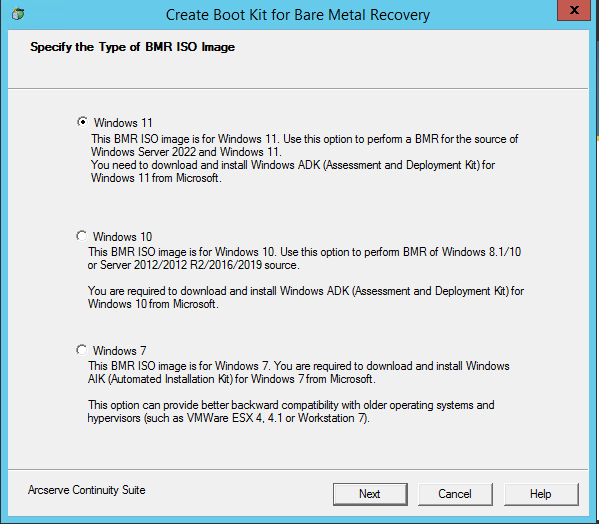
- Select the BMR ISO image type.
- To create the bootable ISO image, Windows ADK/AIK with WinPE add-on must be installed on the computer.
- If Windows ADK/AIK with WinPE add-on is installed, the utility advances to the Specify Functionality screen to let you continue creating the boot kit.
- If Windows ADK/AIK with WinPE add-on is not installed, the Windows Assessment and Deployment Kit (ADK)/Windows Automated Installation Kit (AIK) Information screen opens. You need to download and install Windows ADK with WinPE plugin from the Microsoft website.
- For more information, see Installing the Windows ADK and Installing the Windows AIK on the Microsoft website.
- To download and install the all available versions of the Windows ADK and Windows PE add-on, see Download and install the Windows ADK.
- Click Next.
- The Select the Boot Kit Method screen opens.
- Select a method to create a bootable image and click Next.
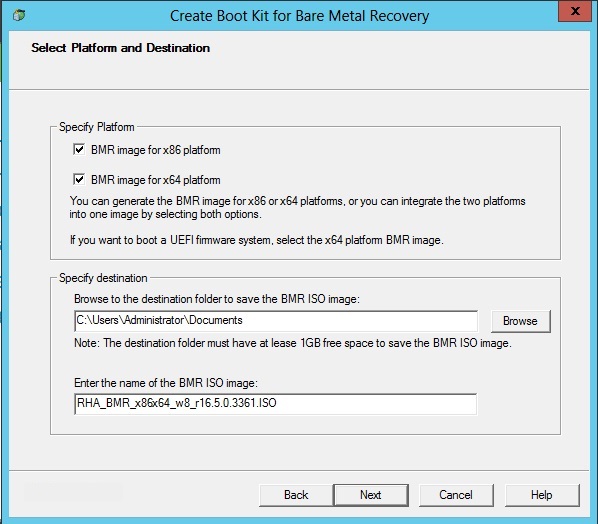
- Select the applicable platform for the ISO image.
- Be aware of the following considerations:
- An ISO image that is created from a 32-bit platform can only be used to restore a 32-bit server. An ISO image that is created from a 64-bit platform can only be used to restore a 64-bit server.
- If you want to boot uEFI firmware system, you should select the x64 platform option.
- Specify the Destination.
- Specify or browse to the location where the BMR ISO image file is created and stored.
- For USB Stick
- Insert the prepared USB stick and specify or browse to the USB folder where the BMR ISO image file is created and stored.
- Note: When you want to boot the uEFI firmware system, format the USB drive as a FAT32 file system.
- Specify the name of the generated BMR ISO image file.
- After you specify the platform and location, click Next.
- The Select Languages dialog opens.
- Select the language for the generated BMR ISO image. During the BMR procedure, the user interface and keyboard is integrated with the selected language.
- Click Next.
- If necessary, select the Integrate additional drivers option.
- Click Next.
- A Confirm page for your configuration opens asking you if you want to start the process now.
- Click OK to launch the create a bootable BMR ISO image process.
- During the process, the status is displayed.
- When the process is complete a confirmation screen opens to indicate that the BMR ISO image was successfully generated. This screen also displays the location and platform for the image, along with a clickable link to browse to that location.
Copy the BMR folder from the RHA iso image to your machine and run CBimage.exe.
Select the Windows 11 Kernel when you want the BMR image to support Windows 11 or Windows Server 2012 features. Select the Windows 10 Kernel when you want the BMR image to support Windows 8.1/10 or Windows Server 2012/2012 R2/2016/2019. Select the Windows 7 Kernel when you want the BMR image to support Windows 7 or previous versions of Windows such as Windows Vista or Windows Server 2008.
The utility immediately checks your computer to determine if the Windows Assessment and Deployment Kit (ADK)/Windows Automated Installation Kit (AIK) and WinPE add-on are already installed. Windows ADK/AIK with WinPE add-on are Microsoft tools that let you deploy Windows operating systems to computers. Additionally,
Notes:
Create a Bootable BMR ISO Image
Specifies to create an ISO image that you can burn onto a CD/DVD for storage.
Create a Bootable BMR USB Stick
Specifies to create an ISO image directly onto a portable USB stick for storage.
You can then use either of these bootable media to initialize the new computer system and allow the bare metal recovery process to begin. To verify that your saved image is always the most up-to-date version, it is best practice to create a new ISO image every time you update Arcserve Continuous Availability.
Note: When you are performing a BMR on a virtual machine (VM), then you can also directly attach the ISO image to the VM to start the BMR process without having to first burn it onto a CD/DVD.
The Select Platform and Destination dialog opens.
You can select any one of the two available options, or both. If you select both platforms, it results in added time to create the image.
You can select one or more different languages for the BMR ISO image. However, each language that you selected results in added time to create the image. The more languages you select, the longer it takes to complete. As a result, only select the languages that you actually need.
The Specify Drivers dialog opens.
The driver pane is enabled and you can specify any additional drivers that you want to add (or delete) from the BMR ISO image.
The ISO image is created.
The USB stick is now a startup disk and you can use this USB stick to initialize the new computer and allow the BMR process to begin. To create a bootable CD/DVD, see (Optional) Create a BMR CD/DVD.