Retention History
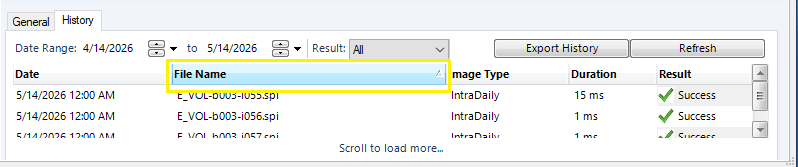
Use the Retention History tab to review a chronological log of past runs, including date, file name, image type, duration, and result.
The Retention History tab provides visibility into and the ability to export the pass/fail results for Retention jobs. When you are on the Retention History tab you can select the date range for the history with the date-range picker. You can export the history to CSV and JSON formatted files. You can also view your Export History. You can access these options either by navigating through the menu, or right clicking on the Managed Folder.
Note: The export only includes data for the currently selected category. If Retention is chosen your CSV or JSON file will only contain Retention information. You must do a separate export for each of the history functions.
To view and export Retention history:
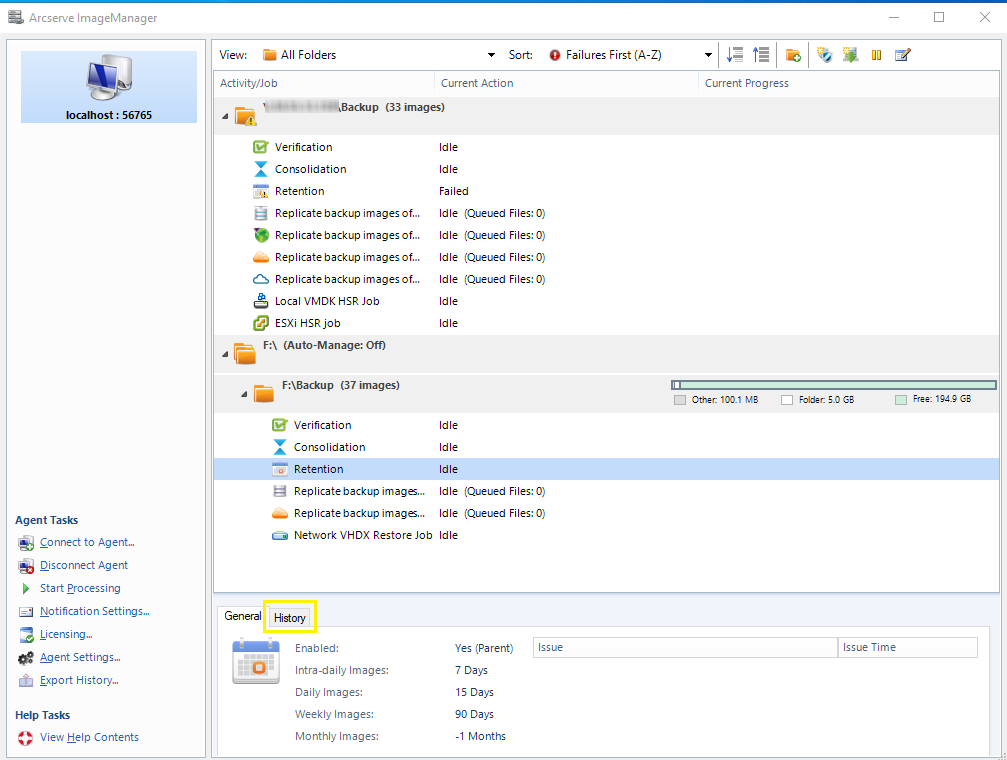
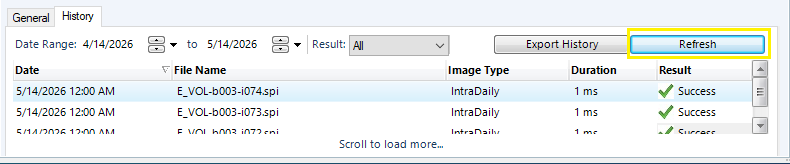
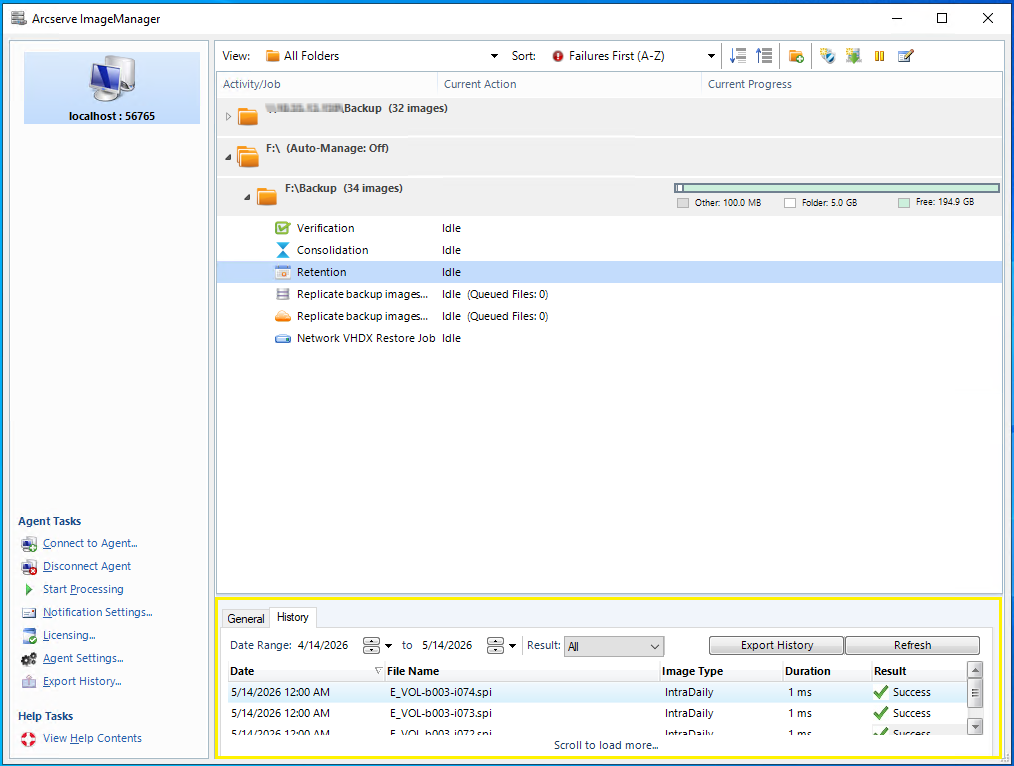
- Click the History tab to display the list of Retention history.
-
- Double-click any record in the History tab to open Retention History Details.
- The General tab for that record will be displayed by default.
-

- Click the Files tab to see the details of the files for that record.
-

- Click Close to return to the History tab.
- Select the start and end Date Range for the records.
- By default, the history includes records from the past month. You can adjust the date range to load records for any period.
-

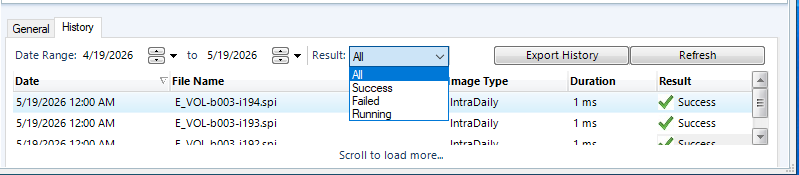
- Select the Result filter (All, Success, Failed, Running) to retrieve records matching the desired criteria.
-
- You can also scroll to load more to load more records into the History table.
-

- Columns in the History tab can be sorted on the basis of Date, File Name, Image Type, Duration or Result.
-
- Click Export History to download the history as a CSV or JSON file.
- The downloaded files can be used for auditing, troubleshooting, or reporting.
-
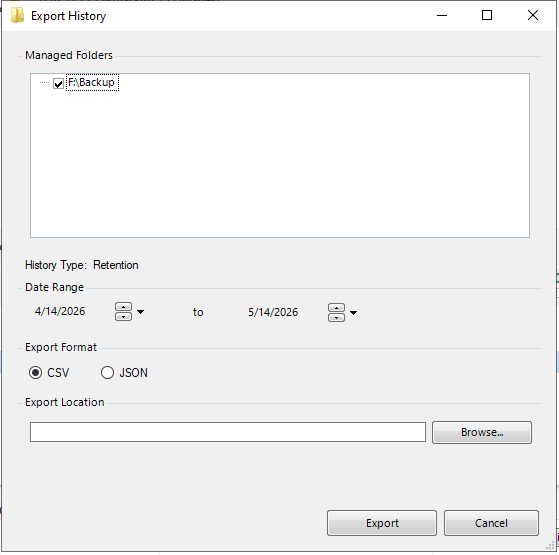
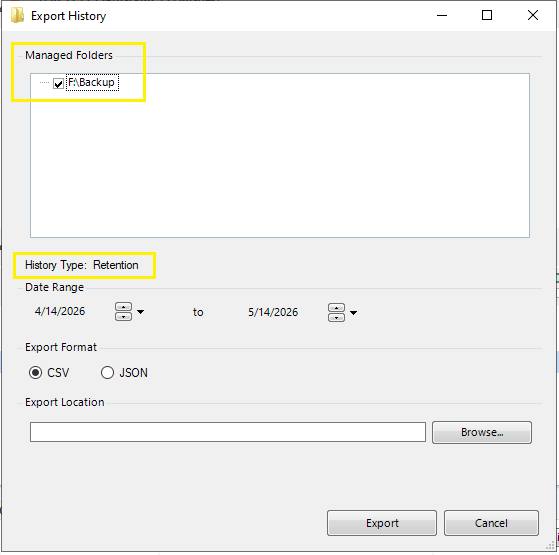
- The Managed Folder is pre-selected, and the History Type is predefined.
-
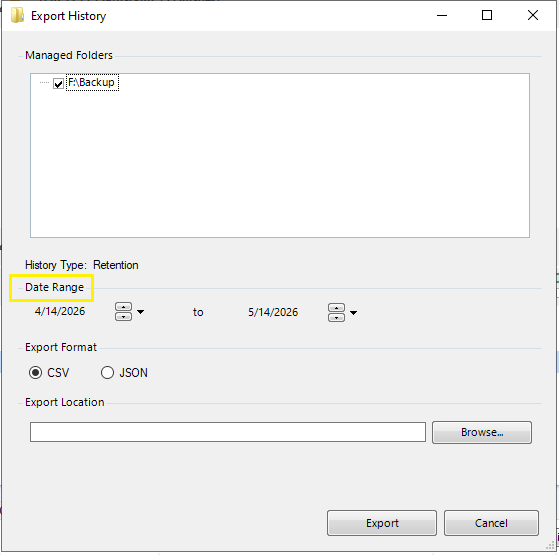
- Specify the start and end date for the export.
- By default, the export history includes records from the past month. You can adjust the date range to export data for any period.
-
- Select the export format (CSV or JSON).
- The CSV format is selected by default.
-
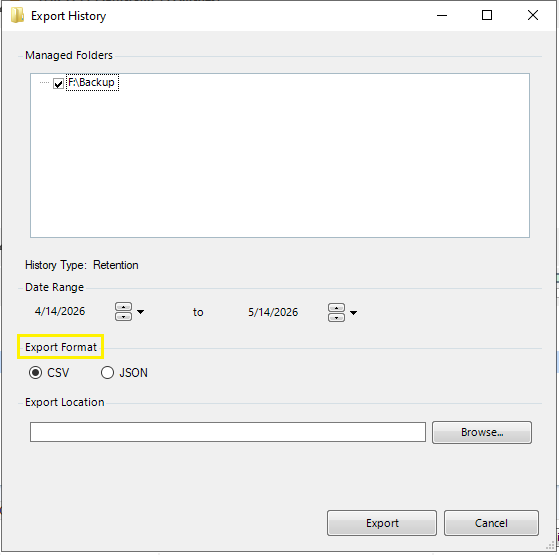
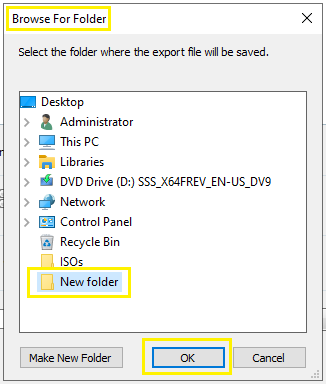
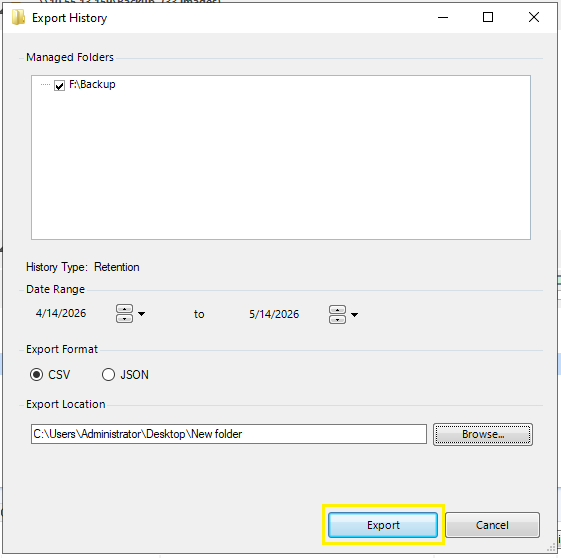
- Specify the destination path where the exported file will be saved.
- You can enter the path manually or click Browse to browse to a location.
-
-

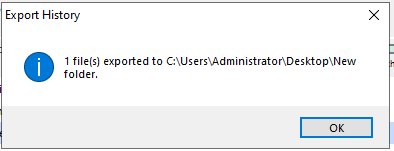
- Click Export to generate the history export file.
-
-
-

- Click the Refresh button if you want to refresh the History table.
-