Deploy RHA Virtual Appliance on AWS EC2
The RHA Virtual Appliance (VA) is a VM running on the virtualization platform or cloud where you want to replicate the Master servers. The VA acts as Replica in a High Availability Full System scenario. The Master server is replicated to this virtualization platform or cloud. However, the Disaster Recovery VM of Master server starts and runs on this virtualization platform or cloud for multiple reasons, such as Assured Recovery testing, Switchover, and Start VM.
Follow these steps:
- Log into Amazon Web Services as an IAM user.
- Under Find Services, search for EC2, and then select EC2.
-

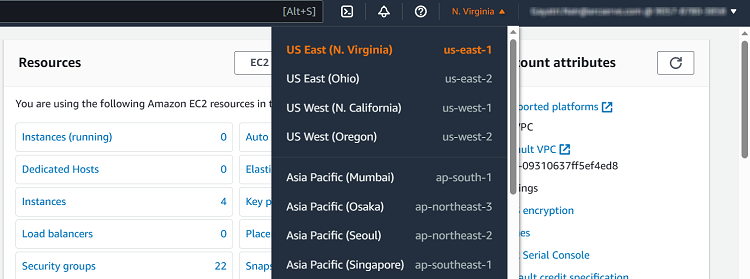
- On the top-right corner of the EC2 dashboard, select the AWS region in which you want to provision the EC2 server.
-
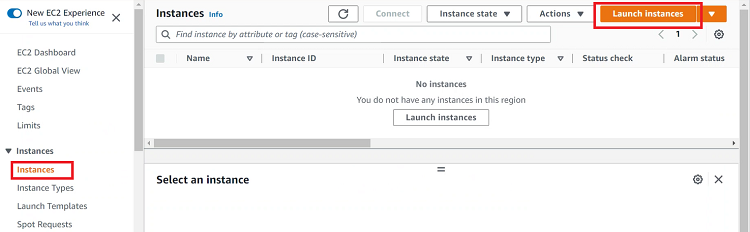
- On the left panel, go to Instances, and then click Launch instances.
-
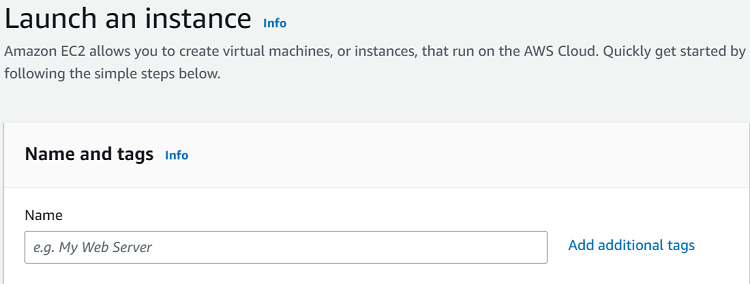
- Under Name and tags, type a name for your instance. To add tags, click Add additional tags.
-
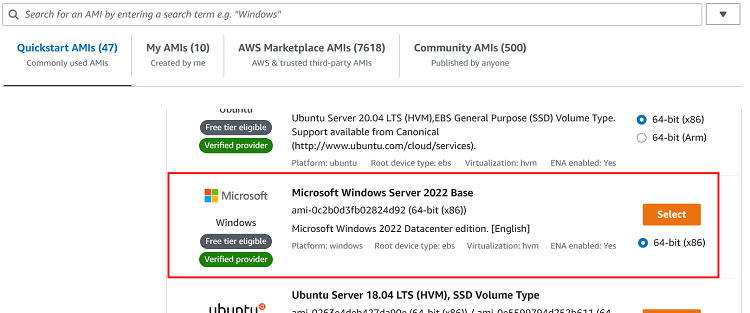
- For Application and OS Images (Amazon Machine Image), click Browse more AMIs, and then from the list of AMIs, click Select for Microsoft Windows Server 2016 Base.
-
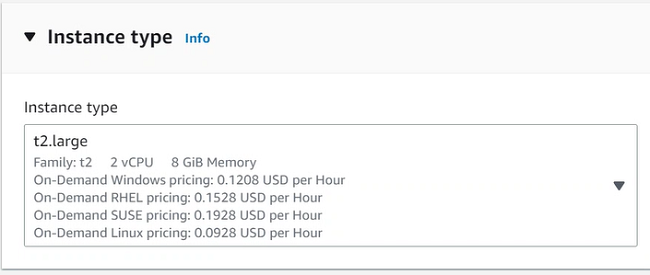
- For Instance type, from the Instance type drop-down list, select the instance type as needed.
-
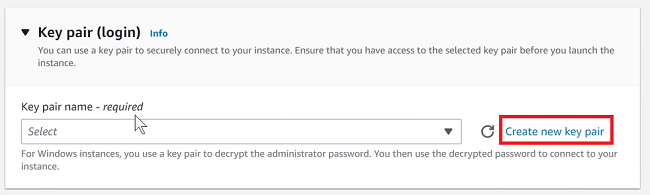
- For Key pair (login), click Create new key pair.
-
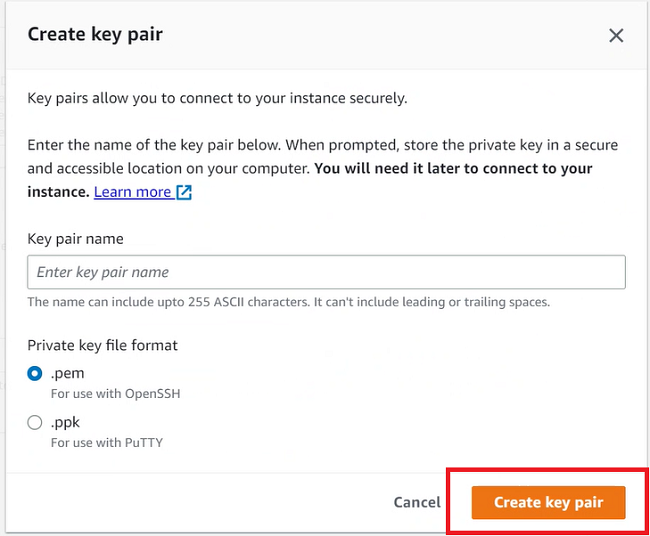
- On the Create key pair dialog, type a name for the key pair, and then click Create key pair.
-
- A new key pair gets downloaded.
- Note: To connect to your EC2 instance, we recommend you that download the key pair. If you launch your instance without a key pair, you cannot connect to your instance.
- For Network settings and Configure Storage, retain the default settings.
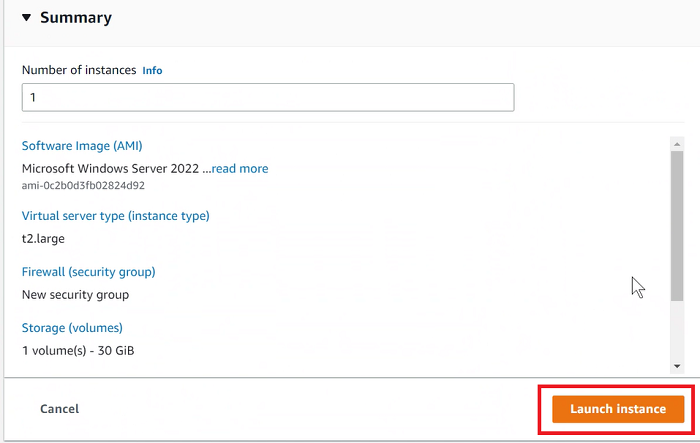
- For Summary, verify the information provided, and then click Launch instance.
-
- The EC2 instance gets launched successfully.
- On the launch status page, click the launch ID.
-

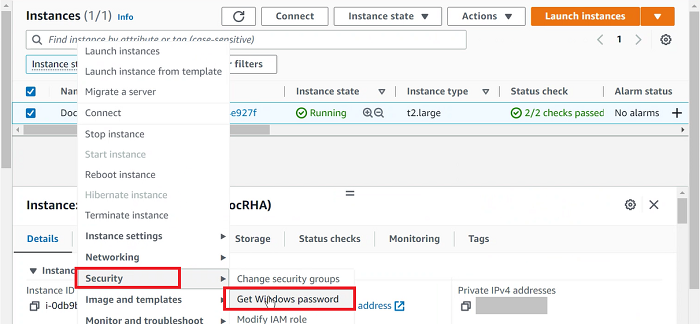
- To get the Windows password, right-click the instance, and then navigate to Security > Get Windows password. For more information, see How to Get Windows Password.
-
- To log into the EC2 instance via RDP, do the following:
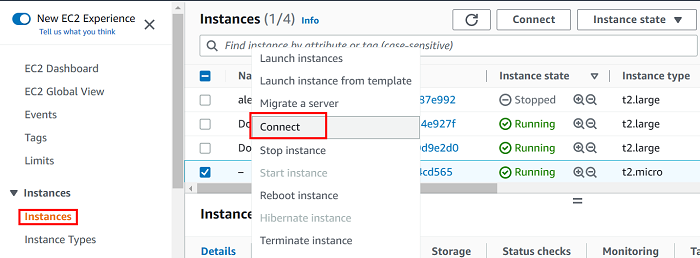
- On the left panel, go to Instances, right-click the instance that you have launched, and then click Connect.
-
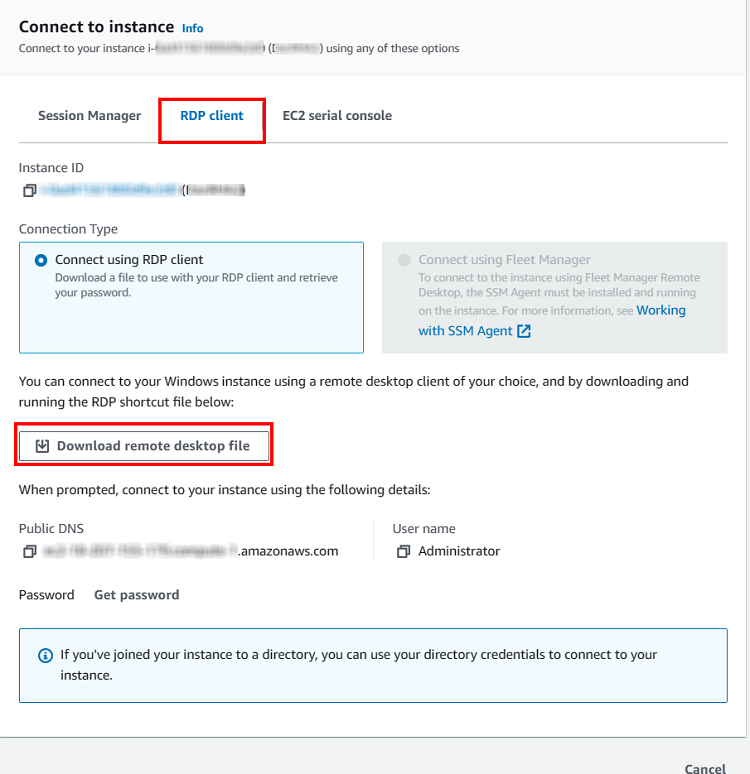
- On the Connect to instance page, under the RDP client tab, click the Download remote desktop file button, and then click Cancel.
-
- Double-click the downloaded file.
- The Remote Desktop Connection screen appears.
- Click Connect.
- The Enter your credentials screen appears.
- Enter the password you have copied to the clipboard, and then click OK.
- You are now logged into the AWS virtual machine (Instance).
Important! Copy and save the private key file in a safe place as you cannot download it later.