Adding and Configuring Connectors
Important: Global admin must be configured for O365 before setting up SaaS backup. See Preparing your Office 365 account : Help Center for details.
- Go to the Arcserve SaaS Backup page and sign in.
- Important: This step needs to be done in Incognito mode.
-
- Important!Before you set up your connectors, turn off your old CloudBackup seats. See Decommissioning Older Arcserve CloudBackup Solutions for details.
- Click +Add connector.
-
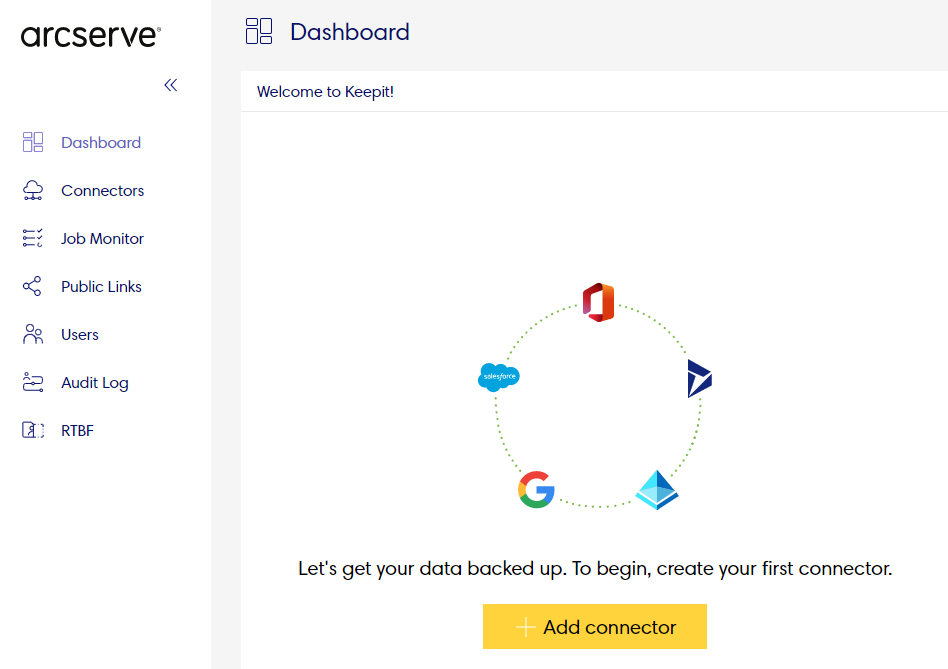
- This displays the list of available connector options.
-
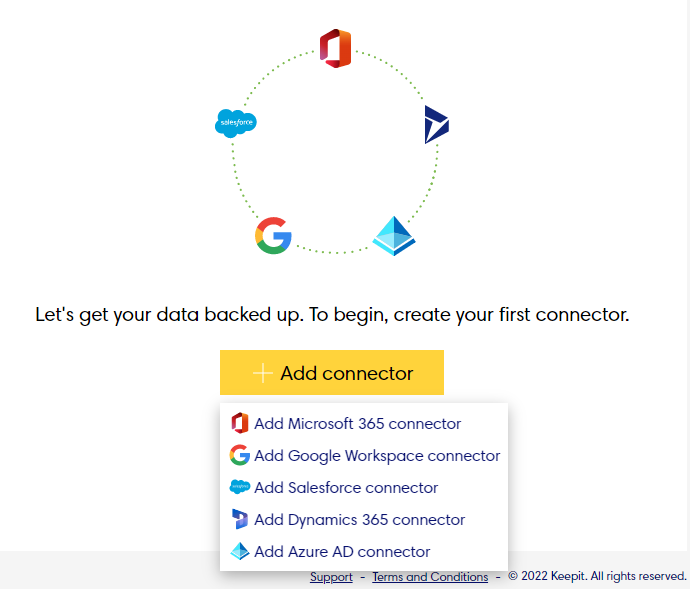
- Select the connector you want to add.
- The Microsoft 365 connector is used in this example.
-
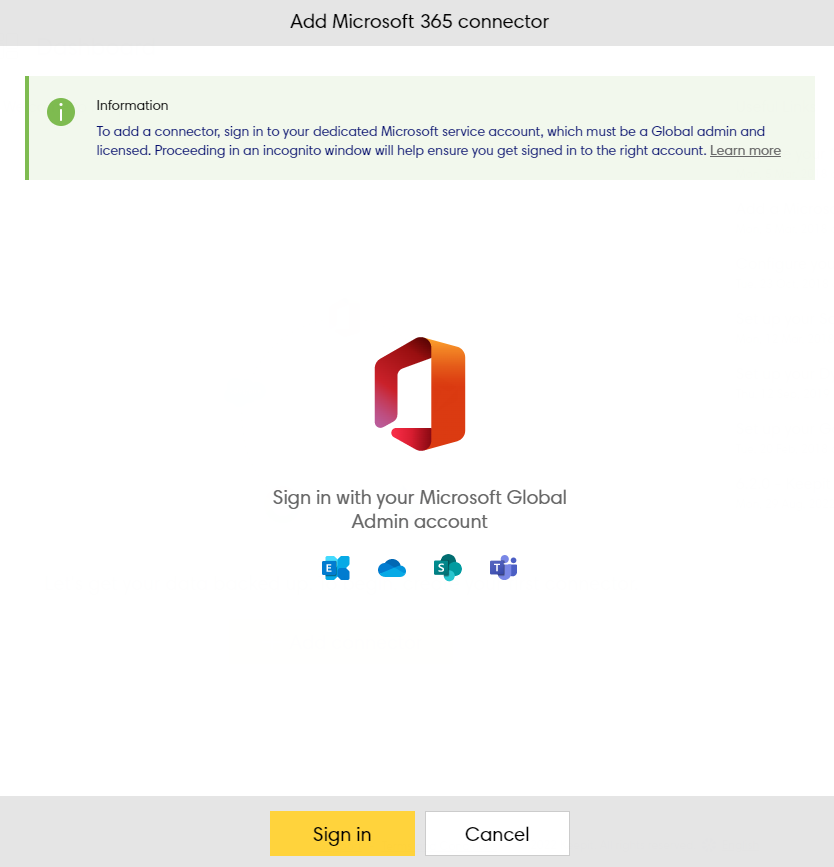
- Click Sign in.
- Click Next.
- This redirects you to the Microsoft sign-in page.
- If you are not signed-in, use your global admin account that you will use for backups.
- Read through the permissions and accept the agreement.
- Arcserve SaaS Backup requires permissions to access users and user details to back them up. Arcserve SaaS Backup only asks for permissions when you first create a connector or re-authenticate.
- Accepting the agreement redirects you back to Arcserve SaaS Backup where you can configure your backup.
- See Configure your Microsoft 365 backup for configuration details.
- After configuring your backups, click Save to start your first backup.
- When all steps are complete, the connector will be displayed in the Connectors window:
-
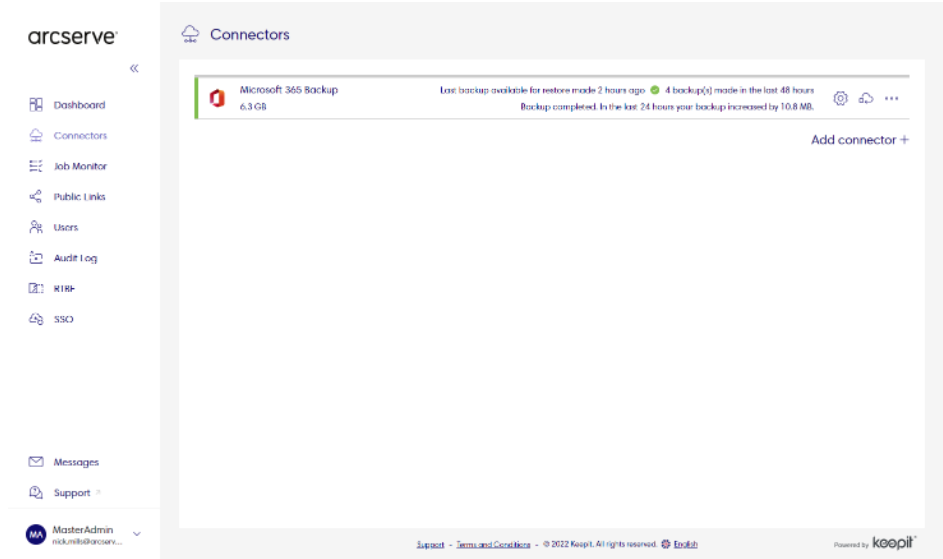
- See the KeepIt video examples at the bottom of these articles Add a Microsoft 365 connector and Configure your Microsoft 365 backup if you need additional clarification.