Windows Quick Start
To install SPX and create a continuous backup job on a Windows system, follow these steps:
- Create a backup folder to act as a destination for backup image files. This destination can be an:
- External hard drive
- NAS system on the same network
- Backup/Disaster Recovery (BDR) device/server
- Note: SPX can use any volume that is not part of this backup job as a backup file destination
- Download and run the SPX Windows installer from the Arcserve website.
- Follow the onscreen prompts to install and activate SPX.
- Login into as a Local Session using Windows credentials for a member of the Local Admin group.
- In the SPX interface, click on the Destinations icon to create a backup destination folder on a local or network storage device.
- Note: If the destination is a network device, create a local mount point for the device first, then define it in Destinations.
- Click Add.
- Browse to and select the destination volume and folder.
- Specify a name for the destination folder, then click Save > Done.
- To create the backup job, click the New Job icon in the SPX interface.
- Specify a name for the new job.
- Select its backup file destination folder from the dropdown list.
- Select which volumes to backup from the list.
- Select the Schedule tab.
- Select the Continuous schedule type and adjust the backup times as needed. (A Continuous schedule provides a full backup as a base, then performs incremental backups at the specified times to capture changes to the volume. The default is to run a backup every hour to capture any changes to the volume.)
- Click Save.
- SPX begins the new backup job.
- Note: If SPX does not detect a consolidated image within seven days, a warning will be posted in the job details pane.
-
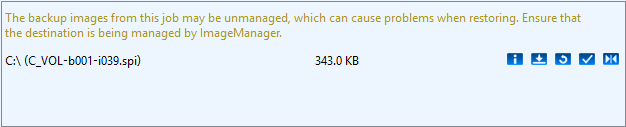
- Note: A continuous incremental job requires the use of ImageManager to monitor and consolidate the backup files in the destination folder. Without such management, the size of the backup chain will grow beyond the ability of most systems to properly handle a restore procedure. For more information on using ImageManager, see the Arcserve ImageManager User Guide.