Mounting a VM Manually
Once you use VirtualBoot to create the VM and later dismount it, you can use VirtualBox to manually mount the VM later on. Arcserve strongly recommends using the automated VirtualBoot process instead.
Note: The following task is based on VirtualBox v 4.2.4. Task details might vary slightly with different versions of VirtualBox.
To manually create a virtual machine:
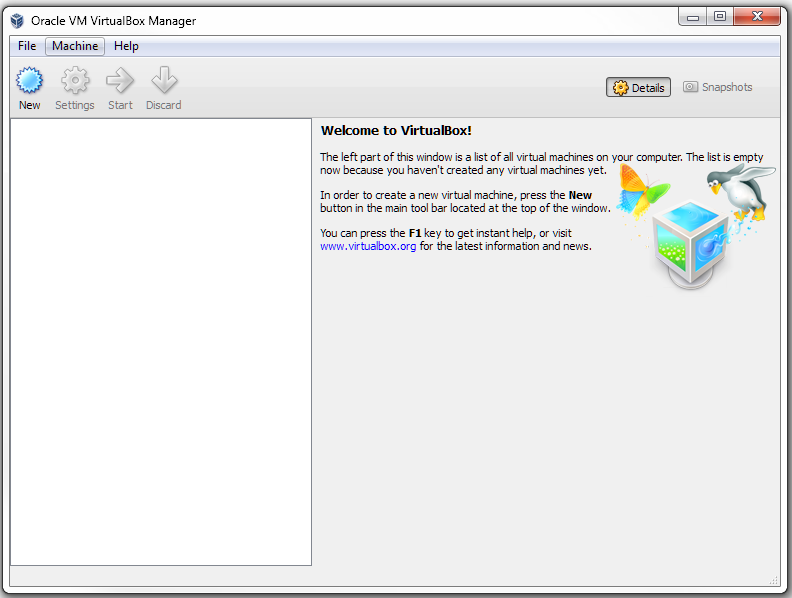
- Launch VirtualBox.
- If the VM exists in the list at the left, select it and click Start.
- If the VM does not exist in the list, click New from the menu bar. VirtualBox launches the Create Virtual Machine wizard.
- Enter a name for the VM.
- Select the Guest OS and version.
- Click Next.
- Specify the amount of RAM.
- Select Do not add a virtual hard drive and accept the caution. VirtualBox creates the VM.
- Select the VM from the list. Click Storage in the specifications section to the right. VirtualBox displays the Storage Settings dialog.
- Click the Add Hard Disk icon. VirtualBox asks if you want to add a disk.
- Click Choose existing disk.
- Navigate to the .XSP file for use with this VM. Typically this is in the same folder with the volume's image files. (VirtualBoot virtual hard disk files have a .xsp extension. These XSP files contain lists of the backup image files that constitute the virtual hard drive used by the VM.)
- Click OK to accept the disk configuration.
- Select the new VM from the list.
- Click Snapshots in the upper-right of the VirtualBox Manager.
- Click the Take a Snapshot icon at the upper-left of the Current State dialog.
- Enter a name and description for this snapshot. Click OK. VirtualBox takes a snapshot of this VM.
- Right-click the VM in the list. Click Start. VirtualBox runs the VM.
Once created, you can start the VM manually from VirtualBox at any time by selecting it from the list and clicking Start.