Configuring The Network
Follow these steps
- If you are using the Solo's built-in WiFi, open the Solo CentOS Cockpit window by going to 10.137.157.1:9090 in your browser.
- Alternately if you are using DHCP: Find the IP address assigned to your device and access port 9090 via https. For example if your full IP address is 192.168.1.100, you would use 192.168.1.100:9090.
-
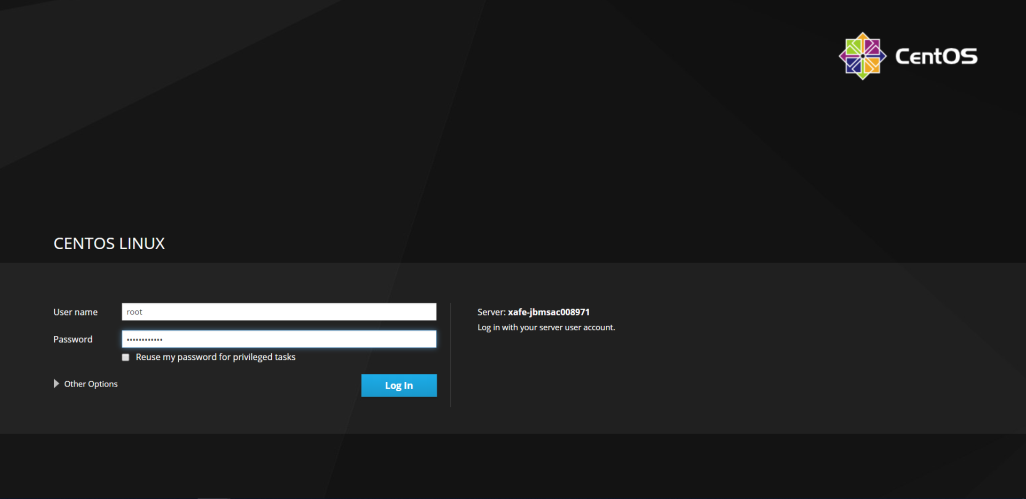
- Enter the user name root and the password. Contact Arcserve Support for the password to your device.
- Click Network in the left-side menu in the Cockpit.
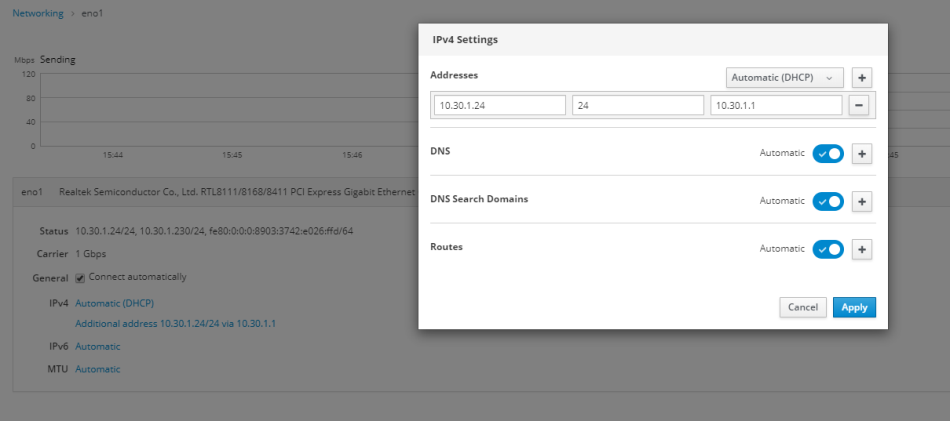
- Click the blue Automatic (DHCP) link to the right of the IPv4 heading.
- This displays the IPv4 Settings window.
- Add a Static IP Address:
- In the IPv4 settings window click the Addresses drop down button (labeled Automatic (DHCP) in the image above.
- Select Static IP, then click the + button.
- Enter the static IP address you want to use, and other information, then click Apply.
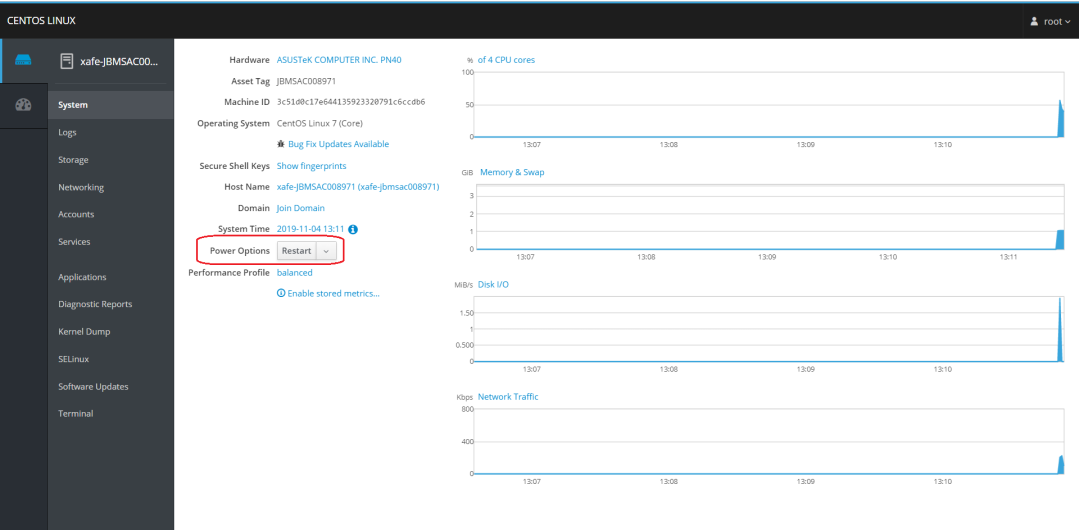
- Click Restart (under the Power Options on the System page). The Solo needs to be restarted for the changes to take effect.
-