Configure IAM Granular Permissions for Service Accounts with Google Cloud Data Store
This section explains the steps and API permission policy required for Google Cloud data store to work. These permissions help you to perform the actions required for Google Cloud data store. Using this procedure, you can help a Service account get control of and interact with the GCP APIs required to use GCP cloud as a data store.
The most important step here is to create a service account at the project level, create a custom role, and then associate it to the service account. A role contains a set of permissions that allow the APIs to perform specific actions on Google Cloud resources. The service account and custom role must be created under the project where Arcserve UDP agent is to be installed on the VSB Cloud proxy.
You can use Google Console to create this account and assign the required permissions.
Follow these steps:
- Log into Google Cloud Console as an admin.
- On the Welcome screen, click Create or select a project.
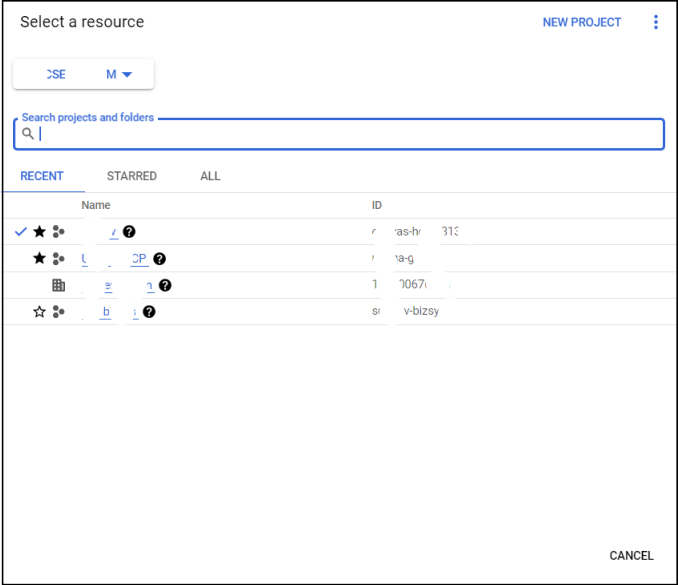
- On the Select a resource screen, do one of the following:
- From the list of existing projects, choose the project in which your buckets are created.
- If you do not have an existing project or want to create a new one, do the following:
- Click the New project button located in the upper-right corner.
-
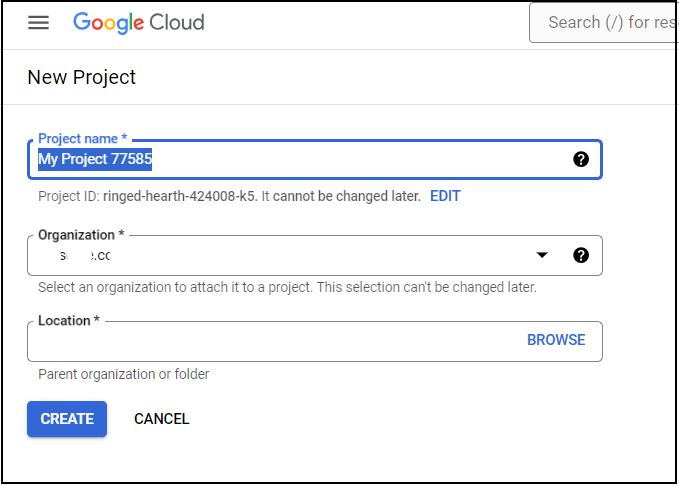
- Type the following details, and then click Create:
- Project name: Type a name for your project. Project names must start with a letter and may contain letters, numbers, and hyphens.
- Organization: If your Google Cloud account is associated with an organization, select the appropriate organization from the drop-down list.
- Location: The location specifies the Google Cloud resource hierarchy node under which the new project will be created.
- The project gets created and listed in the table.
- Open the required project.
- Verify that the desired project dashboard is shown after the project is selected.
- For the Google Cloud Data Store to be successful, , the Cloud Storage API must be enabled for the project. To enable APIs, follow these steps:
- In the project dashboard, from the Navigation menu at the top-left corner, go to API & Services > Enable APIs & Services.
- In the Search box, enter Cloud Storage API, and from the table, select the API and if not already enabled, click Enable API.
- Click the Activate Cloud Shell icon
 at the top-right corner of Google Console.
 - A Cloud Shell Terminal opens at the bottom as shown below.
-
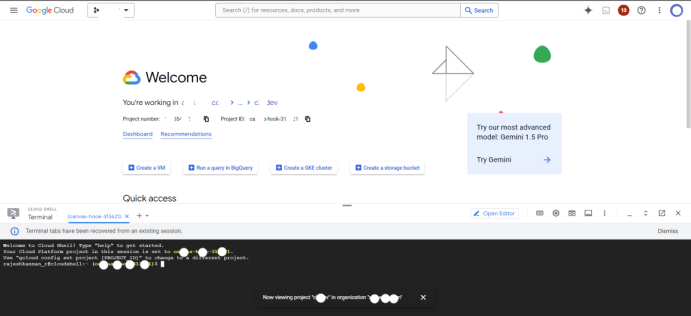
- Validate if the shell is set to the desired project. If it is not set, use the “gcloud config set project [project ID]” command to set the desired project.
- Copy the following command to a notepad, edit the ROLE_NAME to the desired value, then copy the entire command from the notepad file, paste it in the Cloud Shell Terminal prompt and press the Enter key.
- The command will ask for authorization. Type Y to authorize the command, and then press the Enter key.
- This command creates a custom role in the project called ROLE_NAME (example: udpvsbroles or UDPVSBRroles1) with the permissions to create and manage instances. Full name of the role is listed as output of the above command and is in the following format:
- After the custom role is created, close the Cloud Shell and return to the project dashboard.
- From the left navigation menu, go to IAM & Admin, and then select Roles.
-
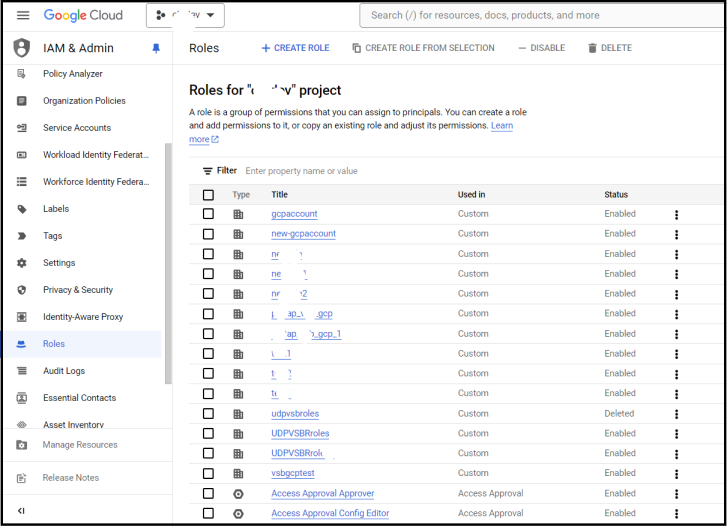
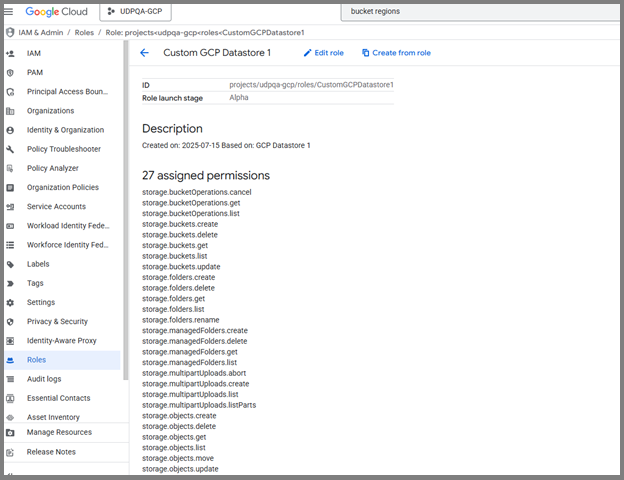
- Verify if the role you just created in Cloud Shell in the previous steps is listed here.
- Click the role and verify if all the permissions are listed.
gcloud iam roles create ROLE_NAME --project=$(echo $DEVSHELL_PROJECT_ID) --permissions=storage.bucketOperations.cancel,storage.bucketOperations.get,storage.bucketOperations.list,storage.buckets.create,storage.buckets.delete,storage.buckets.get,storage.buckets.list,storage.buckets.update,storage.folders.create,storage.folders.delete,storage.folders.get,storage.folders.list,storage.folders.rename,storage.managedFolders.create,storage.managedFolders.delete,storage.managedFolders.get,storage.managedFolders.list,storage.multipartUploads.abort,storage.multipartUploads.create,storage.multipartUploads.list,storage.multipartUploads.listParts,storage.objects.create,storage.objects.delete,storage.objects.get,storage.objects.list,storage.objects.move,storage.objects.updateprojects/PROJECT_ID/roles/ROLE_NAME
After the roles are created, you must associate this role to a Service account user. For more information, see Create a Service Account and Private Key.