Verify Summary
This is the final step for creating the ad-hoc standby VMs. This section provides information about how to verify summary, and adjust the bootup sequence.
The Summary screen displays the list of selected nodes with details such as Node Name, VM Type, StandBy VM Name, Hypervisor Type, Host, Source RPS, and Bootup Sequence. You can verify the details and prioritize the VMs in the order you want to boot.
Follow these steps:
- On the Summary (Step 4 of 4) screen, review the details specified for creating an Ad-hoc Standby VM.
-
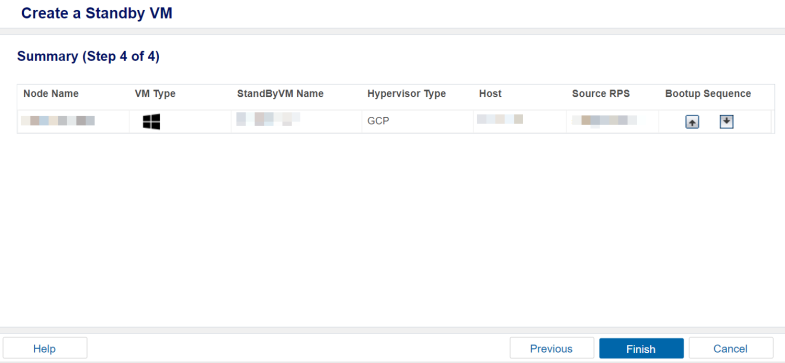
- From the list of nodes, on Bootup Sequence of each node, click the up or down button to prioritize the VM’s bootup sequence.
- Click Finish.
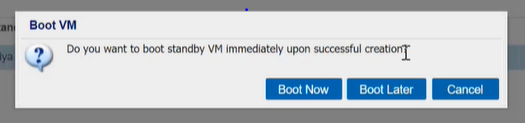
- The Boot VM dialog appears.
- On the Boot VM dialog, select one of the following options:
- Boot Now: The ad-hoc standby VM gets powered on immediately.
- Boot Later: The ad-hoc standby VM gets powered on later.
- Notes:
- If you select the Boot Now option, you need to manually Power-Off or delete the Standby VM from the corresponding hypervisor portal.
- As you cannot manage Ad-hoc VSB on Arcserve UDP console, you must select the Boot Now option if you want to automatically install the VMware tools and Hyper-V Integration Service into the Standby VM.
- If you select the Boot Later option, you need to manually Power-On the Standby VM from the corresponding hypervisor portal.
- Additionally, the VMware tools and Hyper-V Integration Service cannot be installed into the Standby VM automatically.
-
- The Ad-hoc Virtual Standby Machine is created and deployed successfully.