Add an Arcserve Cloud Account for Arcserve Cloud Storage
This section provides information about how to add an Arcserve cloud account to copy files or recovery points to Arcserve cloud storage.
Note: For Arcserve Cloud Storage and Arcserve Cloud Cyber Resilient Storage to work properly, ensure TCP outbound ports 80 and 443 are open. For more information, see Ports and Domains for Arcserve Cloud Storage and Arcserve Cloud Cyber Resilient Storage.
Follow these steps:
- Log into the Arcserve UDP Console , and click the Resources tab.
- From the left pane, navigate to Destinations, and click Cloud Accounts.
- The Destinations: Cloud Accounts screen appears.
- Click Add a Cloud Account.
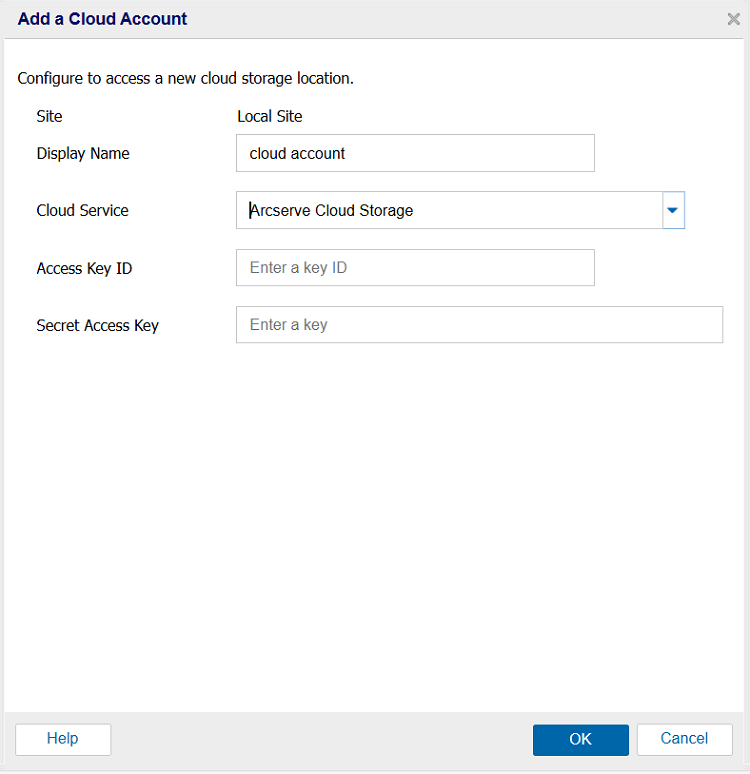
- The Add a Cloud account dialog appears.
- For Display Name, provide a unique name.
- Display Name specifies the name of the cloud storage. This name will be added to Console for identifying the cloud account. Each cloud account must have a unique display name.
- From the Cloud Service drop-down list, select Arcserve Cloud Storage.
- Enter details in the following fields to configure, and then click OK:
- Specifies password of the corresponding user's Arcserve Cloud account that is registered with Arcserve.
-
- To verify connectivity, right-click the newly created cloud account and select Test Cloud Connection.
-
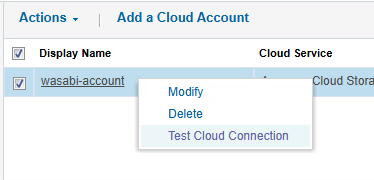
- The Arcserve Cloud account is successfully added.
Access Key ID
Identifies the user who is requesting access to this location.
Secret Access Key
Refers to a password that is used to verify the authenticity of the request to access this location because your Access Key is not encrypted.
Important! This Secret Access Key is crucial for maintaining the security of your accounts. For information about how to get the Access Key ID and Secret Access key, see Creating an Access Key ID and Secret Access Key for Arcserve Cloud Storage. You must keep your keys and your account credentials in a secure location. Do not embed your Secret Access Key in a web page or other publicly accessible source code and do not transmit it over insecure channels.
Proxy Settings
Specifies the proxy server settings. To enable this option, select the Connect using a proxy server check box. For more information about how to configure the proxy server details, see Configure Proxy Settings.