Add a Cloud Account for Google Cloud Compute
Add a Google cloud compute account to copy files or recovery points to cloud storage. You can use this account to create tasks for How to Create a Virtual Standby to Google Cloud Plan.
Note: Use a supported browser as described in the Compatibility Matrix to add a cloud account. For detailed information, see Compatibility Matrix.
Follow these steps:
- Log into Arcserve UDP, and click the resources tab.
- From the left pane, navigate to Destinations, and click Cloud Accounts.
- The Destinations: Cloud Accounts page displays in the center pane.
- Click Add a Cloud Account.
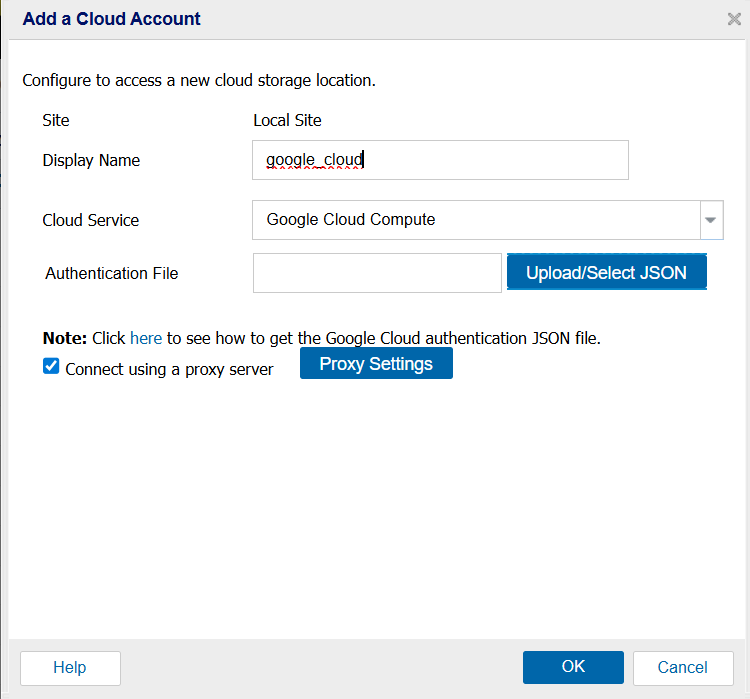
- The Add a Cloud Account dialog appears.
- Specify the following details, and then click OK.
-
- The cloud account is added to the Console.
Display Name
Refers to the unique display name for your Google Cloud Compute account.
Cloud Service
Refers to the cloud service. From the drop-down list, select Google Cloud Compute.
Authentication File
If you already have a valid Google Cloud authentication JSON file, click Upload/Select JSON, navigate to the location where the JSON file is saved, select the JSON file, and then click Open.
If you do not have a Google Cloud authentication JSON file and want to create a new file, see Create a Service Account and Private Key.
Connect using a proxy server
Select this option to connect the Google Cloud using a proxy server that has internet connection.
Proxy Settings
Click Proxy Settings if the Connect using a proxy server check box is selected.
Proxy Settings window appears. Enter the following details and click OK.
Proxy Server
Specifies the IP address of the proxy server.
Port
Specifies the port number that is open in the proxy server.
Proxy server requires authentication
Select this option if you want the access to proxy server must require authentication.
User Name
Specifies user name that has access to proxy server.
Password
Specifies password of the corresponding user's account that has access to proxy server.