Specify the Recovery Point
Each time that you perform a backup, a recovery point is created. Specify the recovery point information in the Restore Wizard so that you can recover the exact data that you want. You can restore specific files or all files depending on your requirement.
Follow these steps:
- Access the Restore Wizard in one of the following ways:
- From Arcserve UDP:
- Log into Arcserve UDP.
- Click the resources tab.
- Select All Nodes in the left pane.
- In the center pane, select the node and click Actions.
- Click Restore from the Actions drop-down menu.
- Select the restore type and click OK.
- From Arcserve UDP Agent (Linux):
- Open the Arcserve UDP Agent (Linux) web interface.
- Click Restore from the Wizard menu and select Restore File.
All the added nodes are displayed in the center pane.
The Arcserve UDP Agent (Linux) web interface opens. The restore type selection dialog is displayed in the Agent UI.
Note: You are automatically logged in to the agent node and the Restore Wizard opens from the agent node.
Note: During the installation of Arcserve UDP Agent (Linux), you received the URL to access and manage the server. Log in to Arcserve UDP Agent (Linux).
Restore Wizard - File Restore opens.
You can see the Backup Server in the Backup Server page of the Restore Wizard. You cannot select any option from the Backup Server drop-down list.
- Click Next.
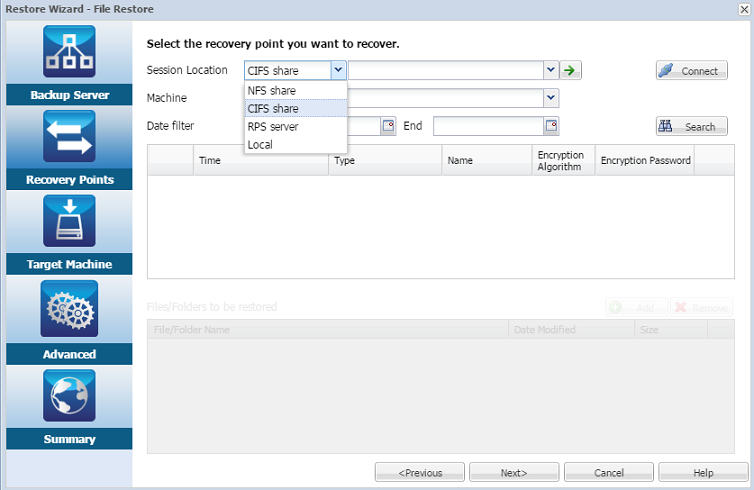
- The Recovery Points page of the Restore Wizard opens.
- Select either a CIFS share or RPS server from the Session Location drop-down list.
- Note: You cannot select NFS share or Local for restoring host-based agentless backup sessions.
- Follow one of the following steps depending on your session location:
- For CIFS share
- Specify the full path of the CIFS share and click Connect.
- Specify the username and password to connect to the CIFS share and click OK.
- All the machines are listed in the Machine drop-down list and an RPS button appears beside Machine.
- Select the machine from the drop-down list and click RPS.
- The Recovery Point Server Information dialog opens.
- Provide the RPS details and click Yes.
- The dialog Recovery Point Server Information closes. All the recovery points from the selected machine are displayed below the Date Filter option.
- For RPS server
- Select RPS server and click Add.
- The Recovery Point Server Information dialog opens.
- Provide the RPS details and click Load
- Select the data store from the drop-down list and click Yes.
- The Recovery Point Server Information dialog closes and you see the wizard.
- Click Connect.
- All the machines are listed in the Machine drop-down list.
- Select the machine from the drop-down list.
- All the recovery points from the selected machine are displayed below the Date Filter option.
- Apply the date filter to display the recovery points that are generated between the specified date and click Search.
- Default: Recent two weeks.
- All the recovery points available between the specified dates are displayed.
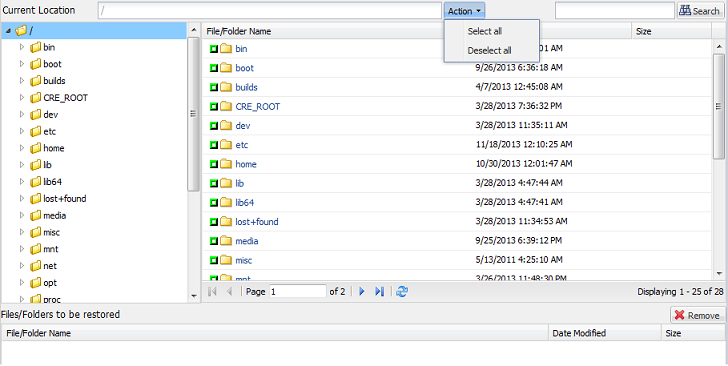
- Select the recovery point that you want to restore and click Add. If the recovery point is encrypted, enter the encryption password to restore data.
- The Browse-<node name> dialog opens.
-
- Note: For some complex disk layout, the file system is shown by the device file. The change in the file system display behavior does not affect the function of host-based Linux VM file-level restore. You can browse the file system under the device file. Also, you can use the search function to search specific file or directory.
- Select the files and folders that you want to restore and click OK.
- Note: If you try to locate a file or folder using the Search field, ensure that you select the highest folder in the hierarchy. The search is conducted on all the child folders of the selected folder.
- The Browse-<node name> dialog closes and you return to the Recovery Points page. The selected files and folders are listed under Files/Folders to be restored.
- Click Next.
- The Target Machine page opens.
Important! If you have opened the Wizard from the Console, the session location and machine details are automatically displayed. You can skip to Step 5.

Important! If you see the warning message, "The files/folders are displayed under device file. Click for more information." on the Console, refer the following Note for resolution.
The recovery point is specified.