Create Plan to Backup the Linux Backup Server
In the Arcserve Appliance, you can configure the Linux Backup Server to backup.
Follow these steps:
- From Arcserve UDP Console, click the resources tab.
- Click All Nodes in the right pane.
- From the center pane, click Add Nodes.
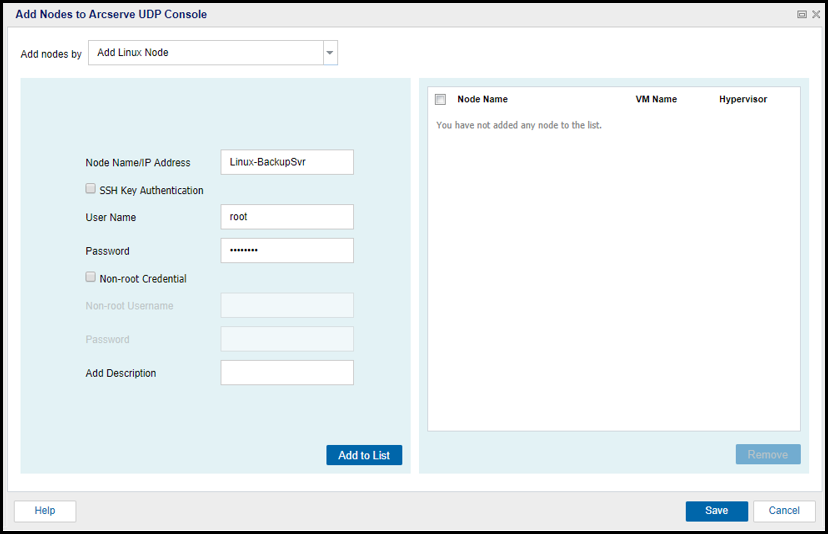
- From the Add Nodes by drop-down list, select Add Linux Node.
- Provide the node credentials and click Add to List.
- Click Save.
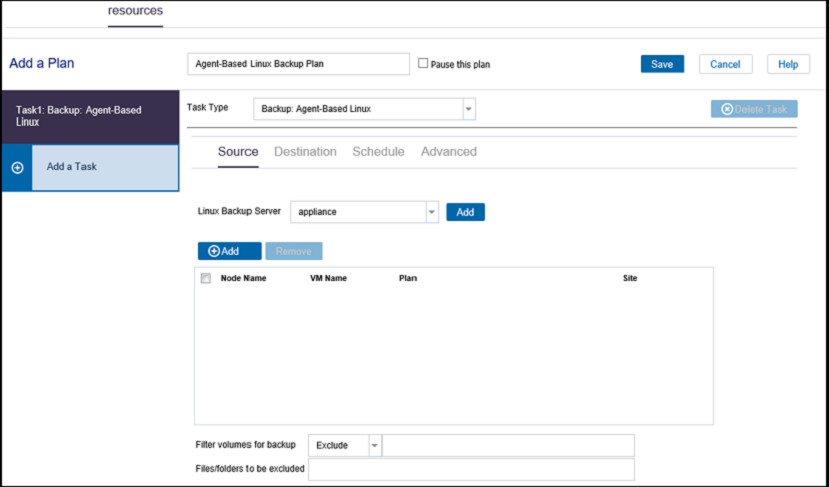
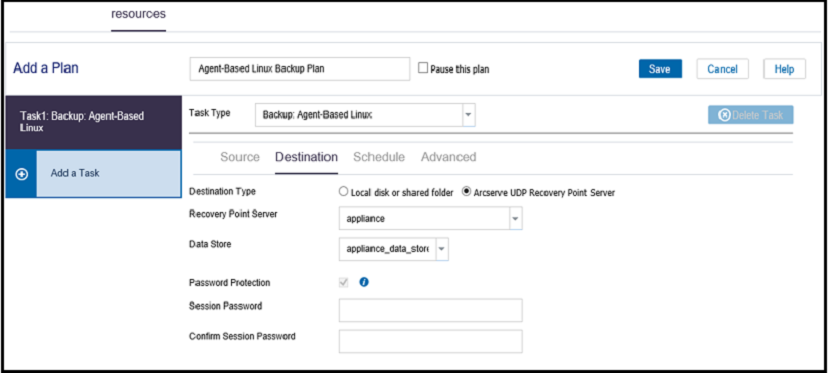
- Navigate to All Plans and create an Agent-based Linux plan.
- From the Add drop-down list, select Select Nodes to Protect in Arcserve UDP.
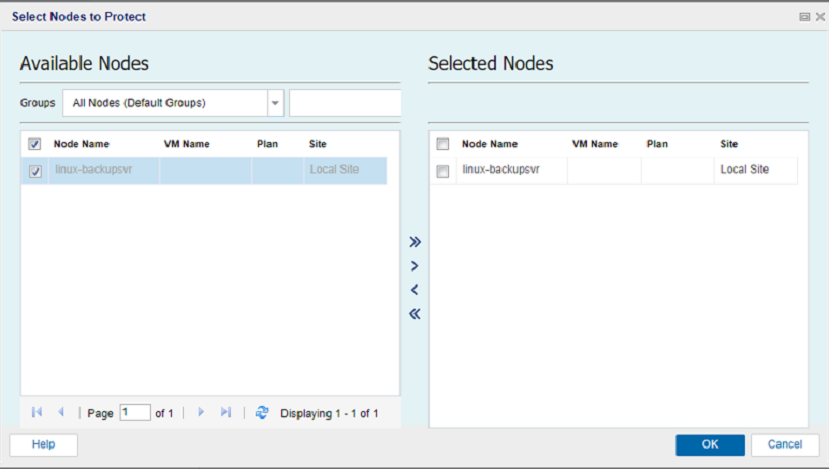
- Protect the added Linux node and click OK.
- The default destination displayed is the datastore created using Appliance wizard. Select Local disk or shared folder to backup the node if required.
- After providing the settings related to plan, click Save.
The Add Nodes to Arcserve UDP Console dialog opens.
The added Linux node is displayed in the All Nodes list.

The Source tab appears.
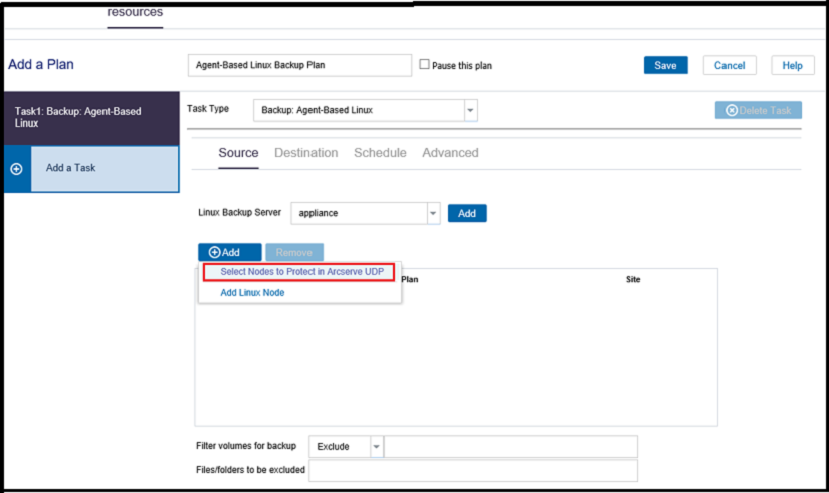
The Select Nodes to Protect dialog opens.
The Destination tab appears.
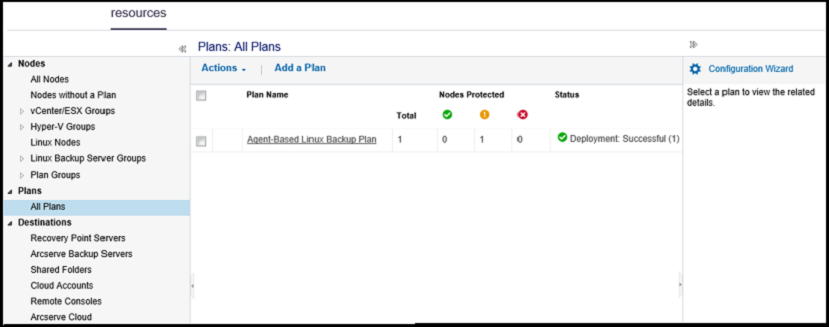
You can perform backup for the added Linux Backup Server successfully.