How to Configure Network Settings for Arcserve Appliance
To manage the Arcserve Appliance, the first step is to have the appliance in your network. For that, you need to assign a hostname to the appliance and then configure network ports.
Follow these steps:
- After you power on the appliance, the Settings screen for the Microsoft License terms opens. Read and accept the terms.
- The UDP End User License Agreement dialog opens.
- Read and accept the license agreement and click Next.
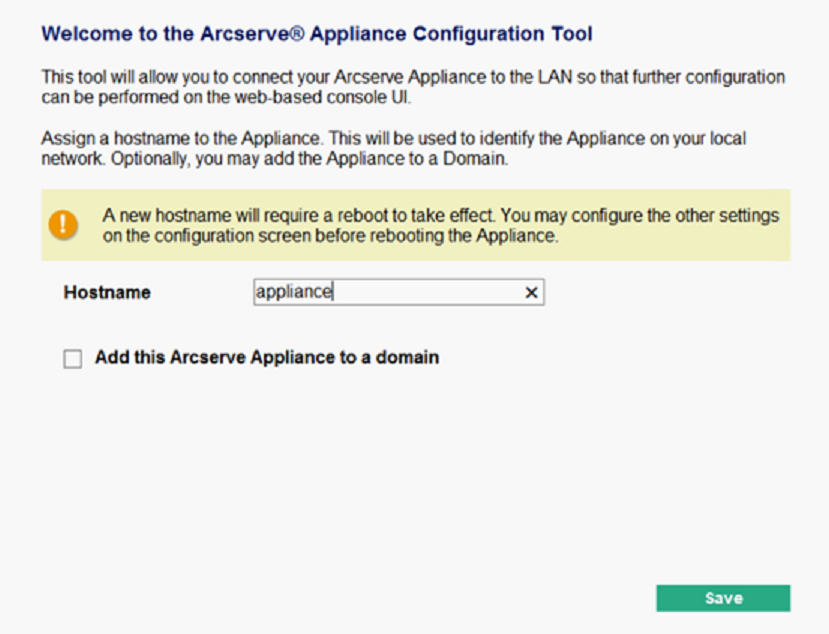
- Welcome to the Arcserve Appliance Configuration Tool screen appears.
- Enter the following details:
- Note: To apply a new hostname, you need to restart the appliance. You can choose to reboot the appliance now or after you configure the network settings. After you reboot the appliance, you can access the appliance from any other machine using the URL - https://<hostname>:8015.
- Click Save.
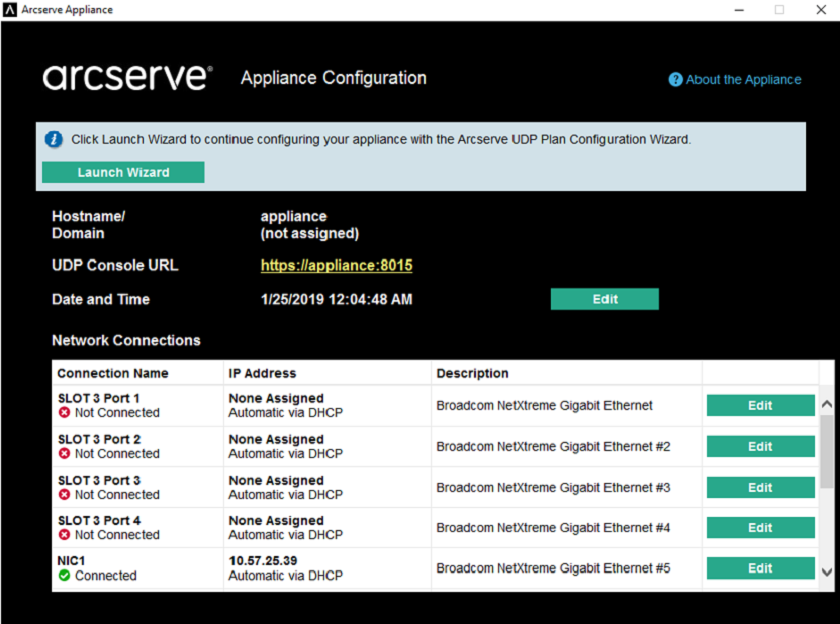
- The following dialog opens. By default, Arcserve UDP discovers all network connections in a network. If some connections are not assigned, then manually edit and specify the connection details.
-
- To edit a network connection, click Edit from the Network Connections box.
- The Network Connection dialog opens.
-
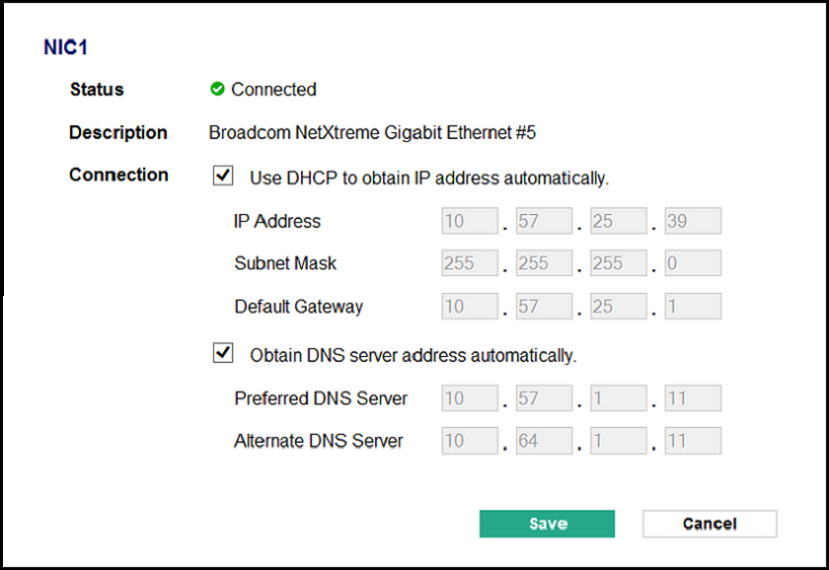
- Modify the IP address, subnet mask, and default gateway values as required and click Save.
- Note: Optionally, you can also modify the hostname, domain, date, and time.
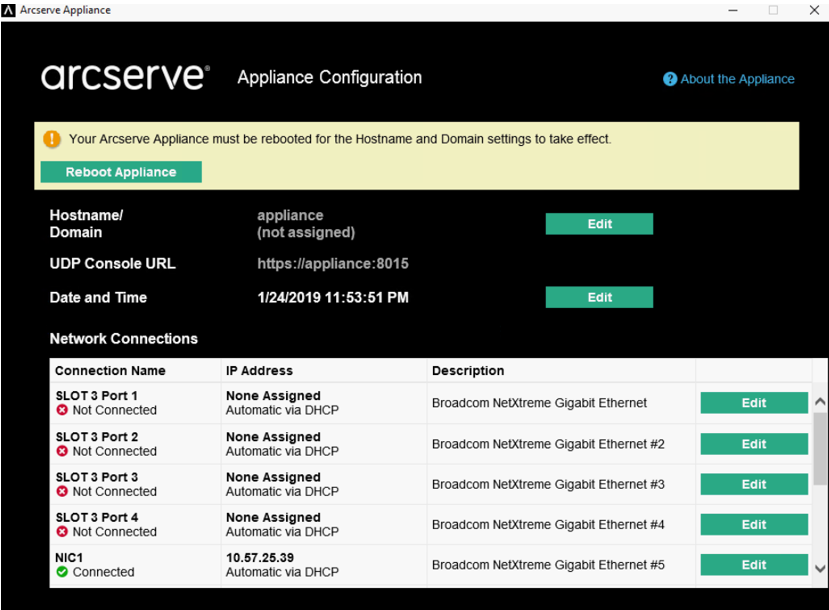
- Important! Check if any script such as acrun.bat is running in command prompt. Before proceeding with the reboot, make sure to wait for this script to be completed.
- To apply the changes, click Reboot Appliance to restart the appliance.
- The appliance restarts with a new hostname. After restarting, the Login screen opens.
- Enter the user name and password and click Enter.
- The Arcserve Appliance Configuration screen appears.
- When the appliance configuration screen reopens, click Launch Wizard.
Hostname
Enter a host name for the appliance. Assigning a name helps identify the appliance on your network.
Add this Arcserve Appliance to a domain
Select the check-box to make your appliance a member of a domain in your network. Specify the values in Domain, Username, and Password fields that are displayed when the option is selected.