How to Associate an Application ID with the Subscription ID
Previously, Microsoft required you to submit a form and provide the subscription ID to get access to the Protected APIs. Now, this process is automated and you can use an Azure application instantly.
For the automatic approval of Protected APIs from Microsoft, you need to associate an Azure application and Azure subscription.
To access metered APIs and services in Microsoft Graph, the application registered in the Azure Active Directory must be associated with an Azure subscription. For more information on metered APIs and services, see Enable metered APIs and services in Microsoft Graph - Microsoft Graph | Microsoft Learn.
If you do not link the Azure application with the subscription, the billing mode of a request gets converted into evaluation mode even though Arcserve has specified Model-B. Using the evaluation mode, you can only backup up to 500 messages per application per month. If the request exceeds the limit, then the backup job skips the Teams messages with the following exception:
Code: PaymentRequired
Message: To call this API, the app must be associated with an Azure subscription, see https://aka.ms/teams-api-payment-requirements for details.
This section provides information about how to associate an application ID with the subscription ID.
Follow these steps to verify plans:
- Make sure the service account or backup account must have Azure Subscription. If not, you need to take the Azure Subscription and obtain the subscription ID.
- Log into the Azure portal using the backup account.
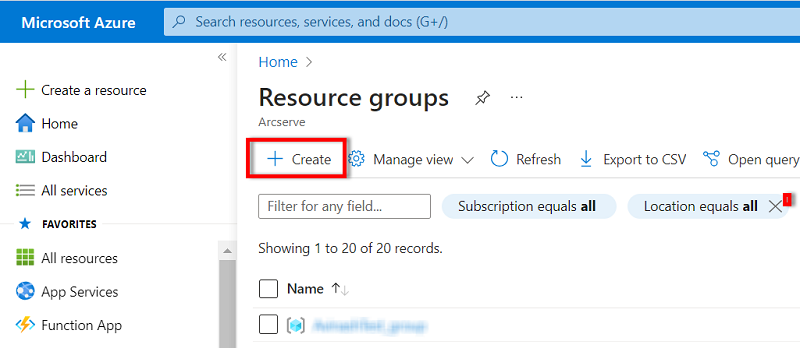
- Search for resource group in the search bar, and then select Resource groups.
- To create a new resource group with a subscription, do the following:
- On the Resource groups page, click + Create.
-
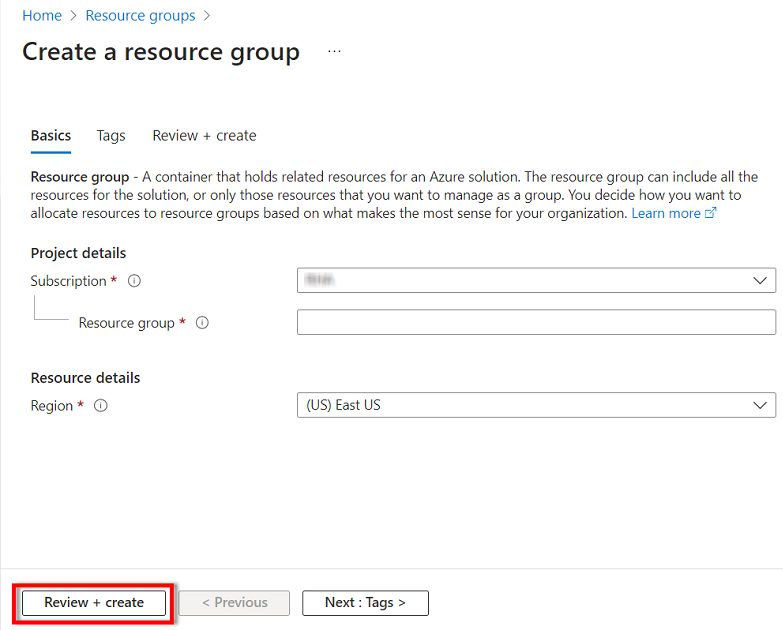
- Under the Basics tab, specify the following details:
- Subscription: Select your Azure subscription.
- Resource group: Type a unique name for the new resource group.
- Region: Select the required region.
- If you want to provide tags, click Next. Otherwise, click Review + Create.
- The Validation passed message appears.
- Note: If the validation fails, check the error and resolve it.
- Click Create to deploy the resource group.
-
- The resource group is created successfully.
- Install the Windows Azure CLI (Command Line Interface) in the proxy machine using the following link:
- https://aka.ms/installazurecliwindows
- After successful installation, open PowerShell as an administrator and run the following command:
- az login
- This command opens a browser login page.
- Login with the backup account, which has active subscription.
- To associate an application ID with the subscription ID, run the following command:
- az resource create --resource-group myRG --name myGraphAppBilling --resource-type Microsoft.GraphServices/accounts --properties "{\`"appId\`": \`"myAppGUID\`"}" --location Global --subscription mySubscriptionGUID
- Note: Replace myRG with the Resource group name, myAppGUID with an application ID, and mySubscriptionGUID with the subscription ID.
- The successful command execution outputs are as follows:
-
