How to Migrate from UDP On-premises Console to Cloud Console
This section provides information about how to migrate from UDP On-premises Console to Cloud Console.
Follow these steps:
- Do one of the following:
- If you are migrating from UDP 9.1, download the UDP 9.1 migration tool. To download, click here.
- If you are migrating from UDP 9.2, download the UDP 9.2 migration tool. To download, click here.
- The MigrationTool.exe gets downloaded.
- To launch the wizard, click Run on the .exe file.
- The Arcserve UDP to Cloud Console Migration wizard opens.
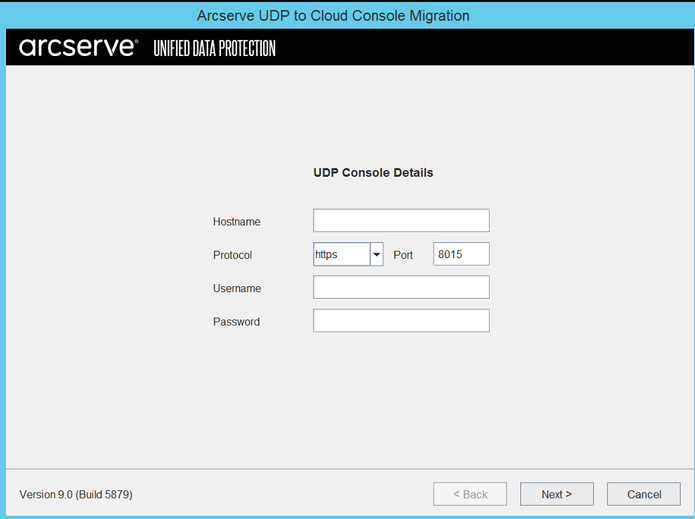
- For UDP Cloud Console Details, provide the following, and then click Next:
- Hostname: Enter the assigned hostname.
- Protocol and Port: The default values are https and 8015.
- Username: Enter your UDP username.
- Password: Enter your UDP password.
-
- For Cloud Console, enter your username and password, and then click Next.
-
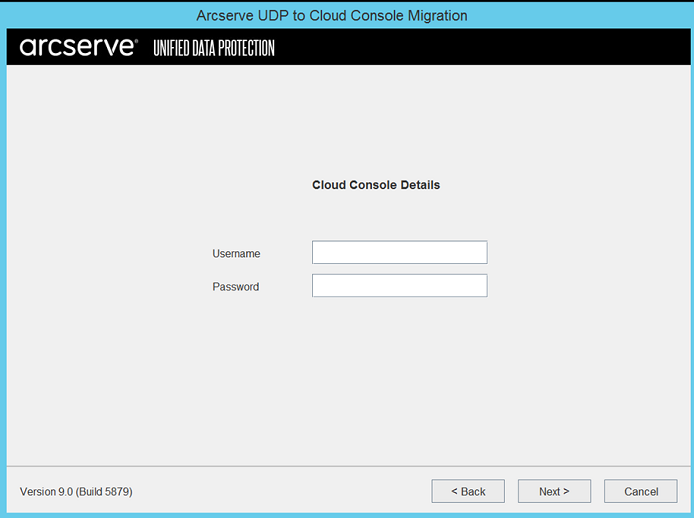
- Note: Make sure you have the administrative privileges for both UDP and Cloud Console for the details to be appropriately validated.
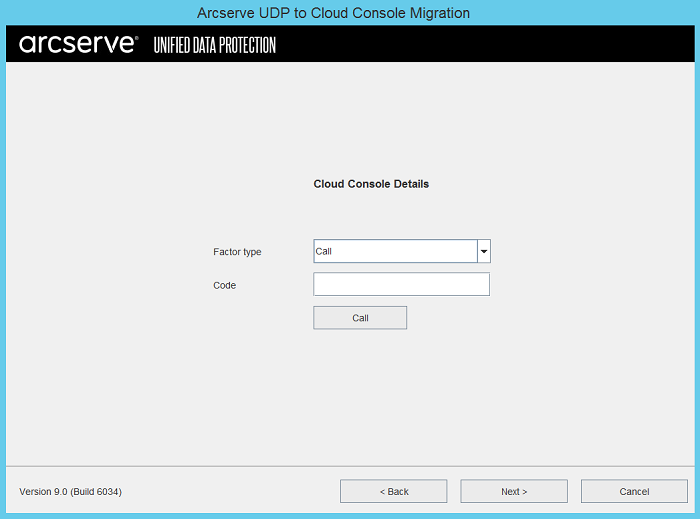
- If you have enabled the Okta multifactor authentication (MFA) on Cloud Console, you are prompted to verify MFA.
- From the Factor type drop-down list, select one of the following authentication types, and then click Next:
- Call: Click Call, and then enter the code that you receive via call in the Code field.
- Google Authenticator: Enter the code that you receive on the Google authenticator app.
- SMS Authentication: Click Send code, and then enter the code that you receive on your registered mobile number.
- Okta Verify: Enter the code that you receive on the Okta Verify app.
- Okta Push Verify: Click Send Push, and then approve the notification that you receive on the Okta Verify app.
- Email Authentication: Click Send code, and then enter the code that you receive on your registered email address in the Code field.
- Notes:
- After validating the username and password, the list of factors supported display based on the authentication types that you setup on Cloud Console.
- Migration tool does not support the Security Key or Biometric Authenticator factor type.
-
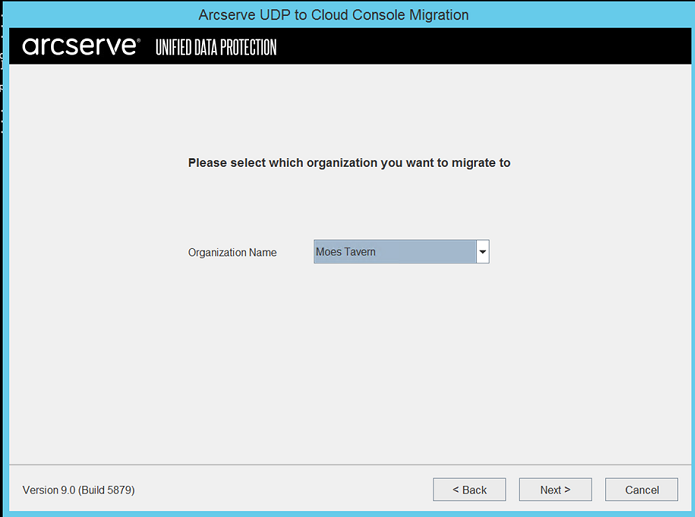
- (For MSP Only) From the Organization Name drop-down list, select the organization to which you want to migrate, and then click Next.
-
- A mapping panel appears and provides a list of all the available sites from UDP Console and Cloud Console.
- Note: You can map each UDP Console site to a single Cloud Console site but you cannot map each Cloud Console site to a single UDP Console site.
-
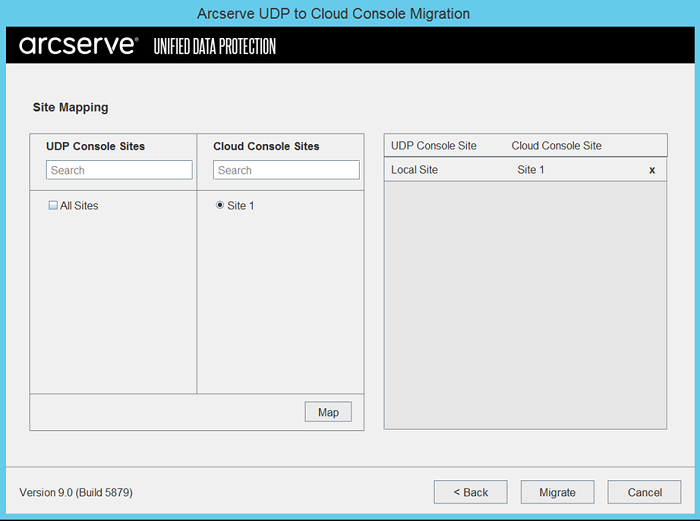
- After you map all the UDP Console sites to one (or) more Cloud Console sites, click Migrate.
- Note: During the migration process, the tasks are performed in sequence as given in the Tasks section. If any of the tasks fails or is incomplete, the complete migration process also fails.