How to Restore Active Directory Data Using Arcserve UDP Active Directory Object Level Restore Utility
After you have installed the Active Directory in different volumes and have performed a backup for both volumes using a Host-Based Agentless Backup task, you may want to restore objects and attributes from Active Directory granularly. This scenario describes how you can restore the backed up Active Directory objects and attributes from its containing volumes.
Before you perform a restore, make sure that the following prerequisites are available:
- The Active Directory Object Level Restore utility is available in the following location:
- <Arcserve UDP installation path>\Engine\BIN\
- Note: The tool is installed with Arcserve UDP Agent.
- The Restore job is set to run from the host-based backup proxy machine.
- Note: If you want to run the restore job on any other machine, search the recovery point from the backup destination.
- The path to Active Directory database (NTDS.dit) is identified to perform the restore job.
- Note: By default the path to NTDS.dit is C:\Windows\NTDS\NTDS.dit.
Follow these steps:
- From the Arcserve UDP Agent console on the host-based backup proxy machine, select the Mount Recovery Point task. The Mount Recovery Point dialog opens.
-
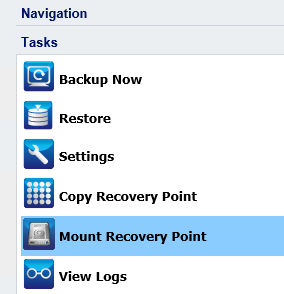
- Select the recovery point date.
- For the volume that contains the Active Directory database, click Mount.
-

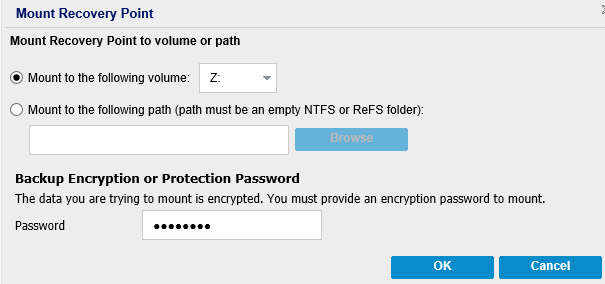
- Note: If the server that is running the restore job is not the HBBU proxy, click Change to select the appropriate Recovery Point Server, Data Store, and Active Directory Server.
- Select the drive letter to mount the volume and click OK.
-
- Launch the Active Directory Object Level Restore Utility from the following location:
- <Arcserve UDP installation path>\Engine\BIN\AD_restore.exe
- Click Open to open the selection window.
-
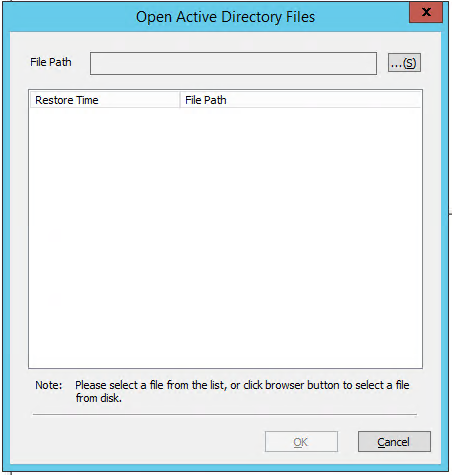
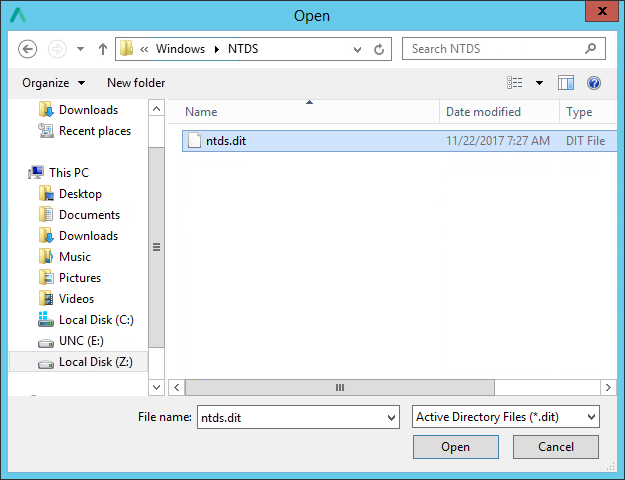
- Click the
 icon and browse the Active Directory database (NTDS.dit) on the mounted recovery point, click Open, and then click OK.
 -
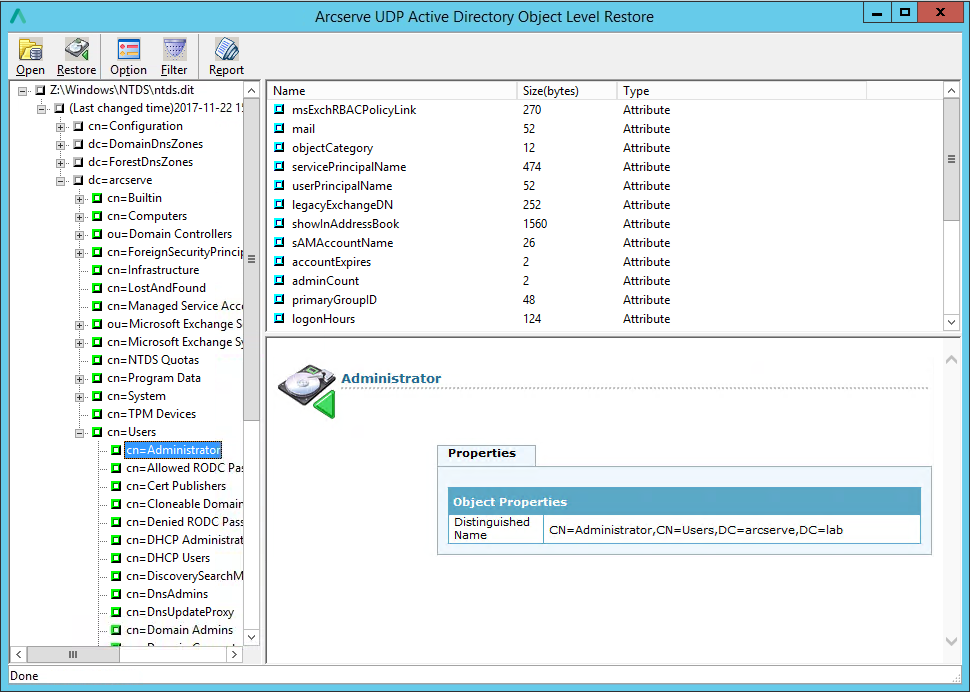
- Browse and select the Active Directory objects or attributes you want to restore.
-
- Click Options to make adjustments to the default behavior, as needed.
-
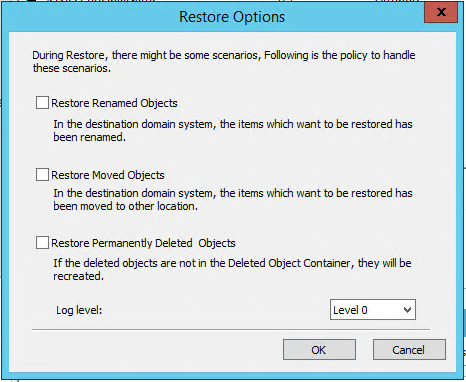
- When ready, click OK to run the restore job.
- After restore job is finished, a result window is displayed. Click Report if you wish to see the details or OK to close.
-

- Notes:
- By default, the utility uses the current user who is logged into Windows to establish the connection.
- If an error is reported, the recommended action to take is to log into the machine with an account that has domain admin rights to perform the restore.
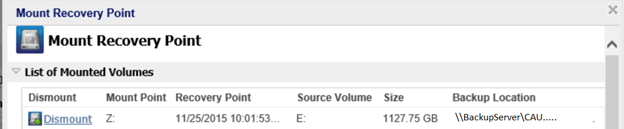
- When the restore job completes, dismount the volume that was used for the recovery.
- To dismount the volume, from the Arcserve UDP Agent console on the host-based backup machine, click Mount Recovery Point, and then click Dismount.
-