RECOVERY Mode Example
Follow these steps:
- On the Restore screen, select the date for recovery from Recovery Point Date, the scheduled time for recovery from Time Range, the Recovery Point Server (RPS) of an SQL database from the table, and then click Next.
- On the Restore Options screen, under Destination, select Restore to original location, and then click Next.
- Note: If the data you attempt to restore is encrypted, provide the password as needed.
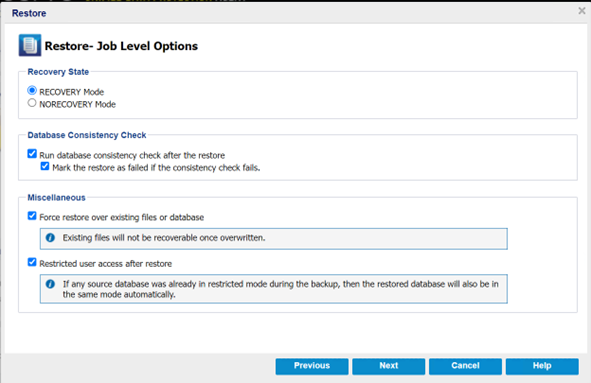
- On the Restore - Job level Options page, do the following, and then click Next:
- For Recovery State, select RECOVERY Mode.
- For Database Consistency Check, select the Run database consistency check after the restore and Mark the restore as failed if the consistency check fails check boxes.
- For Miscellaneous, select Force restore over existing files or database and Restricted user access after restore.
-
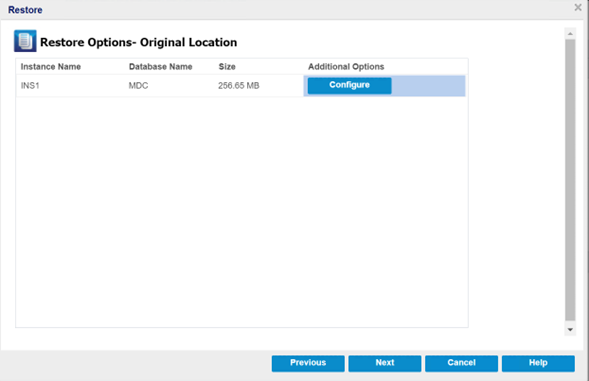
- The Restore Options- Original location page appears.
- To configure or change the configuration at a database level, click the Configure button.
-
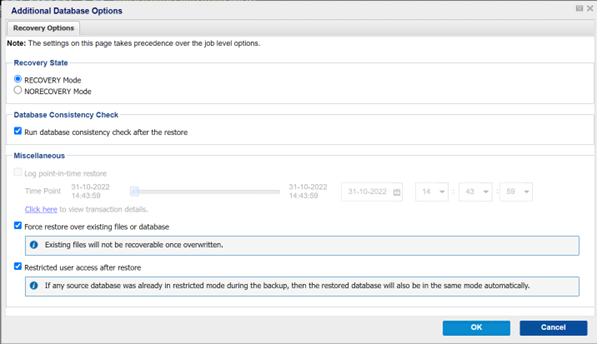
- The Additional Database Options dialog appears.
- Verify and make any changes to the database options, as needed, and then click OK to return to the Restore Options- Original location page.
-
- Click Next.
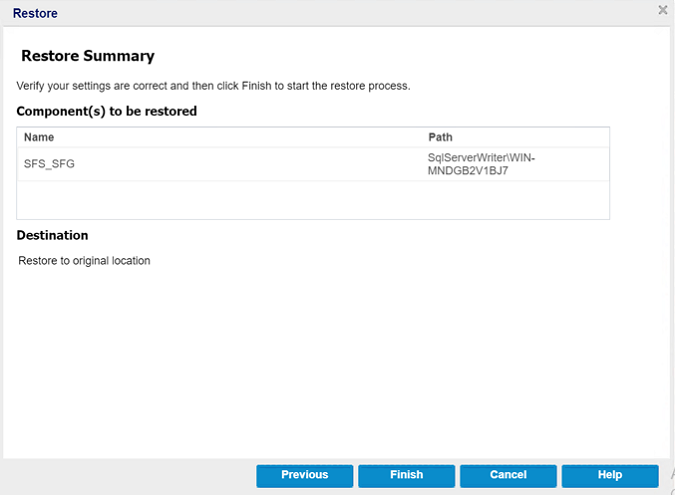
- The Restore Summary page appears.
- To start the restoring process to the original location, click Finish.
-
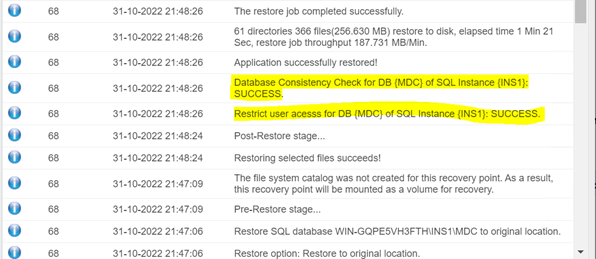
- After the restore finishes, view the restore status in the Activity Log. It also provides status information on Database Consistency Check, and Restricted user access.
-