Specify the File/Folder Location
Use the Find Files/Folders option to restore files and folders. This restore method allows you to specify exactly which file or folder you want to restore.
Follow these steps:
- Access the restore method selection dialog in one of the following ways:
- Log into Arcserve UDP.
- Click the resources tab.
- Select All Nodes in the left pane.
- In the center pane, select the node and click Actions.
- Click Restore from the Actions drop-down list.
- Log into Arcserve UDP Agent (Windows).
- From the home page, select Restore.
From Arcserve UDP:
All the added nodes are displayed in the center pane.
The restore method selection dialog opens.
Note: You are automatically logged in to the agent node and the restore method selection dialog is opened from the agent node.
From Arcserve UDP Agent (Windows):
The restore method selection dialog opens.
- Click the Find Files/Folders to Restore option.
- The Find Files/Folders to Restore dialog opens.
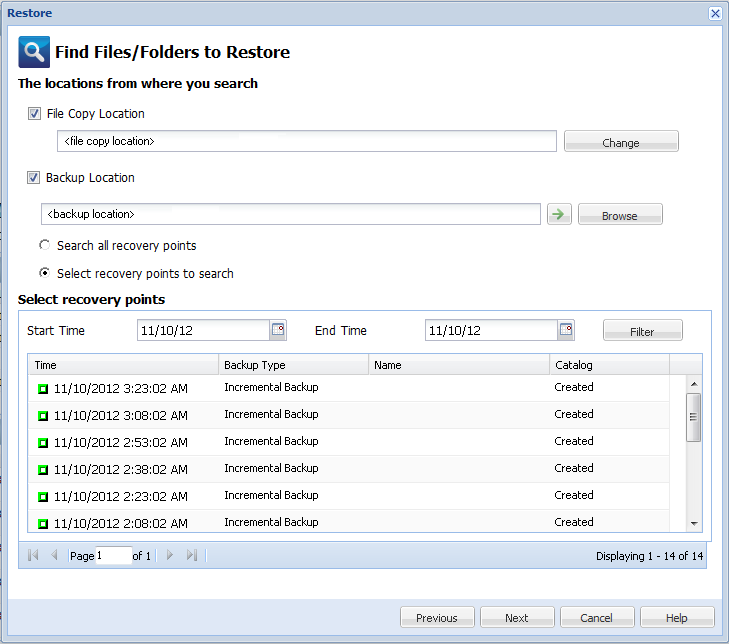
- Select File Copy Location checkbox and click Change to change the location to the destination where your file copy images are stored.
- The Destination dialog opens and you can select Local or network drive or Cloud.
- Note: By default, the Backup Location and File Copy Location fields display the corresponding path used for the most recent backup/file copy destinations.
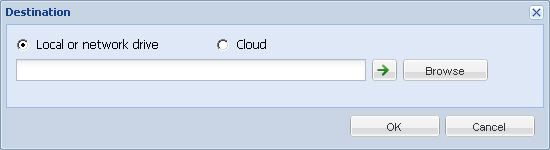
- If you select Local or network drive, you can either specify a location or browse to the location where your file copy images are stored.
- You can click green arrow validate icon to verify proper access to the source location.
- If you select Cloud, you can either specify a cloud location or click the Configure button to display the Cloud Configuration dialog. For more information, see Specify Cloud Configuration for Restore.
- Regardless of whether you selected to restore from Local or network drive or from Cloud, when you change the destination to an alternate location a pop-up dialog will appear, asking if you want to perform a new catalog synchronization or read from the existing catalog.
-
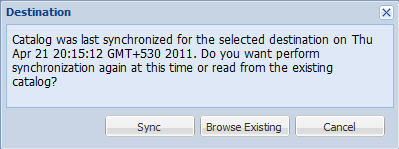
- If it is the first time you are performing a catalog synchronization, the Browse Existing button will be disabled because there is no existing file copy catalog locally.
- If a catalog synchronization has been previously performed, this dialog will display details about the last time the catalog was synchronized from this destination. If there were more file copy jobs run since that displayed time, your catalog may not be currently synchronized and you can select the Sync option to ensure your file copy catalog is up-to-date.
1. Click Sync to download the file copy catalog from the specified file copy destination to your local machine to provide faster browsing.
2. Click Browse Existing to use the file copy catalog that is available locally and not download/sync it again.
- Select the Backup Location checkbox and click Change to change the Backup Location.
- The Source dialog opens where you can select the backup location.
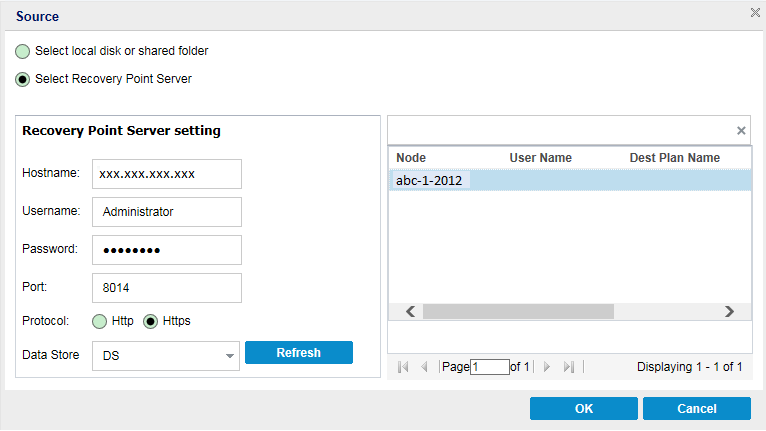
- Select one of the following options on the Source dialog:
- Specify or browse to the location where your backup images are stored and select the appropriate backup source.
- Select the folder where the recovery points are stored and click OK.
- Click OK.
- Specify the Recovery Point Server setting details and click Refresh.
- All the agents are listed in the Data Protection Agent column in the Source dialog.
- Select the agent from the displayed list and click OK.
- The recovery points are listed in the Find Files/Folders to Restore dialog.
- Note: If you select a different agent and if the recovery points are encrypted, then you have to provide the encryption password when prompted.
Select local disk or shared folder
You can click the green arrow button to verify the connection to the specified location. If necessary, enter the Username and Password credentials to gain access to that source location.
The Select backup location dialog opens.
The Select backup location dialog closes and you can see the backup location in the Source dialog.
The recovery points are listed in the Find Files/Folders to Restore dialog.
Select Recovery Point Server
- Select one of the following options to search recovery points:
Search all recovery points
Searches the file or folder in all the recovery points stored in the provided location. You have to specify the file or folder that you want to search on the Find Files/Folders to Restore dialog.
Select recovery points to search
Displays the recovery points between the specified time period. You can specify the start time and end time and then select the recovery point from the specified time period.
- Select the recovery point and click Next.
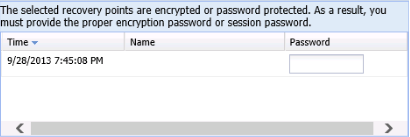
- Note: If you have selected a different agent in the Source dialog and if the recovery points are encrypted, then the encryption dialog opens. Provide the password and click OK.
- The Find Files/Folders to Restore dialog opens.
The Backup or File Copy location is specified.