Enable Support for Modern Authentication
This section describes how to apply Patch T00002119 and enable Arcserve UDP to use Modern Authentication for Office 365 backups..
Follow these steps:
- Download P00002119.zip file on the UDP console machine and one or more proxy machines.
- On the console and all proxy machines, follow these steps:
- Unzip the contents to a folder.
- Using an administrator or equivalent account, run the ExtractModernAuthTool.ps1 PowerShell script.
- Notes:
- During installation, to acknowledge and set the Script Execution Policy as RemoteSigned, type Y and press Enter when the prompt displays in the PowerShell console.
- During installation, a message displays on the PowerShell console that the source is untrusted. To add "Arcserve (USA) LLC" as a trusted source, on the PowerShell console, type R and press Enter when prompted.
- Follow the instructions on the Arcserve Wizard to install the patch P00002119 using the Local install UI option. Remote installation is not supported.
- On the console machine, navigate to the following location:
- C:\Program Files\Arcserve\Unified Data Protection\Management\BIN\ModernAuthentication\ModernAuthentication_Tool
- To configure Modern Authentication settings, using an administrator or equivalent account, run Arcserve.Office365.ModernAuthentication.exe.
- The Authentication settings for Office 365 wizard opens.
- For Modern Authentication, select one of the following, and then click Next.
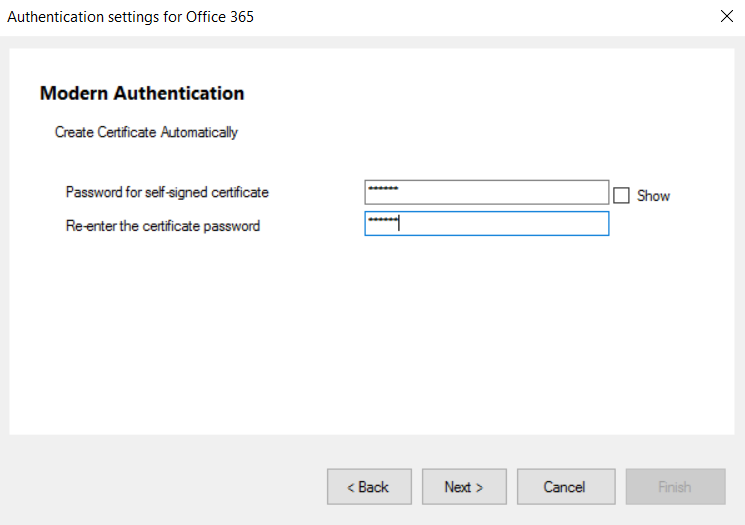
- If you select Create Certificate Automatically, click Next, and then do the following:
-
- Enter and re-enter the certificate password as needed, and then click Next.
-
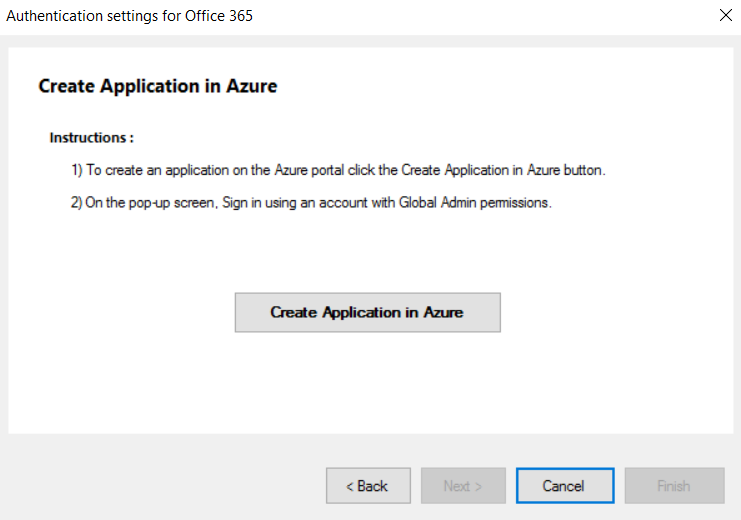
- On the Create Application in Azure window, click the Create Application in Azure button.
-
- The Azure portal opens.
- Log in using your Azure administrator credentials.
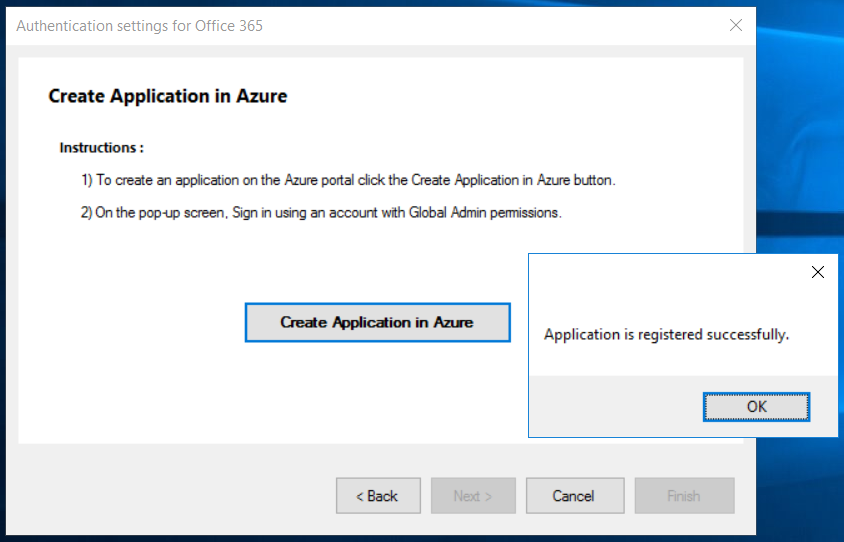
- The Application gets registered successfully.
-
- To grant permissions in Azure, click Next, and then click the Click Here link.
-
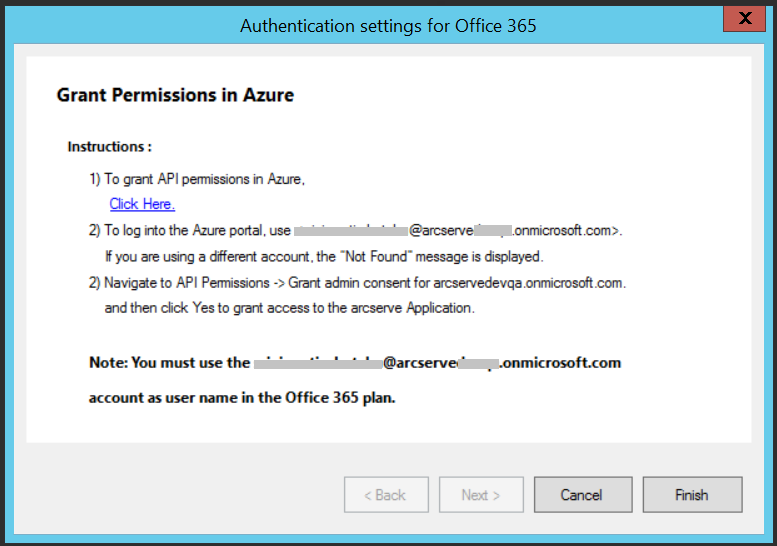
- The Azure portal opens.
- Log into the Azure portal with the credentials that was used to register the application.
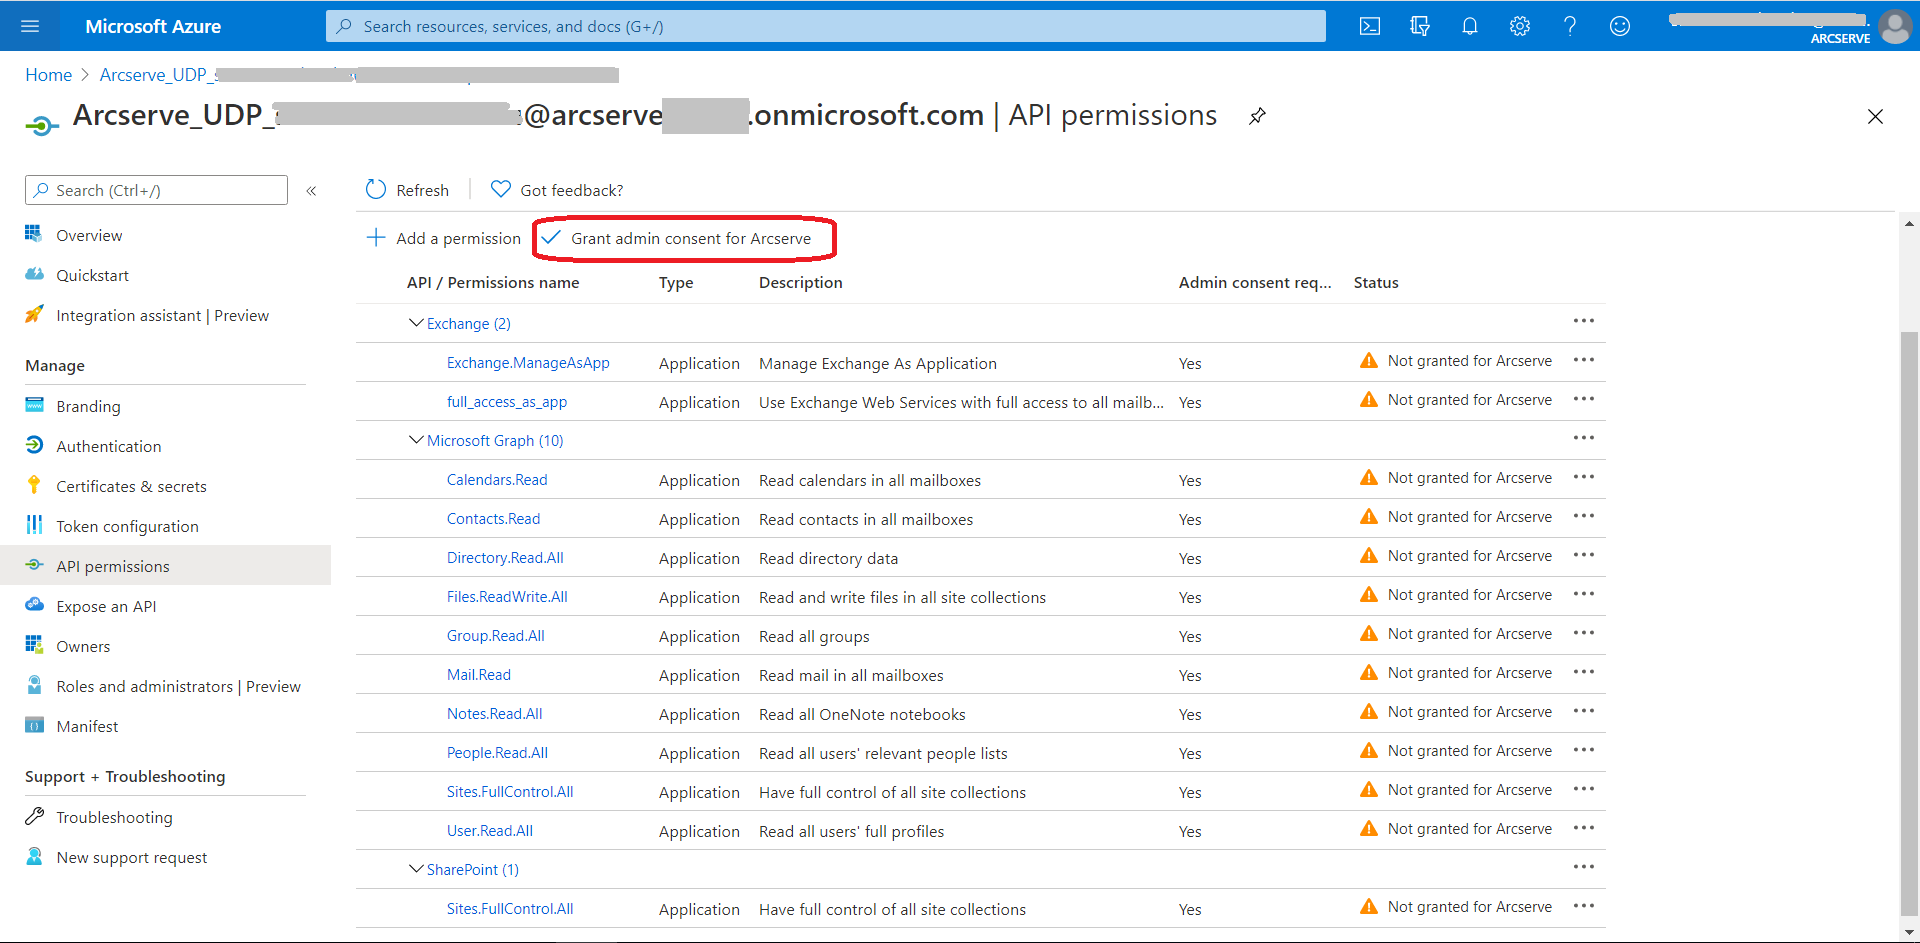
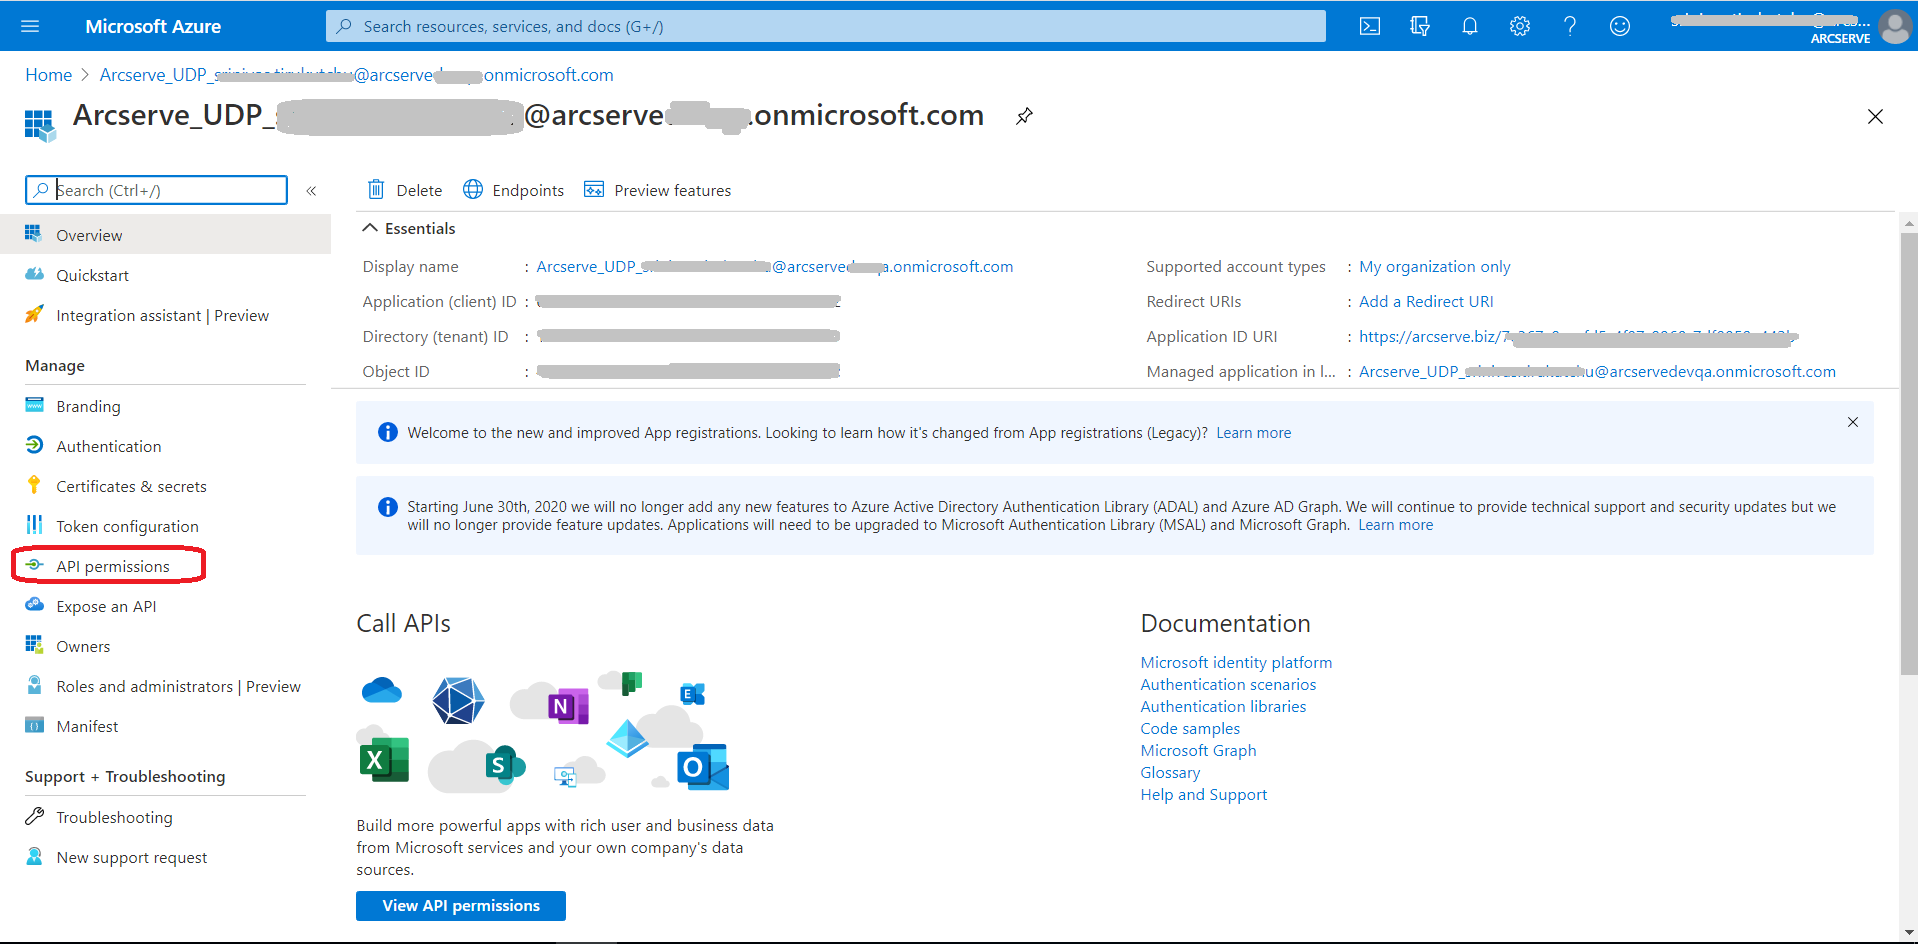
- Navigate to API Permissions, and then click Grant admin consent for .
-
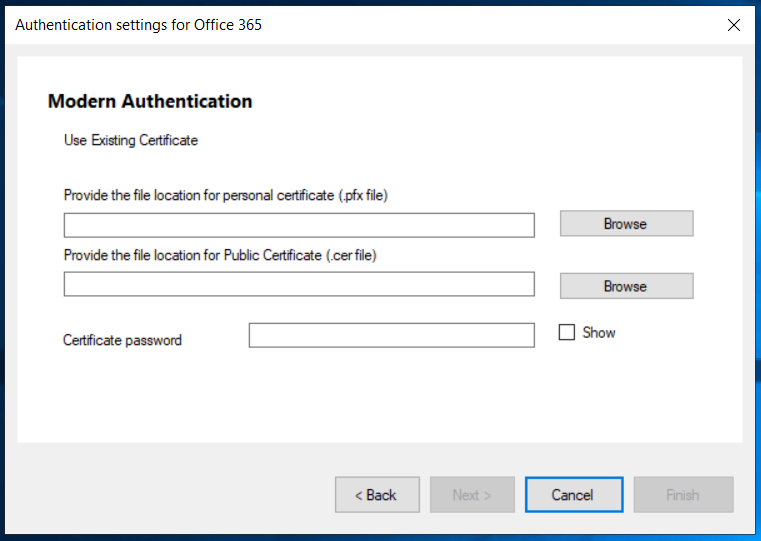
- If you select Use Existing Certificate, click Next, and then do the following:
- Browse and select the file location for .pfx and .cer files, enter the certificate password, and click Next.
-
- On the Create Application in Azure window, click the Create Application in Azure button.
- The Azure portal opens.
- Log in using your Azure administrator credentials.
- The Application gets registered successfully.
- To grant permissions in Azure, click Next, and then click the Click Here link.
- The Azure portal opens.
- Log into the Azure portal with the credentials that was used to register the application.
- Navigate to API Permissions, and on the right-pane, click Grant admin consent for .
-
- If the backup proxy and UDP console are in different machines, follow these steps:
- Note: Skip this step if the backup proxy and the UDP console are in the same machine.
- On the console machine, navigate to the following location:
- C:\Program Files\Arcserve\Unified Data Protection\Management\BIN\Office365
- Copy the Certificate folder and the ModernAuthenticationConfiguration.xml file.
- In one or multiple proxy machines, paste the copied folder and file in the following location:
- C:\Program Files\Arcserve\Unified Data Protection\Engine\BIN\Office365
- Update Office 365 Nodes in UDP Console with the registered user name.
- UDP is now set to use Modern Authentication.

