

A Arcserve Replication scenario is the basis for managing the operation of the system. A scenario is a structure that describes what applications and data are to be protected, where they are located, where the data is to be replicated, and other scenario-specific options. Before performing a backup of a Arcserve Replication scenario, you must create a scenario to be backed up.
To create a Arcserve Replication scenario
Note: For more information about replication scenarios and scenario creation options, see the Arcserve Replication and High Availability Administration Guide.
The Welcome to the New Scenario Wizard screen appears.
The Select Server and Product Type screen appears.
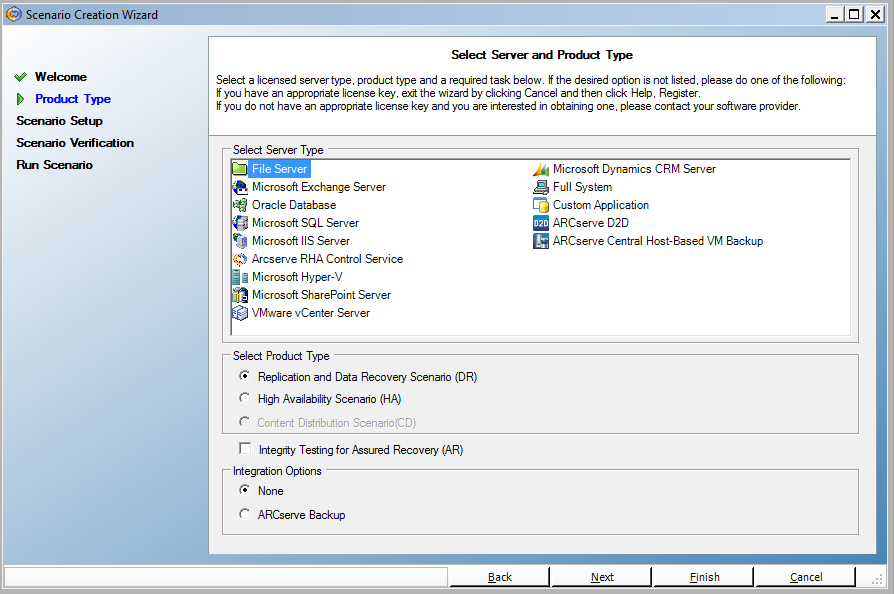
Note: Arcserve Backup supports File Server, Microsoft Exchange, and SQL Server scenarios only.
The Master and Replica Hosts screen appears.

The scenario to be backed up has been created and the related information has been inserted into the Arcserve Backup database.
Note: For an existing scenario, you can update the related information in the Arcserve Backup database by using the Update ARCServe Backup Server option, which is accessible from the Tools menu of the Arcserve Replication Manager.
Note: If File Server or Microsoft Exchange Server was selected as the scenario type, continue with the same scenario creation process as any other Arcserve Replication scenario. For additional create scenario procedures, see the Arcserve Replication and High Availability Administration Guide.
If you selected SQL Server as the scenario type, the Master Configuration screen appears.
The Master Configuration screen displays all SQL Server databases for the master host, along with a check box for the "Replicate new user created databases in listed root directories" option.
With this option checked, if a new database is created in the SQL Server root directory after the scenario has been created, Arcserve Replication will automatically begin to replicate the new database to the Replica server. However, because the newly created database has not been included in the Arcserve Backup database, the new database will not be backed up by Arcserve Backup. To allow the new database to be backed up, you must modify the scenario by running the Arcserve Replication auto-discovery function so that the new database will be recognized and included in the Arcserve Backup database.
Note: The Arcserve Replication auto-discovery function automatically discovers all database objects, related files, and directories on your database or mail server (local or on a network). For additional procedures about the auto discovery function, see the Arcserve Replication and High Availability Administration Guide.
Note: For additional create scenario procedures, see the Arcserve Replication and High Availability Administration Guide.
Important! If you make the following changes to your Master server after the scenario has been added to Arcserve Backup, you need to perform an additional procedure to make sure the changes are recognized by Arcserve Backup.
After you change a Master server
The new database or storage group should be now displayed in the Arcserve Backup Manager.
|
Copyright © 2015 Arcserve.
All rights reserved.
|
|