Use the Restore by Tree method to restore the latest version of the backup data.
- Open the Restore Manager window and click the Source tab.
The source options appear.
- From the drop-down list, select Restore by Tree.
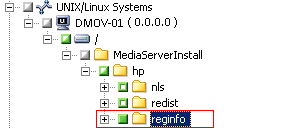
The servers appear in the server directory tree.
- Expand the UNIX/Linux Systems object.
Locate the UNIX or Linux server and select the data that you want to restore.

Click the Destination tab.
The destination options appear.
- On the Destination tab, specify the location where you want to restore the data.
To specify an alternate location, clear the check mark next to Restore files to their original locations and specify the alternate location.
Click the Schedule tab.
The scheduling options appear.
- From the Repeat Method drop-down list, specify once.
Note: For more information about scheduling jobs, see Administration Guide.
- Click Options on the toolbar to define the restore options required for the job.
Note: For more information about restore options, see the Administration Guide.
- Click Submit on the toolbar to submit the job.
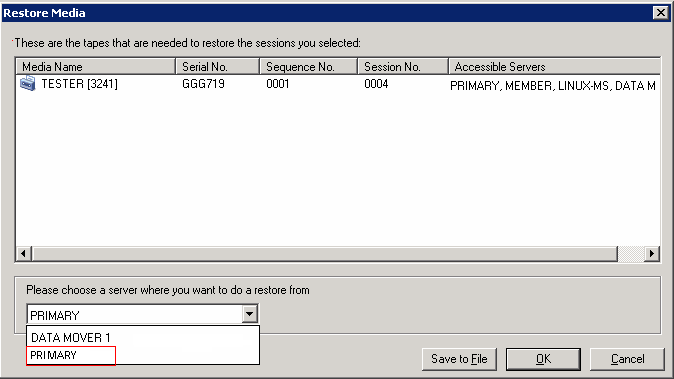
The Restore Media dialog opens.
- From the drop down list on the Restore Media dialog, specify the server where you want the restore job to run. By default, the primary server is specified.

When specifying a location, consider the following:
- If you are restoring data mover data, you should specify the data mover server as the restore media location. If you select the primary server, the restore job runs as a remote network restore.
- If you specify to restore from a different data mover server, the restore destination should be to the same data mover server.
- As a best practice, you should specify a location where the job will have the least impact on your environment. Consider the following example: the data mover server contains database records that users update continuously. You submit a job to restore data to the data mover server as a local restore. To minimize the use of system resources on the data mover server, you should let the restore job execute from any other backup server that can access the backup data, such as the primary server.
Click OK.
The Submit Job dialog opens.
- Complete the required fields on the Submit Job dialog and click OK.
The restore job is submitted.


