

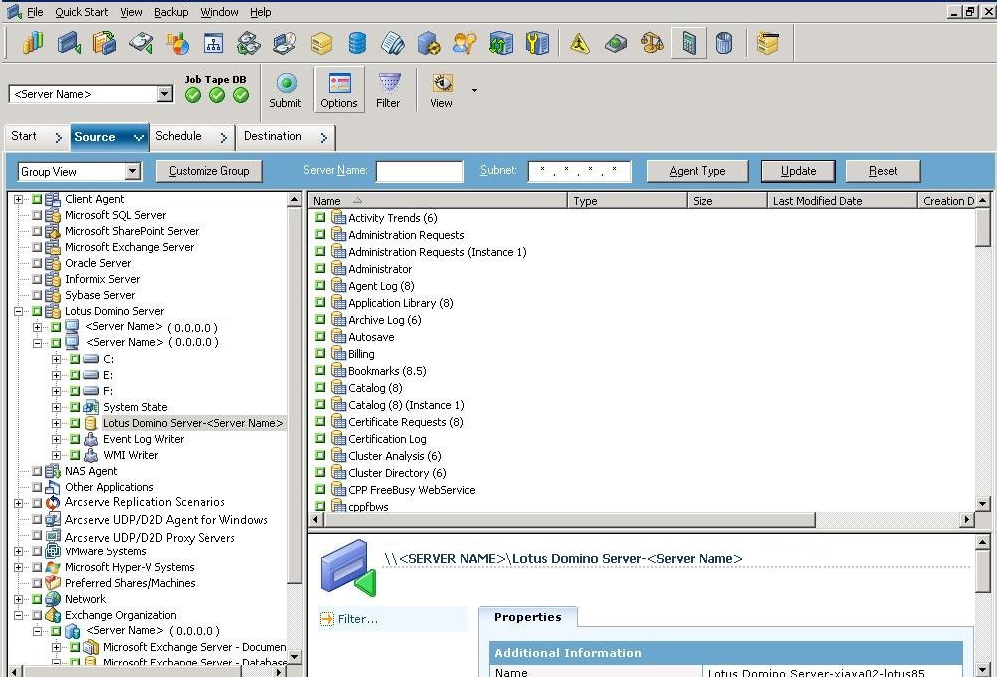
A backup job must have a data source (source) from which data is extracted and a storage device (destination) on which to store the extracted data. To back up data from Lotus Domino, you must submit a backup job using the Backup Manager, choosing the Lotus Domino server objects as the source and the Arcserve Backup device as your destination.
Note: The Agent for Lotus Domino does not support data encryption and data compression at the agent server.
To back up data
The Backup Manager window appears.
The corresponding tree expands to display the servers that you can back up.
Note: If the length of your Lotus Domino server name is more than the maximum number of allowed characters, Arcserve Backup will automatically truncate the additional characters and replace the last two remaining characters of the string with 01. If there is another Lotus Domino server with the same name, Arcserve Backup again truncates the name down to the maximum number of characters and replaces the last two characters of the string with 02.
For Arcserve Backup r12, the maximum length of the server name is 30 characters. For Arcserve Backup r12.1 and later, the maximum length of the server name is 79 characters.
For example, for Arcserve Backup r12:
“User1223334444555556666667777777” (32 characters)
“User12233344445555566666677701” (30 characters)
“User12233344445555566666677702” (30 characters)
For Example for Arcserve Backup r12.1 and later:
“User11111111112222222222333333333344444444445555555555666666666677777777778888888" (81 characters)
“User111111111122222222223333333333444444444455555555556666666666777777777788801" (79 characters)
“User111111111122222222223333333333444444444455555555556666666666777777777788802" (79 characters)
The corresponding tree expands to display a list of databases on the selected Lotus Domino server. In addition, if the Lotus Domino transaction logging option is enabled and the archived transaction logging option is selected, an icon for transaction logs will also be included (alphabetically) in the expanded Lotus Domino tree.
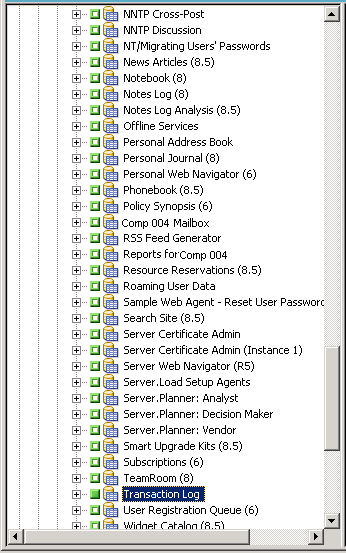
You can select the full Lotus Domino server or the individual objects within that server (databases and transaction logs).
The Filter dialog opens.
Note: Arcserve Backup Agent for Lotus Domino only supports File Pattern Filters and Directory Pattern Filters. With these filters you can specify whether to include or exclude files or directories from a job based upon a particular file name or file pattern, or upon a particular directory name or directory pattern. (The File Date Filters are not available for this agent). For more information about filter options, see the Administration Guide.
If the archived transaction logging option is enabled, the incremental backup option will only back up the transaction log files and any files with a new DBIID assigned since the last full or incremental backup. If the archived transaction logging option is disabled, the incremental backup option will only back up the database files that changed since the last full or incremental backup.
Note: For more information about these options, see the Administration Guide.
Scheme Name—Specifies the type of rotation job being submitted.
Start Date—Specifies the date when the backup starts.
Execution Time—Specifies the time when the backup starts.
Enable GFS—Specifies the predefined Grandfather-Father-Son (GFS) rotation schemes.
Note: For more information about these options, see the Administration Guide.
The backup process is initiated after all the backup job attributes have been finalized. The Security and Agent Information dialog opens.
Important! The Security and Agent Information dialog is used to enter information only for remote Windows NT, Windows 2003, and Windows 2008 servers. Users must have a minimum of backup rights to proceed with the job. If you are backing up the Lotus Domino database on a local machine, you do not have to enter any information on this dialog.
The Submit Job dialog opens, displaying a summary of the job type, the source directory of the database files, and information about the destination. If necessary, enter a description of the job in the Job Description field.
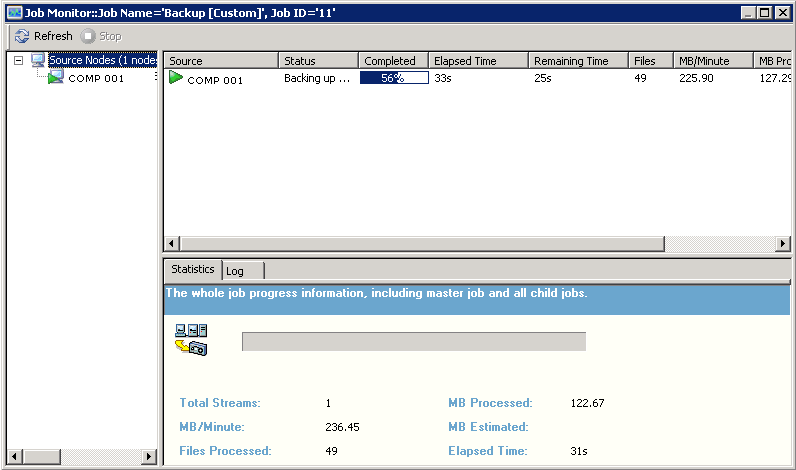
The Job Status window appears, displaying the Job Queue and Job Detail. You can view more detailed Job Properties information by right-clicking the server name and selecting Properties. The Job Monitor window appears, displaying details and status of the backup process.
When the backup job is complete, a status window appears, indicating the final status (successful of failed) of the backup job.
The status window closes.
|
Copyright © 2015
|
|