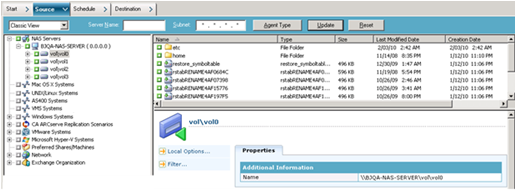

Arcserve Backup supports backing up individual NAS server volumes and an entire computer.
Note: You cannot select agents or the local file system on a Arcserve Backup server and back them up to a tape drive connected to the NAS servers.
To back up a NAS server
The volumes on the server display.

Note: You can use any device attached to the Arcserve Backup server as the destination for a NAS filer to server backup job.
Note: Rotation and GFS Rotation schemes can be used in a NAS filer to server backup job.
The Security and Agent Information dialog opens.
The Submit Job dialog opens.
Starts the backup job immediately.
Lets you specify the date and time when you want to run the backup job.
Note: For more information about saving jobs and job templates, see the Administration Guide.
You have successfully submitted the backup job.
After you submit the backup job, you can monitor its progress by opening the Job Status Manager from the Arcserve Backup Home Page.
Arcserve Backup does not display a progress bar or percentage complete statistic in its Job Monitor when backing up EMC CLARiiON IP4700, Celerra, and Procom NAS servers.
Note: Although all NAS servers use NDMP protocol, you should perform backups and restores to the same vendor’s servers or compatible hosts.
|
Copyright © 2015 |
|