

You can configure the NAS drives and tape devices either immediately after you install the NDMP NAS Option or from the Device Configuration dialog.
Note: NAS device configuration is not required for NAS filer to server jobs. To run a NAS filer to server job, it is necessary to configure the Arcserve Backup devices, such as a file system device, deduplication device, staging device, cloud device, tape library or virtual tape library.
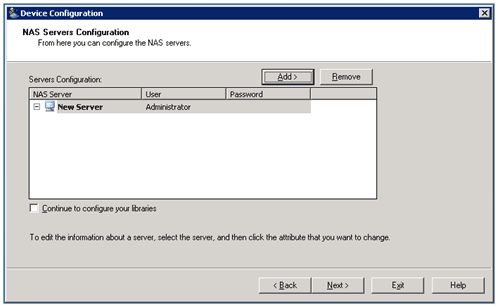
Important! You must add the NAS server to the backup server to use the DDS environment.
To configure the NAS devices
Note: If you are configuring the devices and drives immediately after installation, you can skip to Step 5 of the following instructions.
The Device Configuration Welcome window appears.
The tape engine service is stopped and the NAS Servers Configuration dialog opens.
The user name and password must be associated with a NAS server account with NAS Administrative privileges.
Steps 6 and 7 are optional steps for NAS servers supporting NDMP Versions 3 and 4. NAS servers which are enabled for NDMP Version 3 or Version 4 allow the client to detect backup devices that are configured on the NAS server. The NDMP NAS Option detects and displays all the detected devices. The format and usage rules governing the logical device names differ from one vendor to another. After you complete this step, DDS will be enabled for use.
For information about how you can determine logical device names, see the vendor-specific appendixes.
If you are using NDMP Version 3 or Version 4, skip Steps 6 and 7 and continue with Step 8.
Enter a logical device name that represents the tape device or tape library unit. A logical device name refers to a unique string that the NAS server or NDMP server uses to refer to the device. For more information about how you can get drive and changer information, see Get Drive and Changer Information for a Tape Device.
The Arcserve Backup server can interact with more than one NAS server over the network.
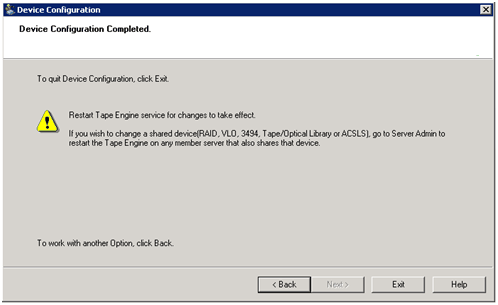
The Device Configuration Completed dialog opens.
|
Copyright © 2016
|
|