

This topic describes how to restore data that was backed up using the backup modes that follow:
Note: For more information, see How Global and Local Backup Options Work.
You can use these steps to perform restore operations on local disk-based virtual machines (VMs) and SAN-based VMs. You would restore file level data that was backed up on a VM when a file is corrupt or deleted in error, to recover a system from a disaster, or to clone a system. You use the same process to restore file level backup data as that of restoring any Windows-based client agent file.
Note: For more information about restoring data, see the Administration Guide.
When you restore file level backup data, consider the following:
Note: For more information, see How Global and Local Backup Options Work.
To restore data at file level granularity data
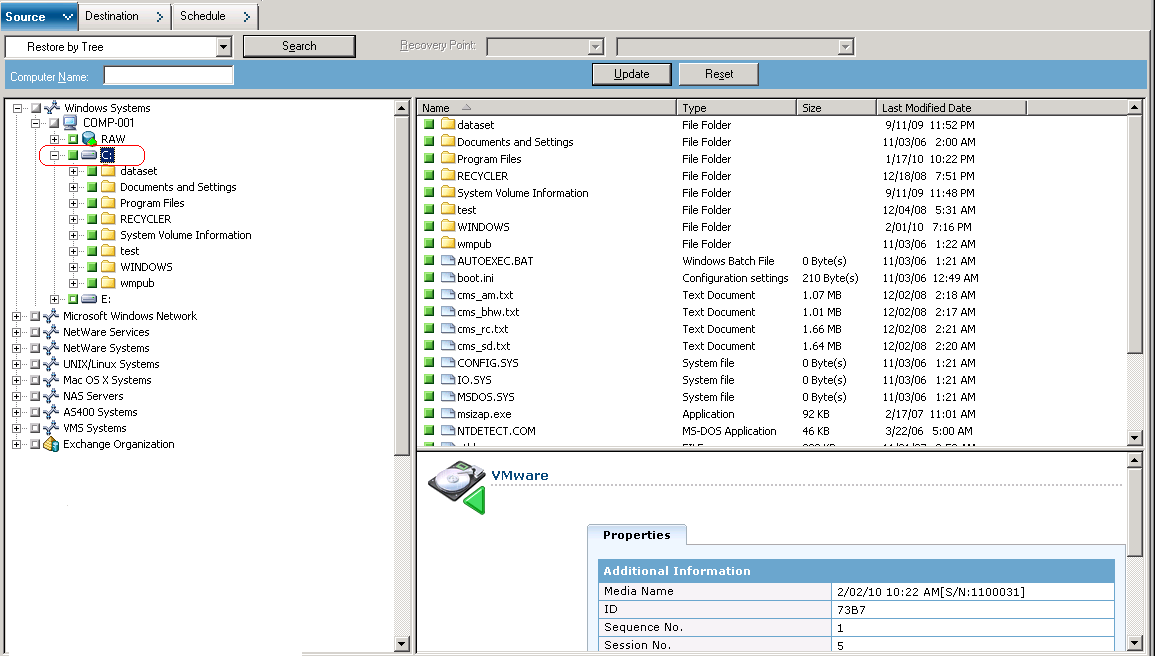
To restore files to their original location, the Client Agent for Windows must be installed on the VM. If the Client Agent for Windows is not installed on the VM, you can restore the data to any location and then copy the data manually to the VM using a network filesystem share.
Note: When you restore data at file level granularity and specify Restore files to their original location, Arcserve Backup omits Windows system files.
If the backup data was created from a raw (full-VM) backup, Arcserve Backup does not support the Restore files to their original location option.
Note: For Alternation location, you cannot use Microsoft Windows Networks as a destination. If you need to restore, install Agent for Windows on those machine and add them under Client Agent for Windows tree for further restore.
The Security and Agent Information dialog opens. To submit the job, you must provide login credentials for the system where you are restoring data.
Arcserve Backup applies your security credentials and the Submit Job dialog opens.
The job is submitted.
Note: For more information about Submitting Jobs, click Help on the Submit Job dialog. For more information about viewing job status and other job-related tasks, see the Administration Guide.
|
Copyright © 2016
|
|