Create a Service Account and Private Key
This section provides information about how to create a service account and generate a JSON key file. Service account keys are crucial for authenticating applications and services to access Google Cloud resources.
Follow these steps:
- Log into Google Cloud Console as an admin.
- On the Welcome screen, click Create or select a project.
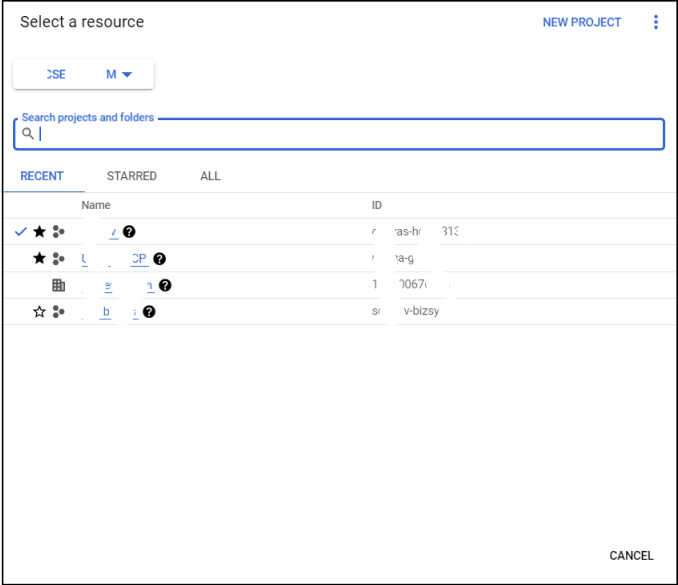
- On the Select a resource screen, do one of the following:
- From the list of existing projects, click the project you want to use.
- If you do not have an existing project or want to create a new one, do the following:
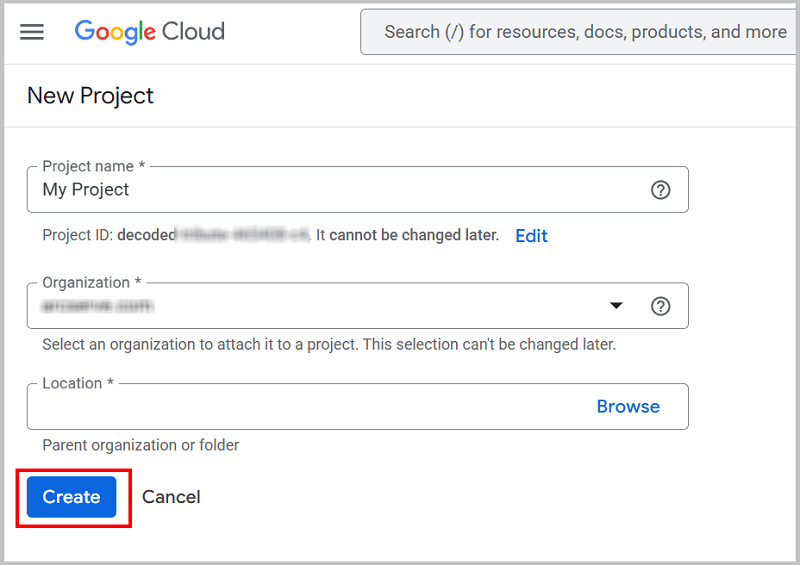
- Click the New project button located in the upper-right corner.
-
- Type the following details, and then click Create:
- Project name: Type a name for your project. Project names must start with a letter and may contain letters, numbers, and hyphens.
- Organization: If your Google Cloud account is associated with an organization, select the appropriate organization from the drop-down list.
- Location: The location specifies the Google Cloud resource hierarchy node under which the new project will be created.
- The project gets created and listed in the table.
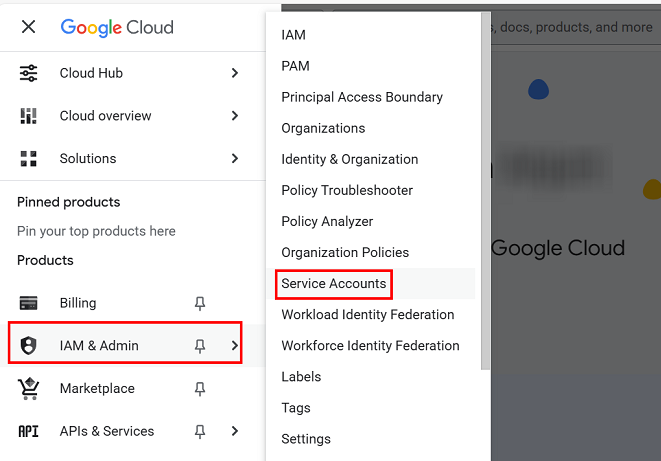
- Open the required project, and from the dashboard, go to IAM & Admin > Service Accounts.
-
- On the Service accounts page, click Create service account.
-
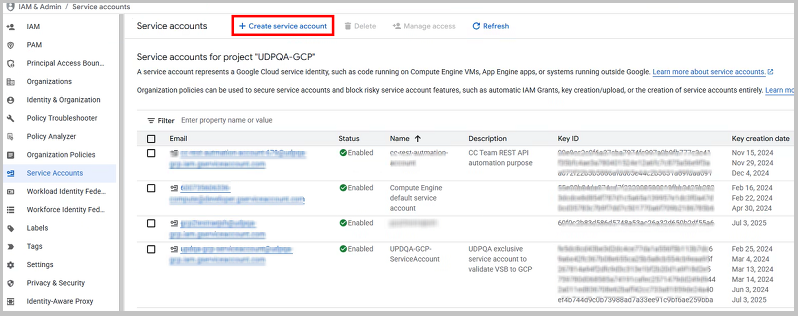
- The Create service account screen opens.
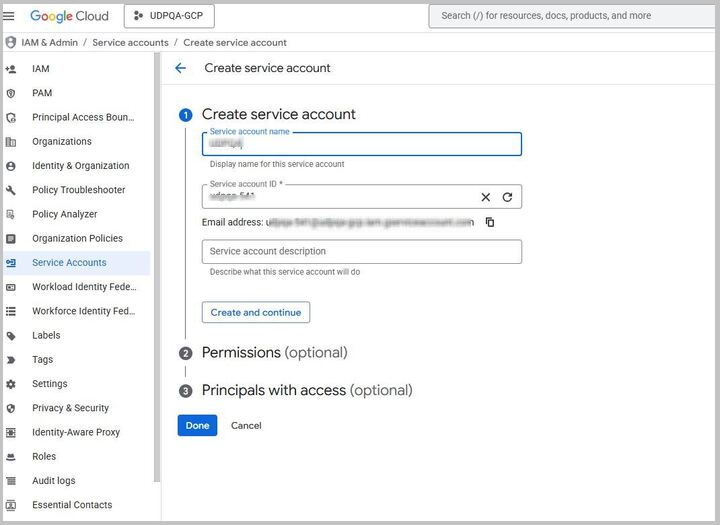
- Do the following and then click Done:
- Under Create service account, specify the following details:
- Service account name: Type a display name for your service account.
- Service account ID: When you enter the Service account name, the corresponding Service account ID is auto populated in the Service account ID text box.
- Keep it as is or modify it as per your requirement. You cannot change the ID later.
- (Optional) Service account description: Enter a description of the service account.
-
- Do one of the following:
- If you do not want to set permissions now, click Done to finish creating the service account.
- To set permissions now, click Create and continue.
- If you have clicked Create and continue, under Permissions, do the following:
- From the Role drop-down list, select Custom.
- Select one or more IAM roles to grant access to the project.
- Click Continue.
- Note: For VSB to Google Cloud and Google Cloud data store operations, see the following links and assign roles accordingly:
- Configure IAM Granular Permissions for Service Accounts with VSB to Google Cloud
- Configure IAM Granular Permissions for Service Accounts with Google Cloud Data Store
-
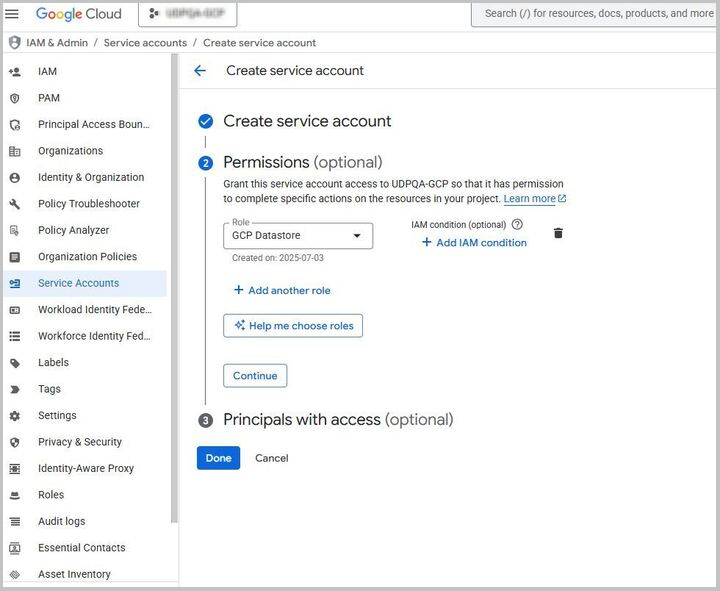
- To finish the creation of service account, click Done.
- The service account page appears and displays the service account that you have added.
- Click the email address of the service account for which you want to create a key.
- The Service account details tab appears.
- Select the Keys tab. From the Add key drop-down list, select Create new key.
-

- The Create private key for <service account> dialog appears.
- For Key Type, select JSON, and then click Create.
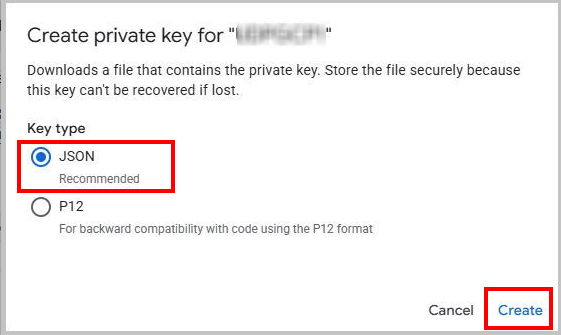
A JSON key file gets downloaded to your downloads folder.
Important! The downloaded key file is the only copy of the private key. Store it securely, as you won't able to download it again. If you lose the key file, you must create a new key and revoke the old one.
Use this JSON file in the UDP Console when adding a cloud account for Google Cloud Platform or when creating a Google Cloud Data Store.