How to Upgrade to Arcserve UDP 10.0 Using the Single Installer
You can upgrade to Arcserve UDP 10.0 using the single installer. Review the supported versions before you upgrade.
Follow these steps:
- Download the ASDownloader.exe from the Arcserve download link.
- Run the ASDownloader.exe, accept the License Agreement, and click Next.
- Click Next from the Get Started screen.
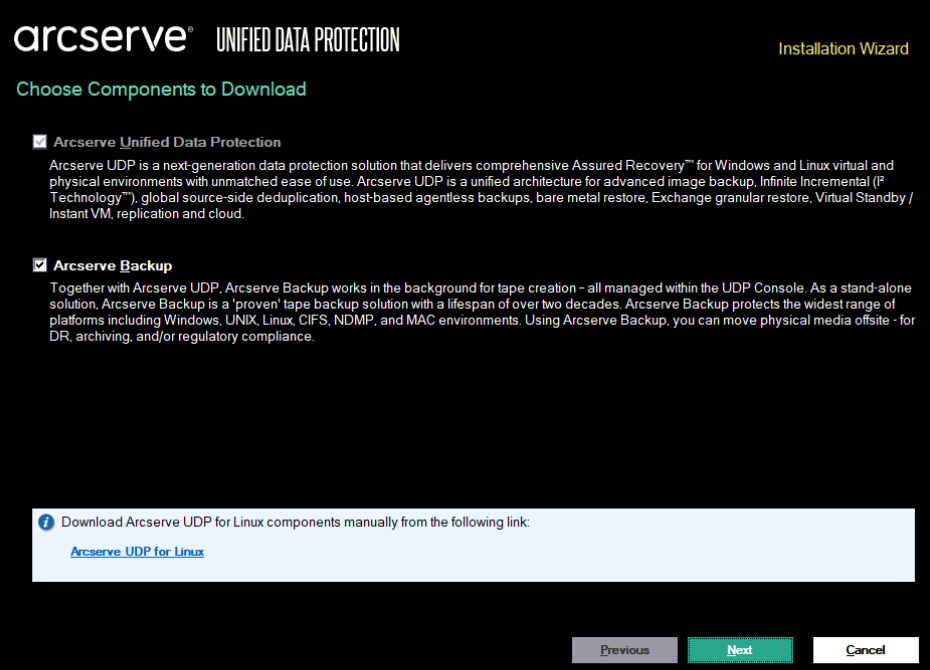
- From Choose Components to Download screen, select the components that you want to download.
- Considerations for the component selection:
- To upgrade the previous version of Arcserve UDP, select the Arcserve Unified Data Protection option.
- To upgrade the previous version of Arcserve Backup, select the Arcserve Backup option.
- Note: Some components are automatically selected as per dependency when you select the Arcserve Backup option. If you do not want to install the components on the same machine, see How to Upgrade to Arcserve UDP 10.0 from a Previous Release and use the Setup wizard to upgrade only the existing components. From here, you can also download the latest Linux setup for Arcserve UDP.
- After the components are downloaded, select the installation method to upgrade the selected components.
- Notes:
- Verify all the prerequisites for the upgrade. For example, .Net 4.5.1 is required for Arcserve Backup. Follow the instructions displayed on the Installer until all the prerequisites are met.
- Verify the Compatibility Matrix requirement.
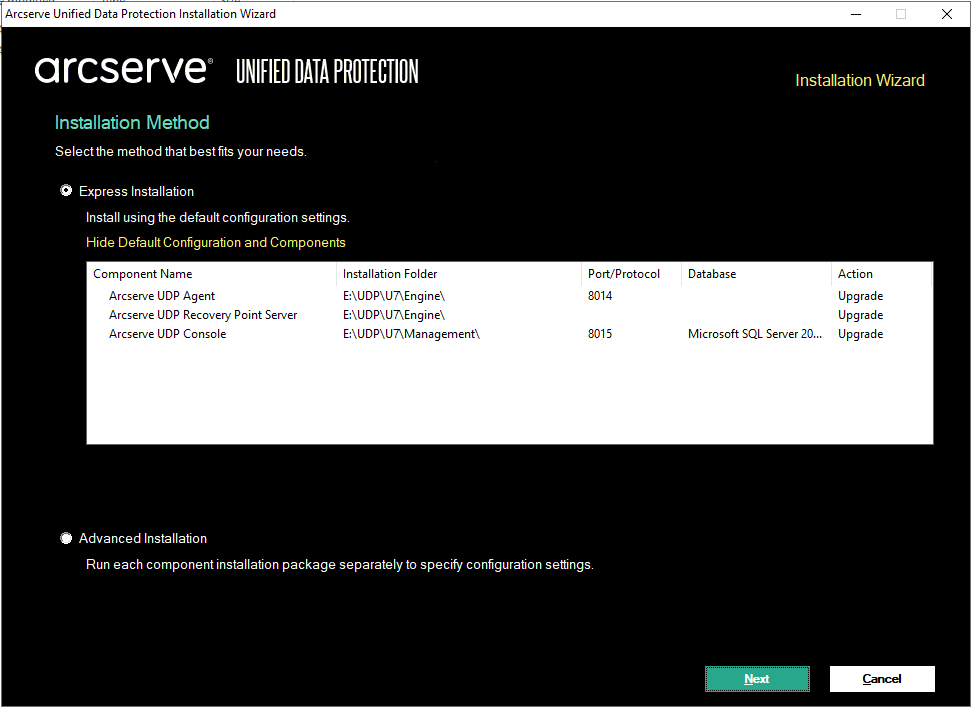
- The Express Installation method installs the components as per the default configurations, such as path, protocol, port, and Database. When you upgrade using the Express Installation method, the configuration of the previous release is used.
- Note: To upgrade Arcserve UDP Agent (Linux) using the Unified Installer, download the images by referring the links shared at the end of the Installer. After copying the images to the Linux Backup Server, follow the steps mentioned in How to Upgrade Arcserve UDP Agent (Linux) in Agent for Linux Online Help.
- Arcserve UDP is successfully upgraded using the Unified Installer.
Express Installation
We recommend Express Installation when you plan to install all the components with their default configuration on the same machine.
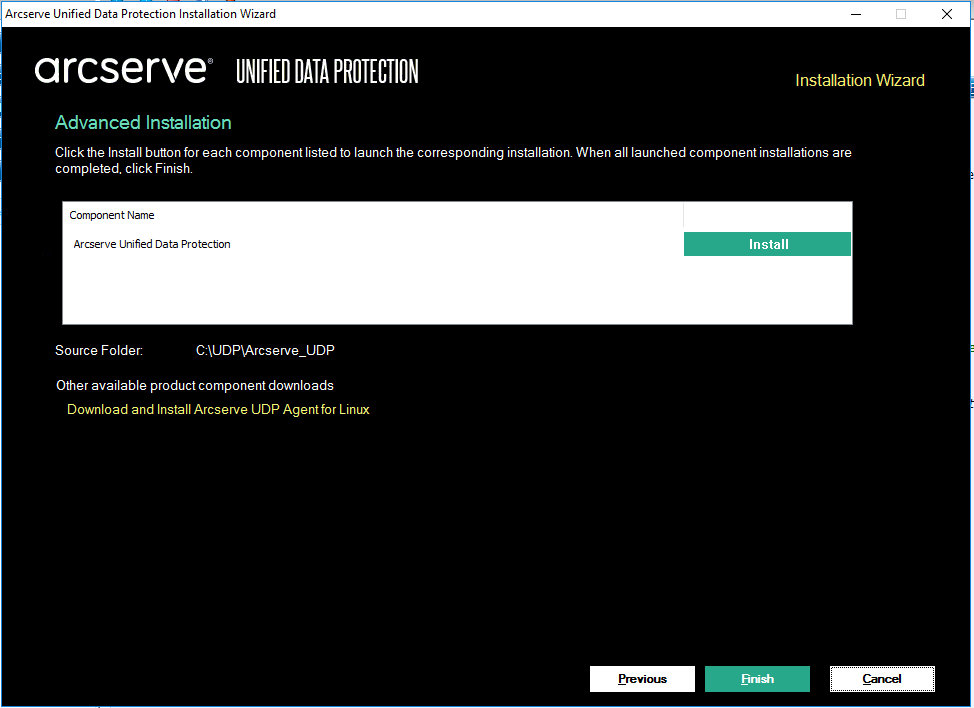
Advance Installation
We recommend Advance Installation for installation or upgrade of each component separately on the same machine. Click Install to upgrade or install each component separately.
Note: For more information, see How to Upgrade to Arcserve UDP 10.0 from a Previous Release.