Ad-hoc Virtual Standby to Nutanix AHV
This section provides information about how to configure virtual machine settings for creating an Ad-hoc Standby VM to Nutanix AHV.
Follow these steps:
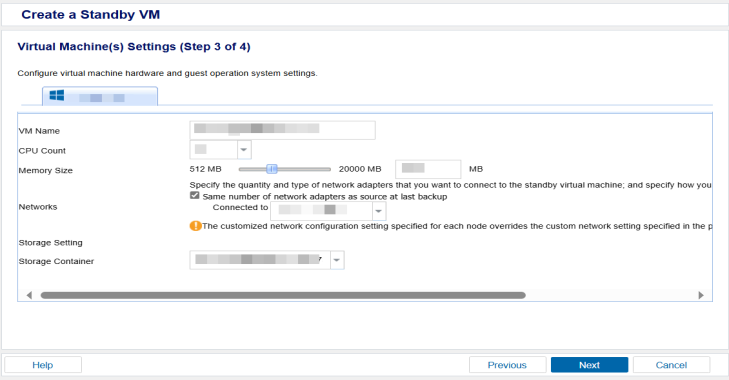
- On the Virtual Machine(s) Settings (Step 3 of 4) screen, specify the configuration details for the ad-hoc standby VM hardware.
-
- Click Next.
VM Name Prefix
Specify the prefix that you want to add to the display name for the virtual machine on Nutanix AHV.
Default value: UDPVM_
CPU Count
Specifies the minimum and maximum CPU count supported by the standby virtual machine.
Memory
Specifies the total amount of RAM in MB to be allocated for the standby virtual machine.
Note: The amount of RAM specified must be a multiple of two.
Storage Setting
Select the Storage Container from Nutanix AHV.
Network
Specify the quantity and type of network adapters that you want to connect to the standby virtual machine; and specify how you want the adapters to connect to the virtual network. Specify one of the following options and complete the required fields.
Note: The IP address of the source machine cannot be inherited automatically into the Ad-hoc Standby VM.
Same number of network adapters as source at last backup
Select this option to define how to map the virtual NIC to the virtual network. Specify this option when the virtual machine contains virtual NICs and a virtual network.
Clear the check box to define the name of the virtual network that you want the NIC to use to communicate.
The Summary screen appears.