Terminate Ad-hoc VSB Resources from Google Console
You can terminate the Ad-hoc VSB resources from Google Console in the following ways:
Follow these steps:
- Log into Google Cloud Console as an admin.
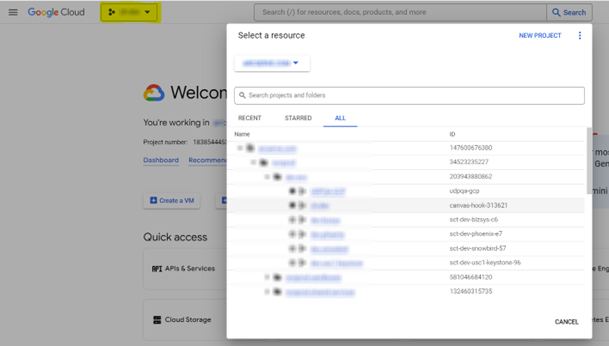
- Click the Select a project drop-down next to Google Cloud.
- On the Select a resource screen, select a project where you have created the virtual machine instances.
-
- The dashboard of the selected project is displayed.
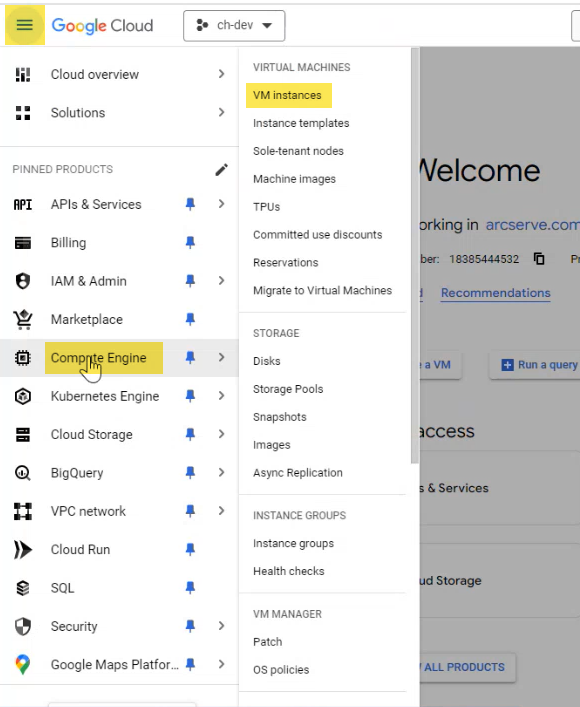
- Go to navigation menu > Compute Engine > VM instances.
-
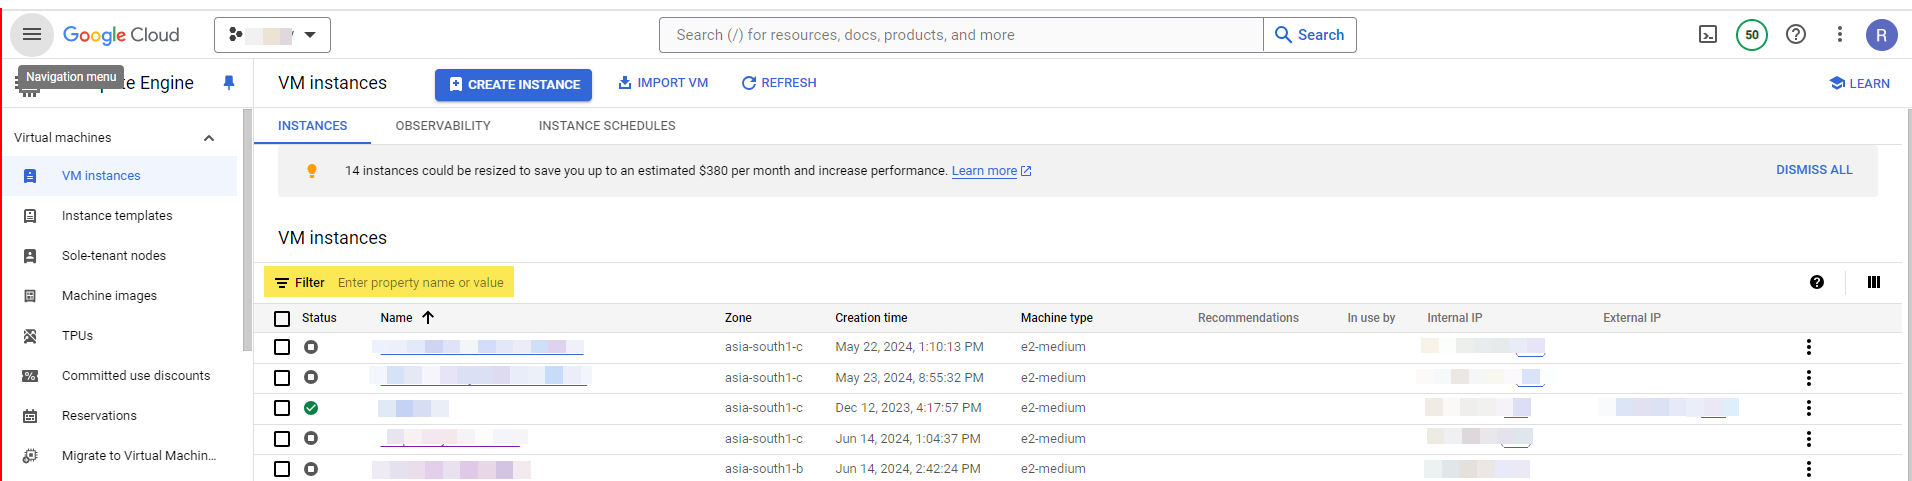
- On the VM instances page, to terminate the VM instances, do the following:
- In the search bar, enter the name of the Ad-hoc Standby VM that you created on the Create a Standby VM page.
- The Ad-hoc Standby VM is listed on the page.
- Select the Standby VM instance that you want to delete.
- Click Delete, and then click Delete again to confirm.
- Note:To terminate multiple Standby VM instances, select the check boxes next to the VM instances that you want to delete and then click Delete.
The ad-hoc Standby VM instance is successfully terminated on the Google Cloud Console.
Follow these steps:
- Log into Google Cloud Console as an admin.
- Click the Select a project drop-down next to Google Cloud.
- On the Select a resource screen, select a project where you have created the virtual machine instances.
-
- The dashboard of the selected project is displayed.
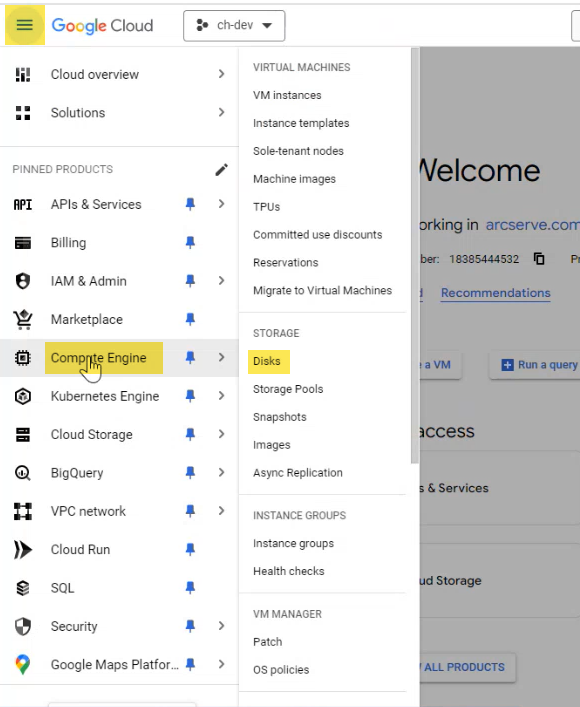
- Go to navigation menu > Compute Engine > Disks.
-
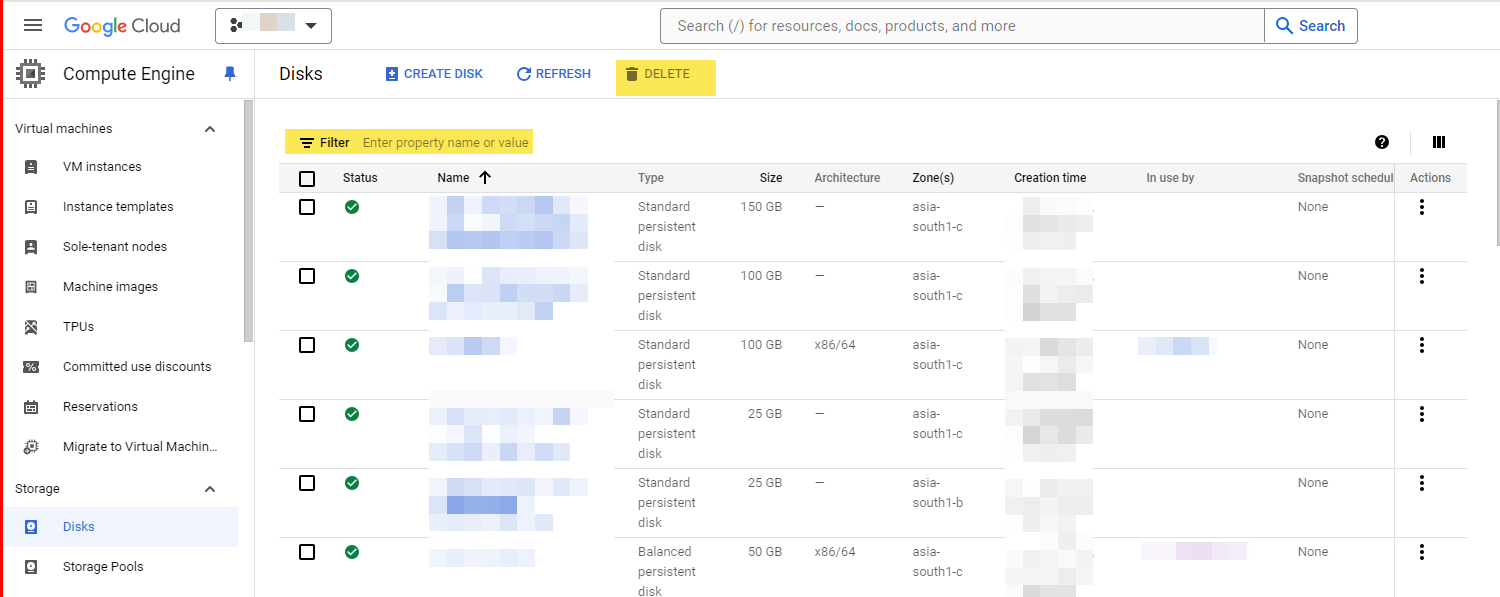
- On the Disks page, to delete the disks, do the following:
- In the search bar, enter the name of the Ad-hoc Standby VM that you created on the Create a Standby VM page.
- The disks of the Standby VM are listed on the page.
- Select the disks that you want to delete.
- Click Delete, and then click Delete again to confirm.
- Notes:
- Make sure that no other instance is using the Standby VM. To confirm the usage status of the Standby VM, check the In use by column.
- To terminate multiple disks, select the check boxes next to the disks that you want to delete and then click Delete.
The disks are successfully deleted from the Google Cloud Console.
Follow these steps:
- Log into Google Cloud Console as an admin.
- Click the Select a project drop-down next to Google Cloud.
- On the Select a resource screen, select a project where you have created the virtual machine instances.
-
- The dashboard of the selected project is displayed.
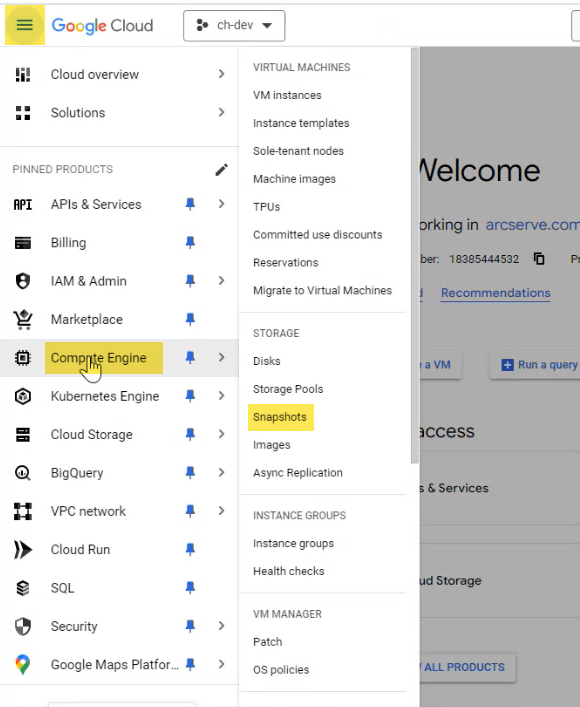
- Go to navigation menu > Compute Engine > Snapshots.
-
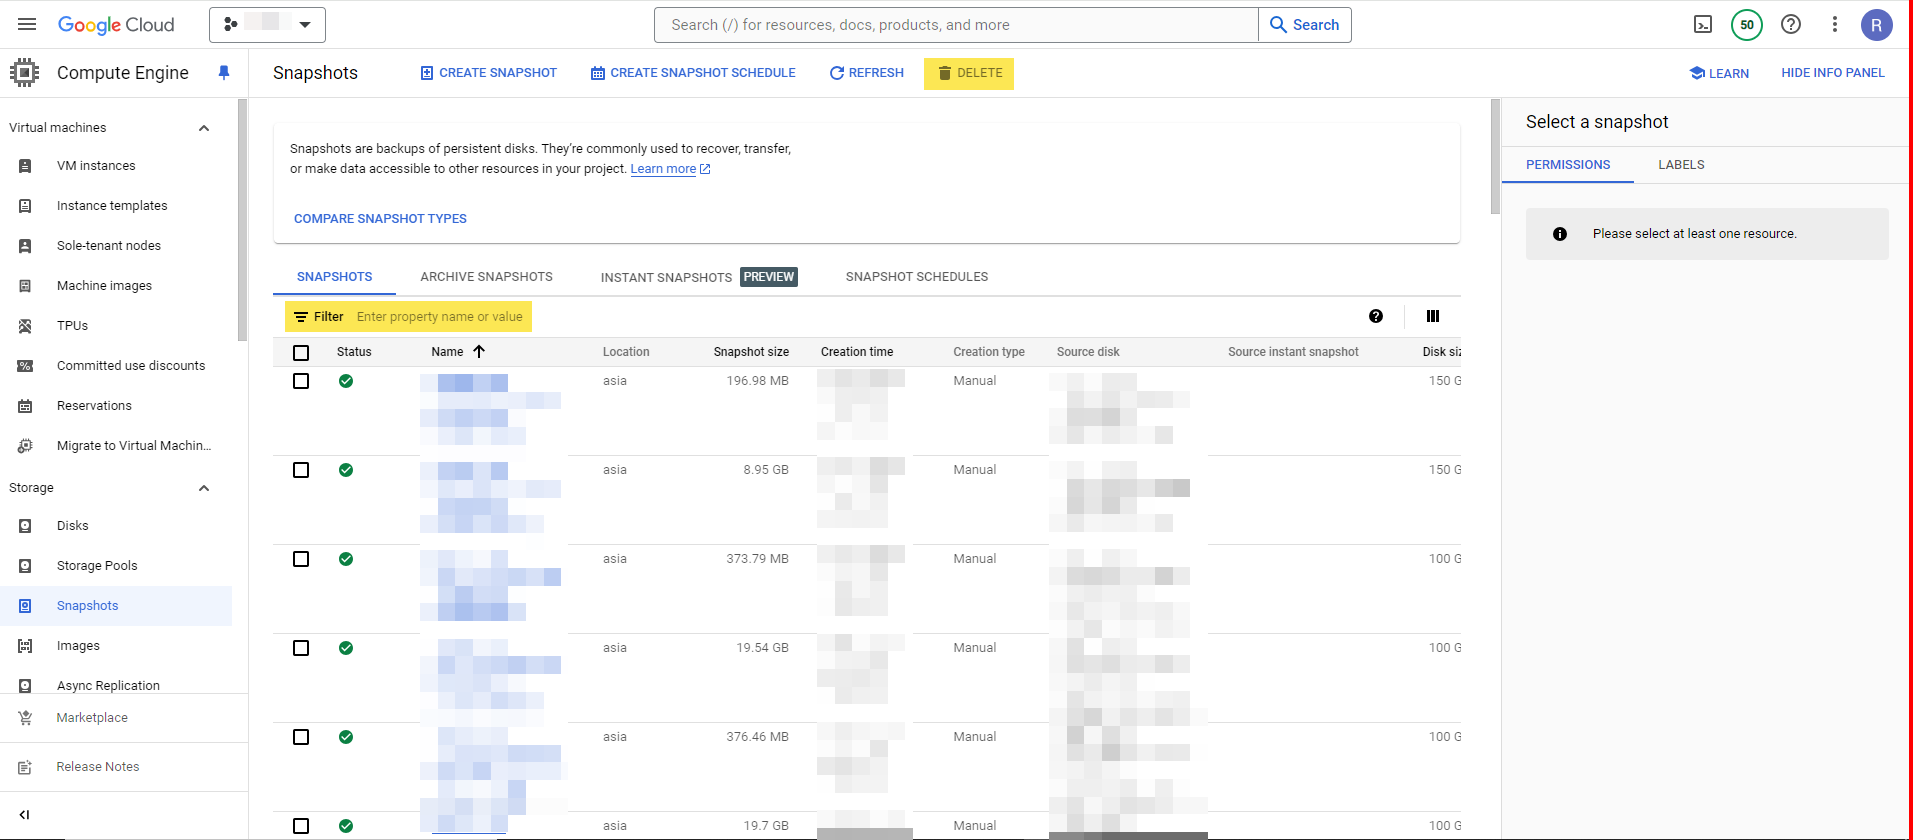
- On the Snapshots page, to delete the snapshots, do the following:
- In the search bar, enter the name of the Ad-hoc Standby VM that you created on the Create a Standby VM page.
- The snapshots of the Standby VM are listed on the page.
- Select the snapshots that you want to delete.
- Click Delete, and then click Delete again to confirm.
- Note:To terminate multiple snapshots, select the check boxes next to the snapshots that you want to delete and then click Delete.
The snapshots are successfully deleted from the Google Cloud Console.
Follow these steps:
- Log into Google Cloud Console as an admin.
- Click the Select a project drop-down next to Google Cloud.
- On the Select a resource screen, select a project where you have created the virtual machine instances.
-
- The dashboard of the selected project is displayed.
- Go to navigation menu > Cloud Storage > Buckets.
-
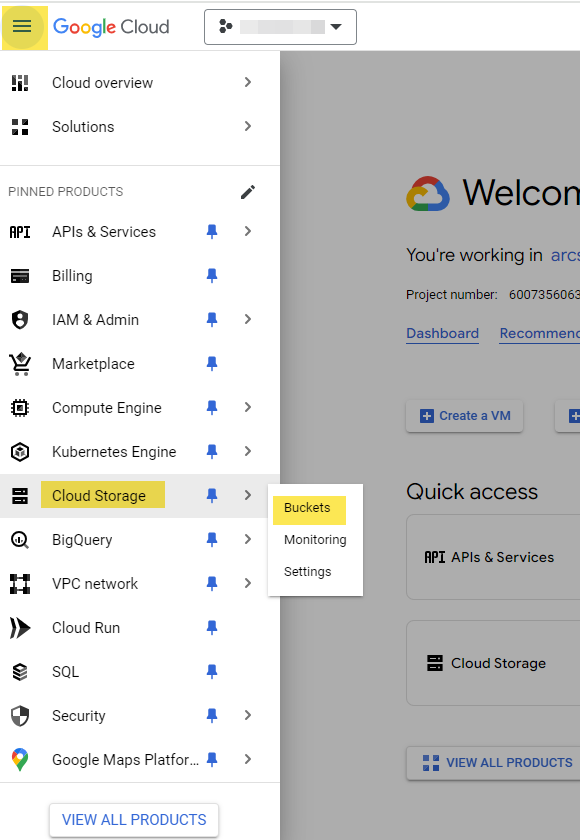
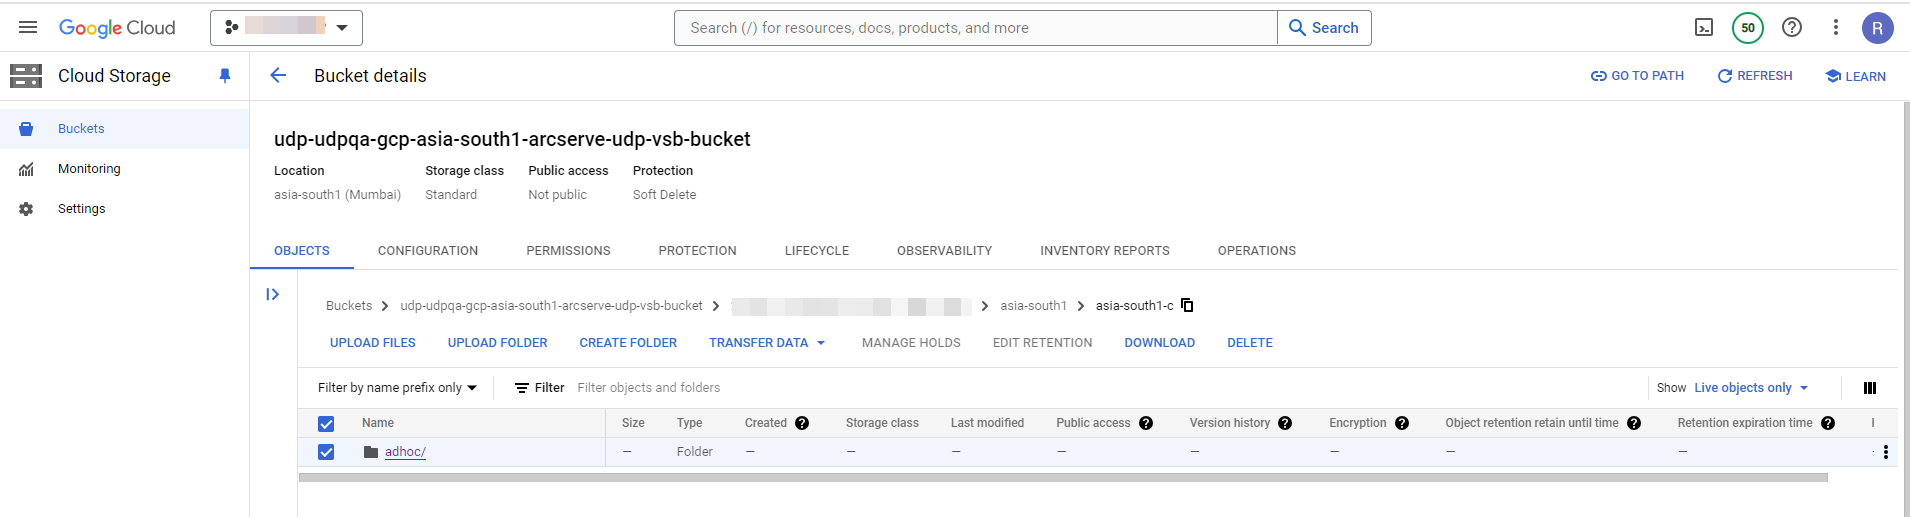
- On the Buckets page, to delete the Bucket metadata, do the following:
- In the search bar, enter the file name as udp-vsb-buckets to filter the buckets Arcserve has created UDP during the Standby VM creation on the Create a Standby VM page.
-

- The buckets of all the Standby VMs are listed on the page.
- Select the Bucket for the region that you selected while creating the Ad-hoc Standby VM on the Create a Standby VM page.
- In the search bar, enter the Unique GUID of the source node that you want to delete.
- Navigate to the following location:
- <Source node GUID/Compute Region/Compute Zone/Adhoc>
- Select the Adhoc folder, click Delete, and then click Delete again to confirm.
The Bucket metadata for the Standby VM is successfully deleted from the Google Cloud Console.