Create a Backup Plan
A backup plan includes a backup task that performs a backup of the physical or virtual node and stores the data to the specified destination.
Follow these steps:
- Log into Arcserve UDP Console.
- Navigate to resources tab > Plan > All Plans.
- If you have created plans earlier, those plans are displayed on the center pane.
- On the center pane, click Add a Plan.
- The Add a Plan page opens.
- Enter a plan name.
- (Optional) Select the Pause this plan check box.
- The plan will not run until you clear the check box to resume the plan.
- Note: If a plan is paused, then any in-progress job is not paused but all corresponding scheduled jobs associated with that plan are paused. However, you can manually run a job. For example, you can manually run backup job and replication job for a node even if the respective plan is paused. In such case, the following task to the on-demand (manual) job does not run. For example, there is a replication task after an on-demand backup job, the replication job does not run for the on-demand backup job. You need to manually run the replication job. When you resume the plan, the pending jobs do not resume immediately. After you resume the plan, the pending jobs run from the next scheduled time.
- From the Task Type drop-down list, select Backup: Agent-Based Linux.
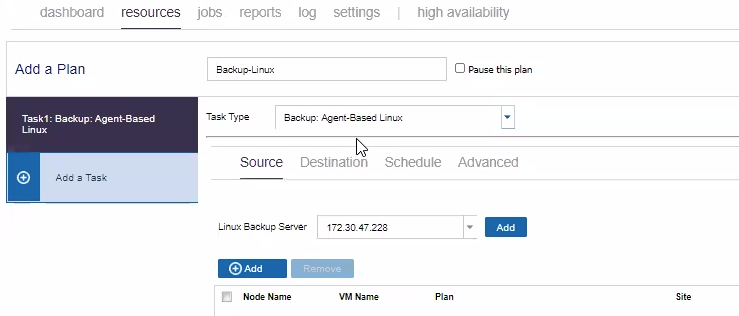
Now specify the Source, Destination, Schedule, and Advanced details.