Select a Source Recovery Point Server(s)
This section provides information about how to perform the first step of selecting a source recovery point.
The Select a source recovery point server(s) screen displays the list of selected nodes with details such as Node Name, VM Name, VM Type, Recovery Point Server, Data Store, RPS Date, Session Name, and Action. For each node in the list, the console automatically selects the Recovery Point Server, Data Store, and RPS Date details. You can also change these details if there are multiple recovery point servers available on each node.
Follow these steps:
- From the Select a source recovery point server(s) screen, on each node, perform the following:
-
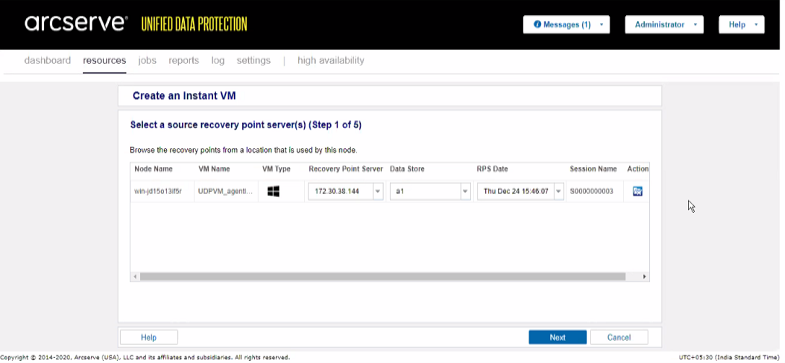
- For Recovery Point Server, from the drop-down list, select the required recovery point server.
- For Data Store, from the drop-down list, select the required data store.
- For RPS Date, from the drop-down list, select the required RPS date.
- Click Next.
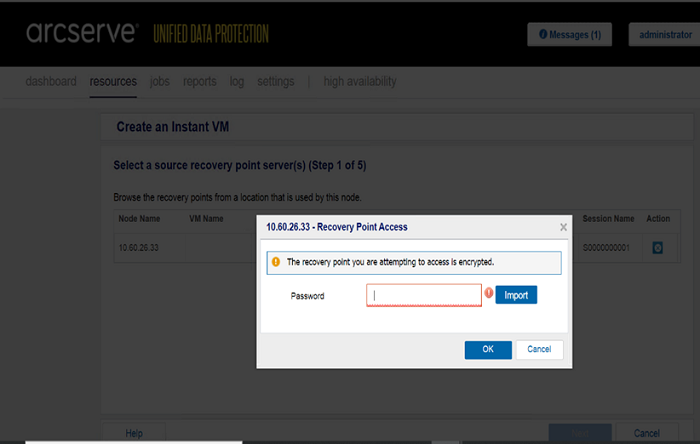
- Note: If the backup session is encrypted for any of the selected nodes and you click Next, the Recovery Point Access dialog appears and prompts you to enter the session password.
- To provide the session password, do the following:
- On the Recovery Point Access dialog, click Import.
-
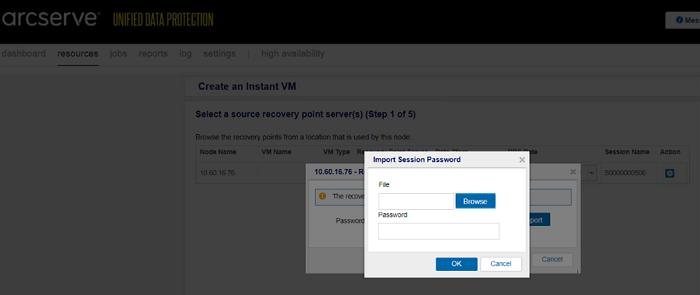
- The Import Session Password dialog appears.
- Specify or browse to the location where the session password file is located, enter the password if needed, and then click OK.
-
- On successful import, the session password gets auto filled in the Password field.
- The VM(s) Location screen appears.
Complete the next step: Select VM(s) Location