

To manage the Arcserve UDP appliance, the first step is to have the appliance in your network. For that, you have to assign a hostname to the appliance and then configure network ports.
Follow these steps:
To make your appliance a member of a domain in your network, click the "Add this Arcserve UDP Appliance to a domain" option and specify the domain, user name, and password.
Note: The Domain, Username, and Password fields will be displayed when the option is selected.
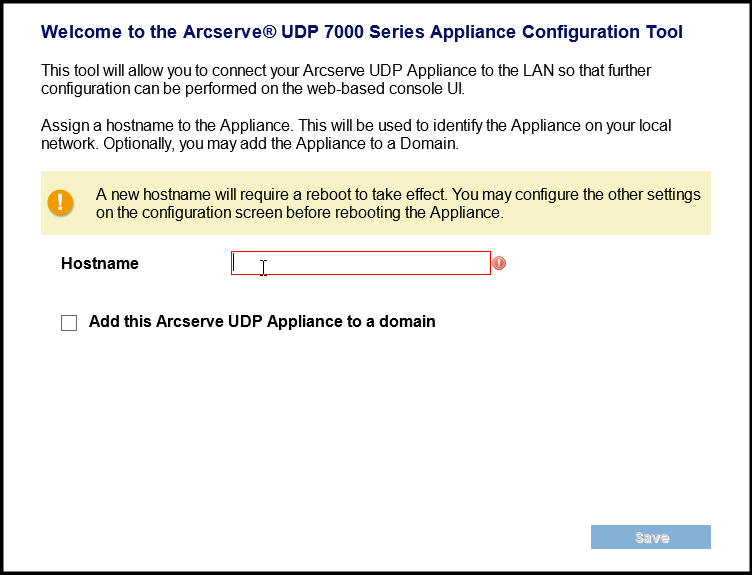
Note: To apply a new hostname, you need to restart the appliance. You can choose to reboot the appliance now or after you configure the network settings.
After you reboot the appliance, you can access the appliance from any other machine by using the following URL:
https://<hostname>:8015
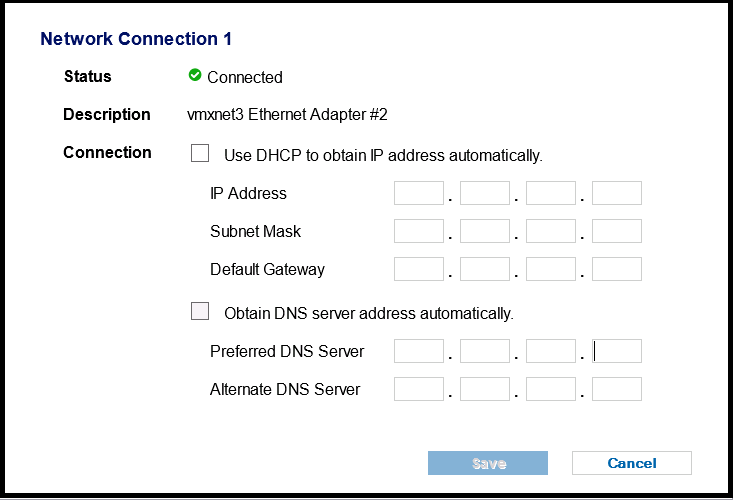
By default, Arcserve UDP discovers all network connections in a network. If some connections are not assigned, then you have to manually edit and specify the connection details.
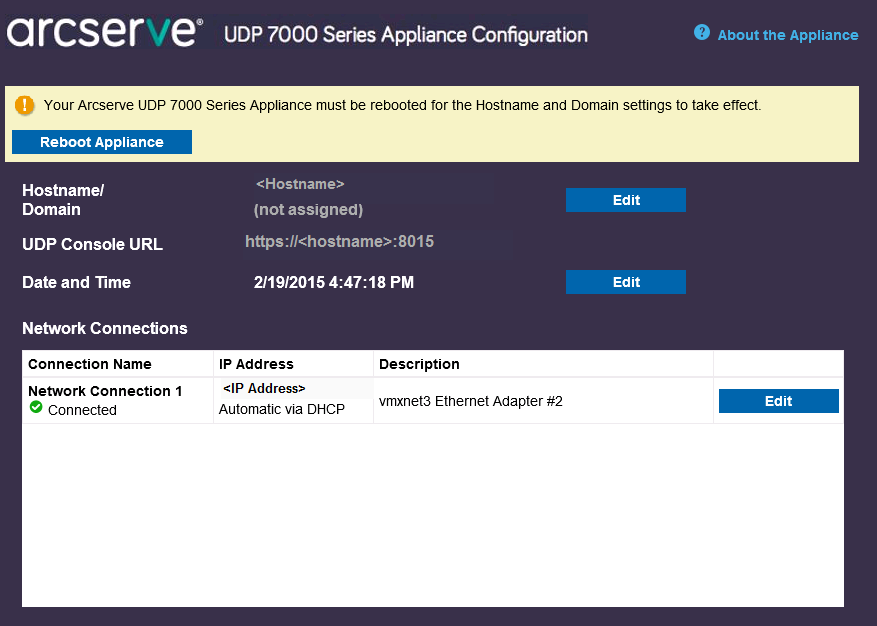
Note: Optionally, you can also modify the hostname, domain, date, and time.
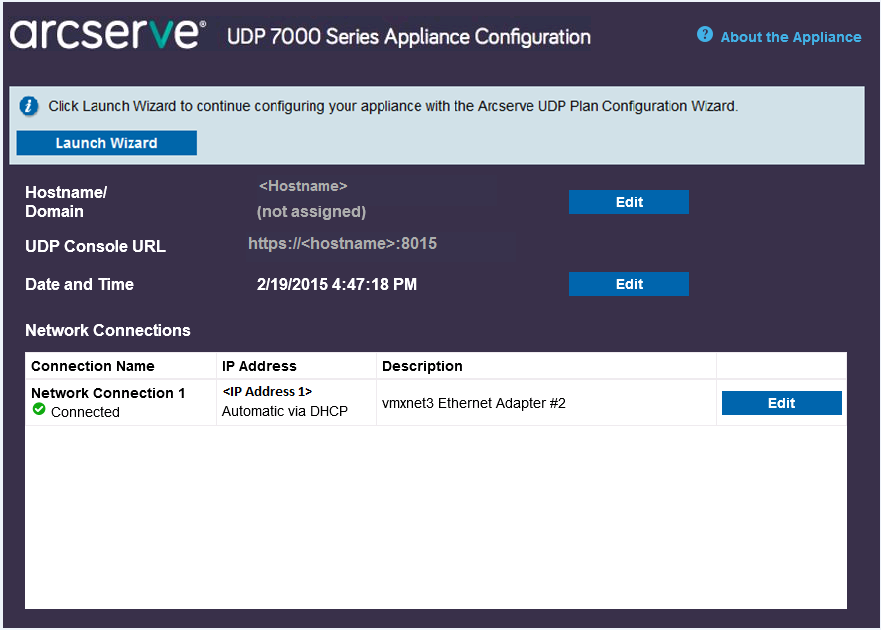
The appliance restarts with a new hostname.
|
Copyright © 2016
|
|