

Changing the IPMI Password › How to Change the IPMI Password
How to Change the IPMI Password
Before changing the IPMI password, you need to access the BIOS setup screen to obtain the IP address.
Follow these steps:
- Boot up your system and a bootup screen appears. From this screen, press the Delete key. The BIOS setup screen is displayed.
Note: To navigate, use the arrow keys and press Enter. To go back to the previous screens, press Escape key.
- Select the IPMI tab at the top of the main BIOS screen.
Note: By default, the configuration address source is set to DHCP.
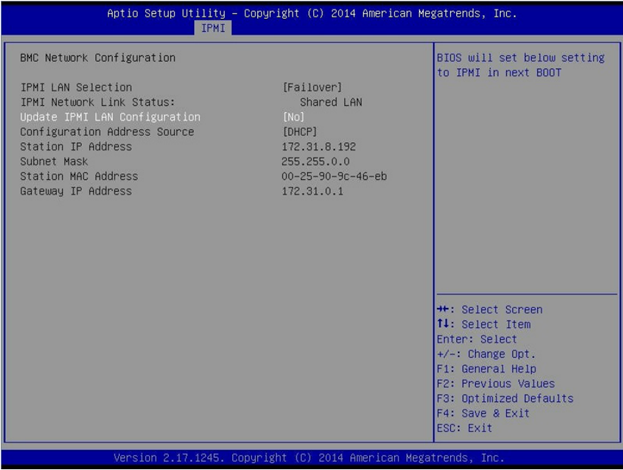
- Verify that the IP address is correct. You can connect to the IPMI interface using your web browser only if your server is on the same network.
- Record the Station IP Address.
- Enter the Station IP address on your web browser.
After you are connected to the remote server via the IPMI port, the IPMI login screen is displayed.
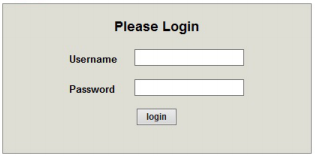
- Enter your user name in the Username field. (ADMIN by default)
- Enter your password in the Password field. (ARCADMIN by default)
- The home page is displayed (IPMI main screen).
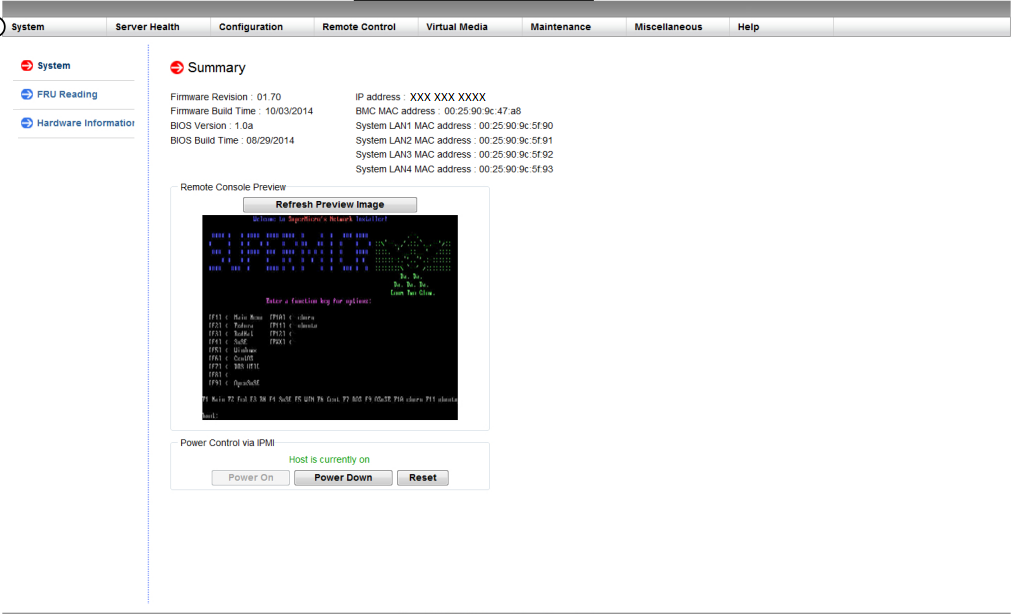
- Click the Configuration option from the top bar. The Configuration screen is displayed.
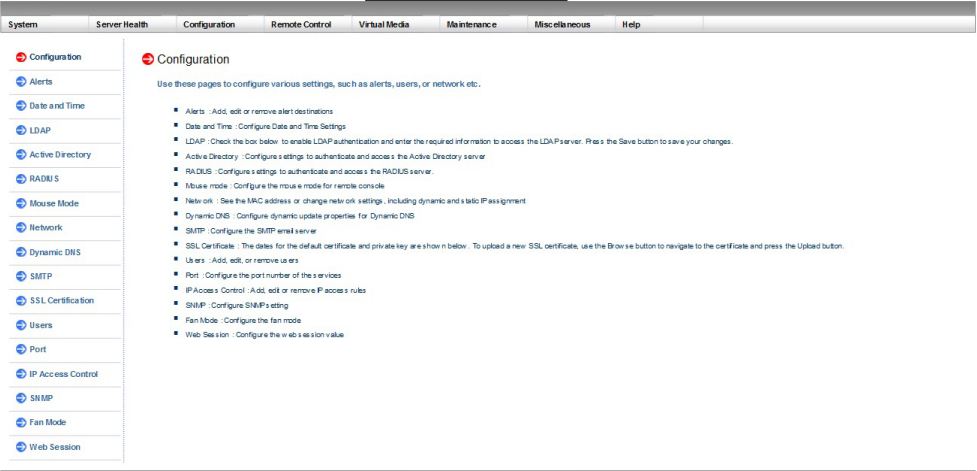
- Click the Users option in the Configuration sidebar.
- Select the User: (ADMN) from the Users List.
- Click Modify User and the Modify User screen is displayed.
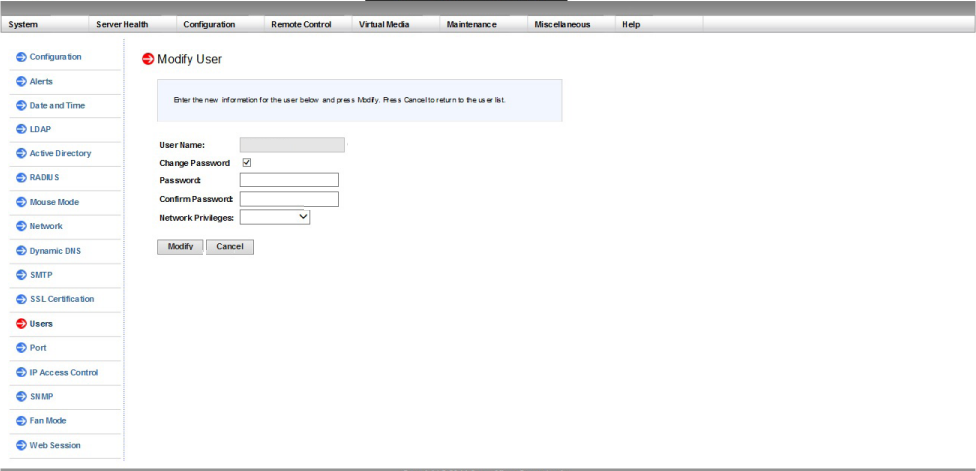
- Enter your user name. (ADMIN)
- Select the Change Password check box to change the password. The password fields will be enabled.
- Enter the new password and confirm.
- Click Modify to save the changes. Your IPMI password has been changed.
Copyright © 2016 .
All rights reserved.
|
|