Define BMR Options
Prior to initiating the BMR process, you must specify some preliminary BMR options.
Follow these steps:
- Insert the saved Boot Kit image media and boot the computer.
- If you are using a BMR ISO image burned onto a CD/DVD, insert the saved CD/DVD.
- If you are using a BMR ISO image burned onto a USB stick, insert the saved USB stick.
- From the BIOS Setup Utility screen, select the CD-ROM Drive option or the USB option to launch the boot process. Select an architecture (x86/x64) and press Enter to continue.
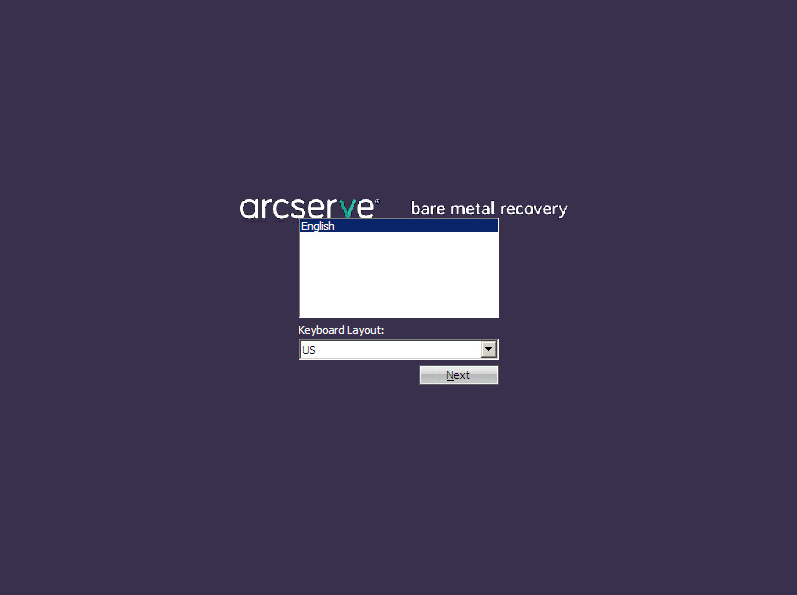
- The Arcserve UDP Agent (Windows) language select screen is displayed.
- Select a language and click Next to continue.
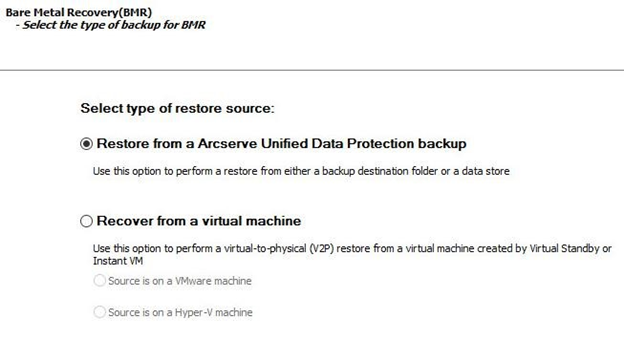
- The Bare Metal Recovery process is initiated and the initial BMR wizard screen is displayed.
- The BMR wizard screen allows you to select the type of BMR you want to perform:
- Restore from an Arcserve Unified Data Protection backup
- Use this option to perform a restore from either a backup destination folder or a data store.
- This option lets you recover data that was backed up using Arcserve UDP Agent (Windows). This option is used in connection with backup sessions performed with Arcserve UDP Agent (Windows) or with the Arcserve UDP host-based VM backup application.
- For more information, see How to Perform a Bare Metal Recovery Using a Backup in the online help.
- Recover from a Virtual Standby VM
- Use this option to perform a virtual-to-physical (V2P) restore from a virtual standby VM or Instant VM. Virtual-to-physical (V2P) is a term that refers to the migration of an operating system (OS), application programs and data from a virtual machine or disk partition to a computer's main hard disk. The target can be a single computer or multiple computers.
- Source is on a VMware machine
- Source is on a Hyper-V machine
- Select Recover from a Virtual Standby VM. Then select one of the sources.
- If you select the Source is on a VMware machine option, see Recover using a VMware Virtual Standby VM or Instant VM to continue this procedure.
- If you select the Source is on a Hyper-V machine option, see Recover using a Hyper-V Virtual Standby VM or Instant VM to continue this procedure.
The BIOS Setup Utility screen is displayed.
Lets you recover data for a machine for which virtual conversion is done to a VMware virtual machine. This option is used in connection with the Arcserve Central Virtual Standby or Instant VM application.
Note: For this option, you can only recover data if the virtual conversion to a VMDK file (for VMware) was performed using Arcserve Central Virtual Standby or Instant VM.
If you select this option, see Recover using a VMware Virtual Standby VM or Instant VM to continue this procedure.
Lets you recover data for a machine for which virtual conversion is performed to a Hyper-V virtual machine. This option is used in connection with the Arcserve Central Virtual Standby or Instant VM application.
Note: For this option, you can only recover data if the virtual conversion to a VHD file (for Hyper-V) was performed using Arcserve Central Virtual Standby or Instant VM.
If you select this option, see Recover using a Hyper-V Virtual Standby VM or Instant VM to continue this procedure.