

Using Arcserve UDP Agent (Windows) › Perform a Restore › How to Use Exchange Granular Restore (GRT) Utility › How to Restore Microsoft Exchange Data Using Exchange Granular Restore (GRT) Utility
How to Restore Microsoft Exchange Data Using Exchange Granular Restore (GRT) Utility
Before you begin, review the prerequisites and considerations.
Perform the following tasks to restore Microsoft Exchange mailbox items, using the Exchange Granular Restore utility:
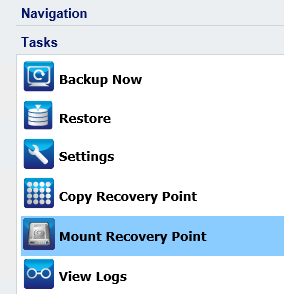
- From the Arcserve UDP Agent console, select the Mount Recovery Point task (recommended) or restore the Exchange database to the local drive. The Mount Recovery Point dialog opens.
- Select the recovery point date and click Mount for the volume(s) that contain Exchange Database and logs.
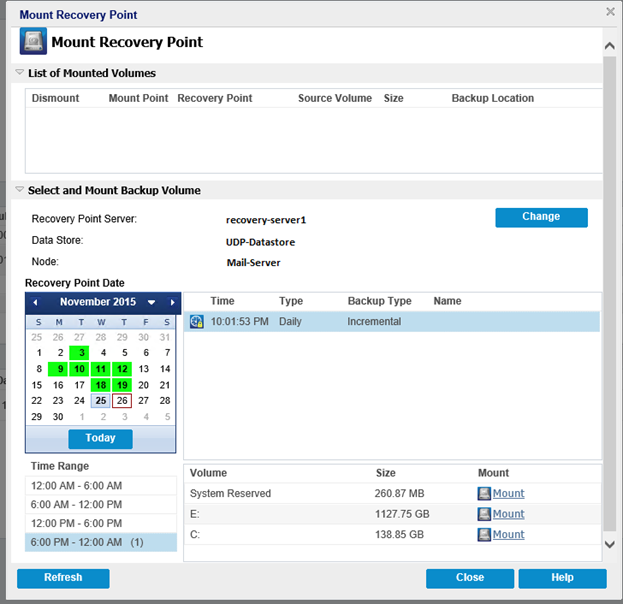
Note: If the server that is running the restore job is not the Exchange or HBBU proxy, click Change to select the appropriate Recovery Point Server, Data Store, and Exchange Server.
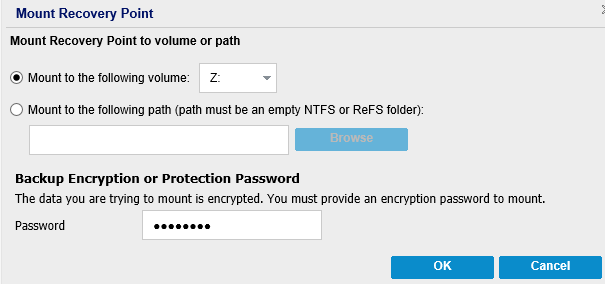
- Select the drive letter to mount the volume and click OK.
- Launch the Exchange Granular Restore utility from one of the following locations:
Start > All Programs > Arcserve > Unified Data Protection > Arcserve UDP Exchange Granular Restore
or
X:\Program Files\Arcserve\Unified Data Protection\Engine\Exchange GRT\esr.exe
A dialog appears to specify the path for the database and log files.
- Specify the path to the mounted volume and click Open.

The Arcserve UDP Exchange Granular Restore utility opens.
- Select the user data to restore and click Export into original mailbox or Export into .PST.

Notes:
- For more details on the supported specifications, features, user options and limitations, see the Exchange Granular Restore user guide (esr.pdf), located at:
%ProgramFiles%\Arcserve\Unified Data Protection\Engine\Exchange GRT or http://documentation.arcserve.com/Arcserve-UDP/Available/V6/ENU/Bookshelf_Files/PDF/udp_esr_guide.pdf
- By default, the utility uses the current user who is logged in to Windows to establish the connection. If the current user does not have permissions to impersonate the selected user, an error message appears in the Details pane.
If an error is reported, the recommended action to take is to log in to the machine with an account that has impersonation rights for the selected user or the account of the selected user.
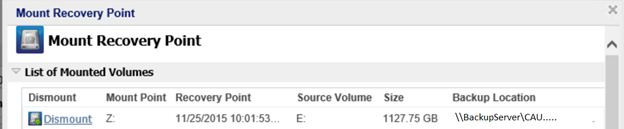
- When the restore job completes, dismount the volume that was used for the recovery.
To dismount the volume, from the Arcserve UDP Agent console, click Mount Recovery Point and then click Dismount.
Copyright © 2016 .
All rights reserved.
|
|