

Generating Arcserve UDP Reports › How to Generate Arcserve UDP Reports › Schedule Emails › Create Schedule
Create Schedule
You can add new schedule for the emails report. These report emails are automatically updated, generated, and sent as scheduled. You can customize the schedule of the report email messages. The application lets you define the email contents, the reports to attach, to whom to send the reports, and the date and time to send the report. The selected reports display detailed information in table format within the email.
Follow these steps:
- Log in to the Arcserve UDP.
- Click reports on the Navigation bar.
- From the upper right corner of any report, click the global Filters/Actions section.
- From the expanded list, select the email icon to open the Schedule reports to send by Email dialog.
The Schedule Emails dialog is displayed.
- Click New on the Schedule Emails dialog.
The New Schedule dialog is displayed.
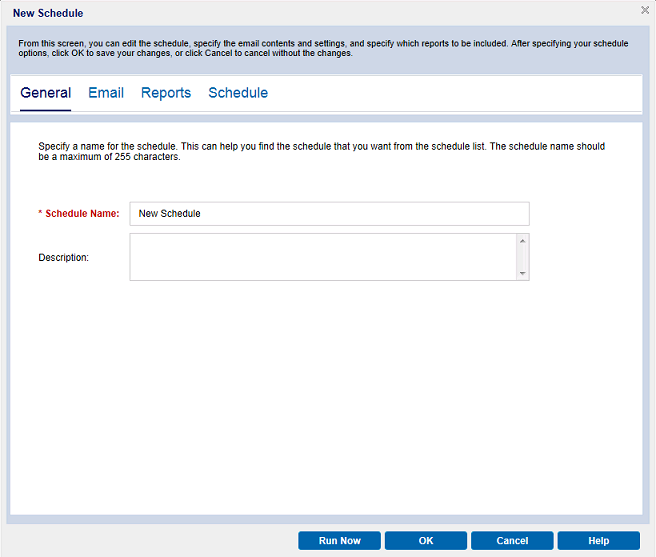
The following tabs are displayed:
- General: Specify a name and description (optional) for the new schedule.
- Email: Specify the mail settings, content, and attachment for the email schedule.
- Reports: Select the specific reports that you want to include in the email.
- Schedule: Specify a schedule for the email.
- Complete the required fields in each tab.
- Click OK to save the schedule.
The new schedule is added to the Schedule Emails dialog.
Note: Do not click OK if you want to view the report immediately.
- (Optional) To view the report immediately, click Run Now.
The report is sent to the recipients.
Copyright © 2016 .
All rights reserved.
|
|