

You can restore an IDS database including logical logs, dbspaces and blobspaces.
To restore an IDS database
Note: Only one dbspace can be restored at a time.
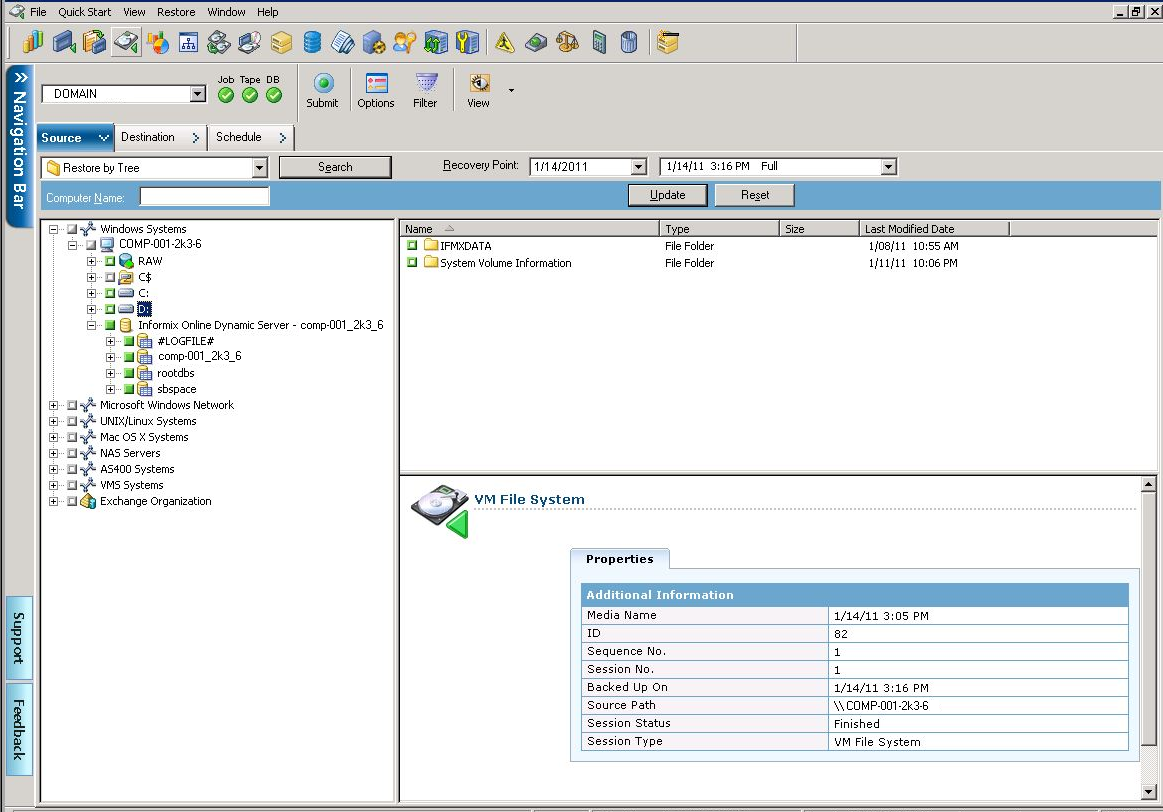
Note: Do not restore the #LOGFILE#. The Informix server restores the logical logs automatically when a logical restore is performed.
The Restore Options dialog opens.
The following table indicates the available restore methods and restore options:
|
Arcserve Backup Option |
|
ON-Bar Option |
Description |
|---|---|---|---|
|
Restore Methods |
Physical and Logical |
-r |
Restores all dbspaces, blobspaces, and logical logs. |
|
|
Physical Only |
-p |
Restores all dbspaces and blobspaces. |
|
|
Logical Only |
-l |
Restores logs only. |
|
Restore Options |
Last Logical |
-n log |
The number of the last log to be restored. If any logs exist after this one, they are not restored. |
|
|
Point in Time |
-t time |
The point in time at which to stop the restore. |
Important! The Point in Time option is for Informix server-level restores and cannot be combined with any individual dbspace or blobspace restore job. Do not select the Logical Only restore method and the Point in Time restore option at the same time. If the Logical Only method is combined with any dbspaces or blobspaces, IDS ignores the objects and executes an Informix server-level logical restore.
Note: For information about the different options and requirements available for performing cold restores, warm restores, physical restores, and logical restores, see the Informix ON-Bar documentation.
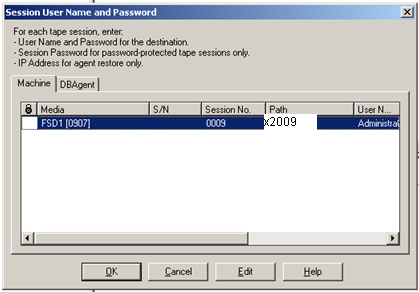
The Security dialog opens.
The Session User Name and Password dialog opens.
Arcserve Backup restore options are equivalent to the following ON-Bar options:
onbar_d -r -t 2003-9-5 13:31:17
The Submit Job dialog displays the job details.
The job is submitted to the Arcserve Backup queue. You can verify the restore process from the Arcserve Backup Job Status window.
When the job is complete, a message appears indicating that the restore was successful. The first restore message results from the creation of the ON-Bar process. Depending on the progress of the restore procedure, other messages from actual (not test) restore jobs will follow.
Note: Do not interrupt the restore procedure by browsing IDS objects from the Backup Manager, or do not attempt to stop the restore operation. Wait until the BAR_INFORMIX SERVER.log shows that the restore is complete.
|
Copyright © 2015 Arcserve.
All rights reserved.
|
|