

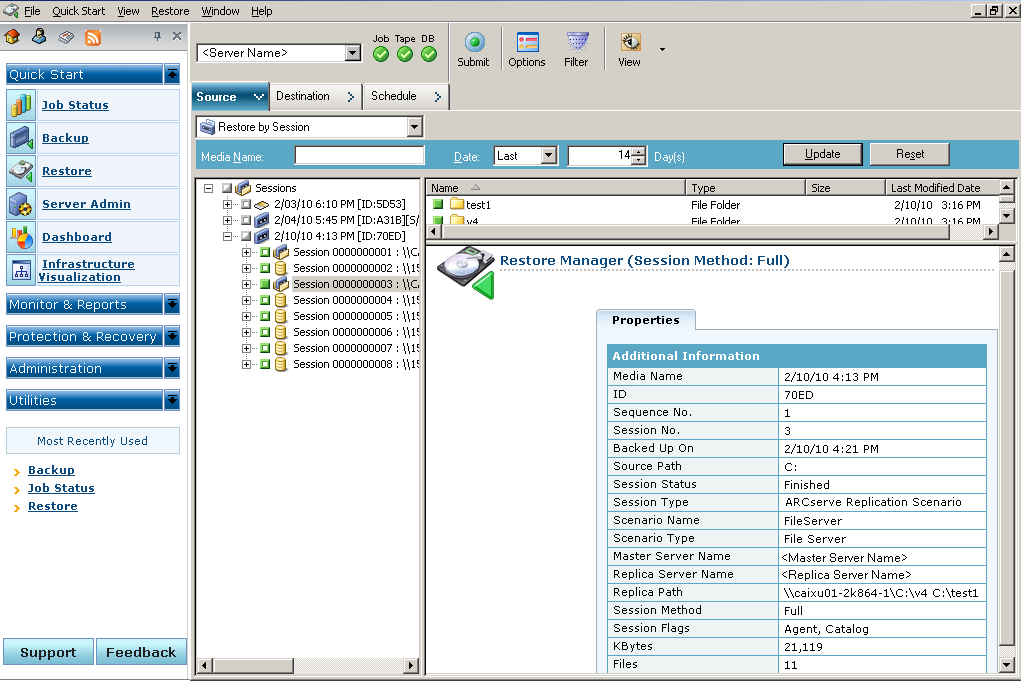
The Restore by Session method lets you select the session and the files and directories you want to restore. Use this method when you know the media name, but are not certain about the session you want to restore. This view uses the Arcserve Backup database; if the database engine is stopped, this method of restore will not work.
To restore a backup job by session
The left pane of the Restore Manager lists all of the Arcserve Replication Scenarios that have been backed up and are candidates for being restored.
The corresponding session content and properties are displayed in the right panes of the Restore Manager.
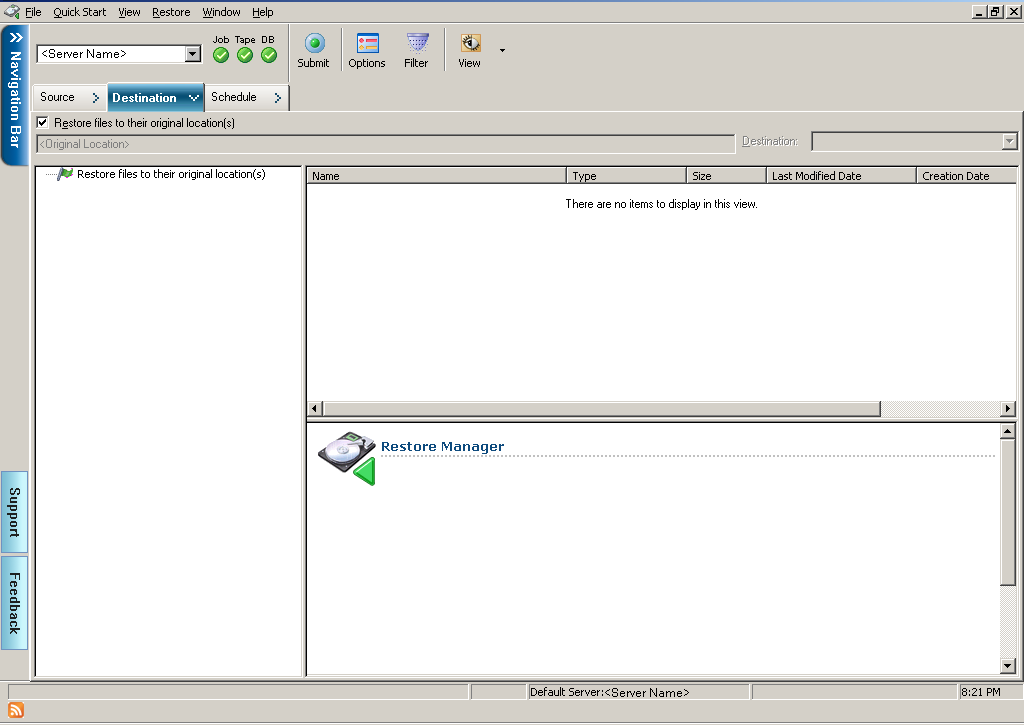
You can restore source files to the same directory structure that they originated from (original location) or to any other location that you specify (alternate location).
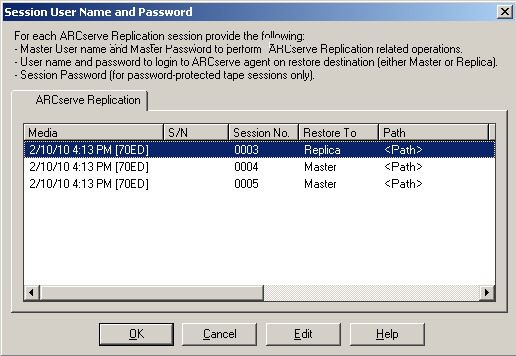
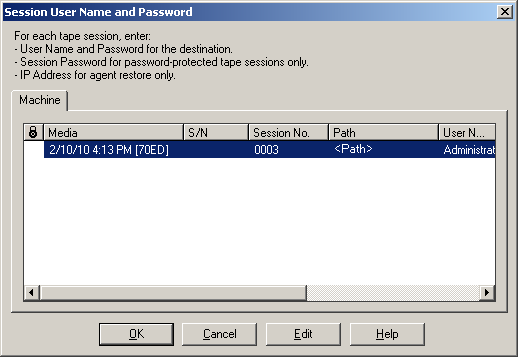
The Session User Name and Password dialog appears.
For SQL Server and MS Exchange, if the corresponding application is running and you restore a Arcserve Replication scenario to the original location, the restored files are temporarily created with a .TMP extension. After the restore job is successful, you are prompted to reboot the server to overwrite and replace the existing active files. When the server is rebooted, the restored files are merged into the original database. If the corresponding application is not running, temporary files will not be created during the restore to original location process and you do not have to reboot the server.
Important! Rebooting a SQL Server installed on a Cluster environment is not feasible, so you must stop the application resource before performing a restore to the original location.
The Enter User Name and Password for Arcserve Replication Session dialog appears.
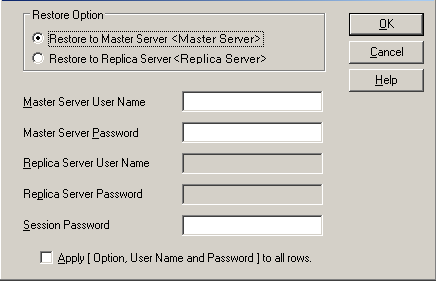
Restoring to a Replica server is usually more efficient and does not interrupt operation of the production (Master) server. Select Restore to a Master server only if you need a faster recovery or if you need to reconstruct the Master server environment (if corrupted).
Note: When restoring to a Replica server, ensure that the corresponding application is not running to avoid attempting to restore files that are currently in use. When restoring to the Master server, ensure that the Arcserve Backup Client Agent is installed and running.
Note: Password Management provides the option to encrypt session passwords during backup and eliminates the need to repeatedly provide passwords. During a backup job submission, the passwords are stored in encrypted form and will be automatically used during restore. For more information about Password management, see the Arcserve Backup Administration Guide.
The Submit Job dialog appears.
The destination where you want the restored files to go is now specified.
Important! A Arcserve Replication restore is supported only through a Windows Systems Client Agent. As a result, the alternate restore location must be a destination machine or volume that is under the Windows Systems Client Agent tree. If you try to restore to the Server tree or any other tree not under the Client Agent tree, the restore job will fail. If necessary you can add a new Client Agent machine. For procedures on adding a new client object, see the Administration Guide.
The Session User Name and Password dialog appears.
The Enter User Name and Password dialog appears.
The Submit Job dialog appears.
|
Copyright © 2015 Arcserve.
All rights reserved.
|
|