

A restore job must have a data source from which backup files are extracted and a destination into which the files are restored. To restore data from Lotus Domino, you must configure and submit a restore job using the Restore Manager.
To restore backed-up data
The Restore Manager main window opens.
Important! If you select the Restore by Tree method, you cannot restore the entire contents of the Lotus Domino server as a whole, but instead must select all subordinate objects individually. (The corresponding server marker is gray or disabled.) If you select the Restore by Session method, you can then restore the entire contents of the Lotus Domino server as a whole, without selecting all subordinate objects individually. (The corresponding server marker is green or enabled.)
The options displayed in the corresponding source tree depend upon whether you select the Restore by Tree method or the Restore by Session method.
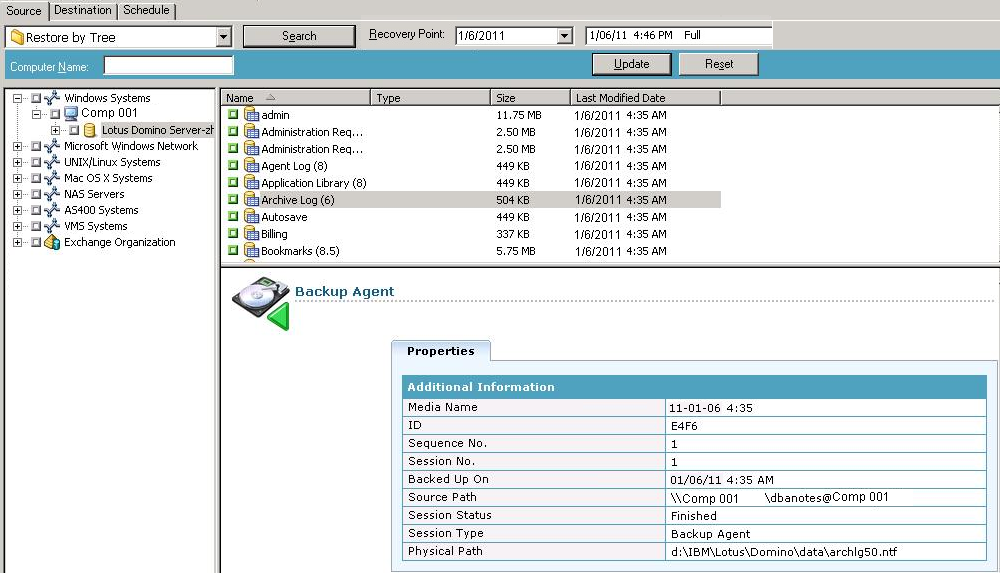
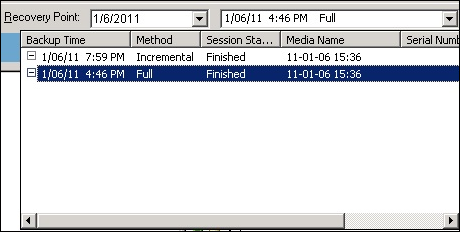
With the Restore by Tree method selected, the tree will only display the last completed backup job.
Note:
Note: If the Lotus Domino archived transaction logging option was enabled during the backup, the Transaction Log icon will be the first object displayed on the expanded Lotus Domino server tree. However, if no log files were previously archived, the Transaction Log icon will not be displayed at all.
If the Restore By Session method was selected, the entire Lotus Domino server can be restored as a whole by clicking the corresponding marker next to the server name until it is green. To restore individual database files or transaction log files, you must select them individually by clicking the corresponding marker until it is green.
The Agent for Lotus Domino Restore Options dialog opens.
Note: To select Point-in-Time recovery, you must select both the Perform Recovery option and the Point-in-Time Recovery option. To select full recovery, you can select only the Perform Recovery option.
Note: Arcserve Backup Agent for Lotus Domino provides two destination options--restore data to its original locations (default option) and restore data to different locations. You can restore data from a Lotus Domino server either to its original location or to a different location, but not to another Lotus Domino server.
Important! Do not change the name of the Lotus Domino server after performing a backup job. Any restore job will always try to use the settings of the same Lotus Domino server that was backed up. If you change the name of the Lotus Domino server, you must manually set the registry key PreviousInstanceName to restore.
Note: If the length of your Lotus Domino server name is more than the maximum number of allowed characters, Arcserve Backup will automatically truncate the additional characters and replace the last two remaining characters of the string with 01. If there is another Lotus Domino server with the same name, Arcserve Backup again truncates the name down to the maximum number of characters and replaces the last two characters of the string with 02.
For Arcserve Backup r12, the maximum length of the server name is 30 characters. For Arcserve Backup r12.1 and later, the maximum length of the server name is 79 characters.
For example, for Arcserve Backup r12:
“User1223334444555556666667777777” (32 characters)
“User12233344445555566666677701” (30 characters)
“User12233344445555566666677702” (30 characters)
For Example for Arcserve Backup r12.1 and later:
“User11111111112222222222333333333344444444445555555555666666666677777777778888888" (81 characters)
“User111111111122222222223333333333444444444455555555556666666666777777777788801" (79 characters)
“User111111111122222222223333333333444444444455555555556666666666777777777788802" (79 characters)
You can restore data either to its original location or to a different location.
The destination window displays a Restore files to their original location entry.
The restore process is initiated. A Session User Name and Password dialog opens for the host from which you are trying to run the restore.
Note: A session password is required only if it was specified during the backup process.
The Submit Job dialog opens, displaying a summary of the job type and the destination directory. If necessary, enter a description of the job in the Job Description field.
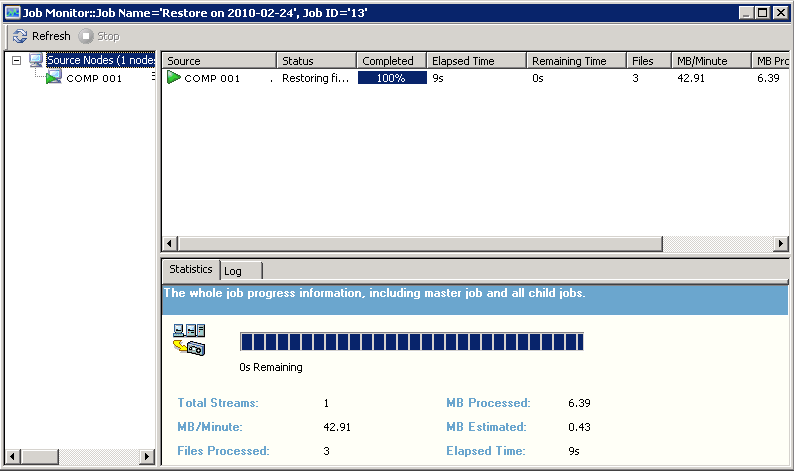
The Job Status window appears, displaying the Job Queue and Job Detail. You can also view more detailed Job Properties information by right-clicking the server name and selecting Properties. The Job Monitor window appears, displaying details and status of the restore process.
When the restore job is complete, a status window appears, indicating the final status (successful of failed) of the restore job.
The status window closes.
|
Copyright © 2015
|
|