

Global Dashboard lets you add new branch groups that display your customized grouping of branch sites when selected.
Add a New Branch Group
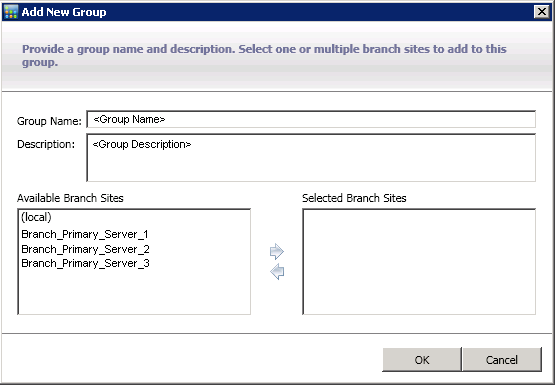
The Add New Group dialog opens, displaying a listing of all available registered branch sites.
The group name is not case sensitive.
Note: You cannot have two branch groups with the same name.
The branch sites are added to the Selected Branch Sites box.
Note: Multiple branch sites can be selected for a branch group by using the "CTRL" or "SHIFT" key combinations.
The name of the new branch group appears on the Central Manager Groups list and can be selected.
Note: For this group-related task, you must re-launch the Global Dashboard Console to view the changes.
|
Copyright © 2017
|
|