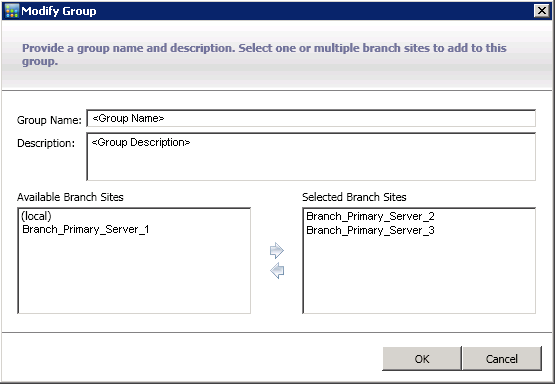

Global Dashboard lets you modify an existing branch group when selected.
Modify a Branch Group
The Modify Groups button becomes enabled.
The Modify Group dialog opens, displaying a listing of all branch sites that are included in the selected branch group and all available registered branch sites.
Note: Multiple branch sites can be selected for a branch group by using the "CTRL" or "SHIFT" key combinations.

The branch site is removed from the Available Branch Sites box and added to the Selected Branch Sites box.
The branch site is removed from the Selected Branch Sites box and added to the Available Branch Sites box.
The modified branch group appears on the Central Manager Groups list and can be selected.
|
Copyright © 2017 |
|